Peel & Stick Wall Preparation
The Complete Guide to a Seamless Application
Taking the time to prepare your walls ensures smooth application, strong adhesion, and results that last for years to come. This step-by-step guide will provide you with everything you need to create the perfect surface for your wallpaper, setting the stage for a flawless and professional finish.
The Perfect Wall Condition
The Perfect Wall Condition
Why Smooth Surfaces Matter
Peel & stick wallpaper adheres best to smooth, flat interior surfaces. Textured or uneven walls, including orange peel textures, are not suitable and can lead to bubbles, peeling, or weak adhesion. If your walls have any imperfections, take the time to correct them before starting.
- Recommended Surfaces: Flat painted walls, glass, vinyl, and mirrors.
- Avoid: Textured walls, rough surfaces, exterior projects or areas exposed to high moisture.
Pro Tip: Freshly painted walls require at least four weeks to cure and off-gas fully. This waiting period is essential for avoiding bubbles and ensuring strong adhesion.
Ideal Projects for Peel & Stick Wallpaper
Ideal Projects for Peel & Stick Wallpaper
Where This Product Shines
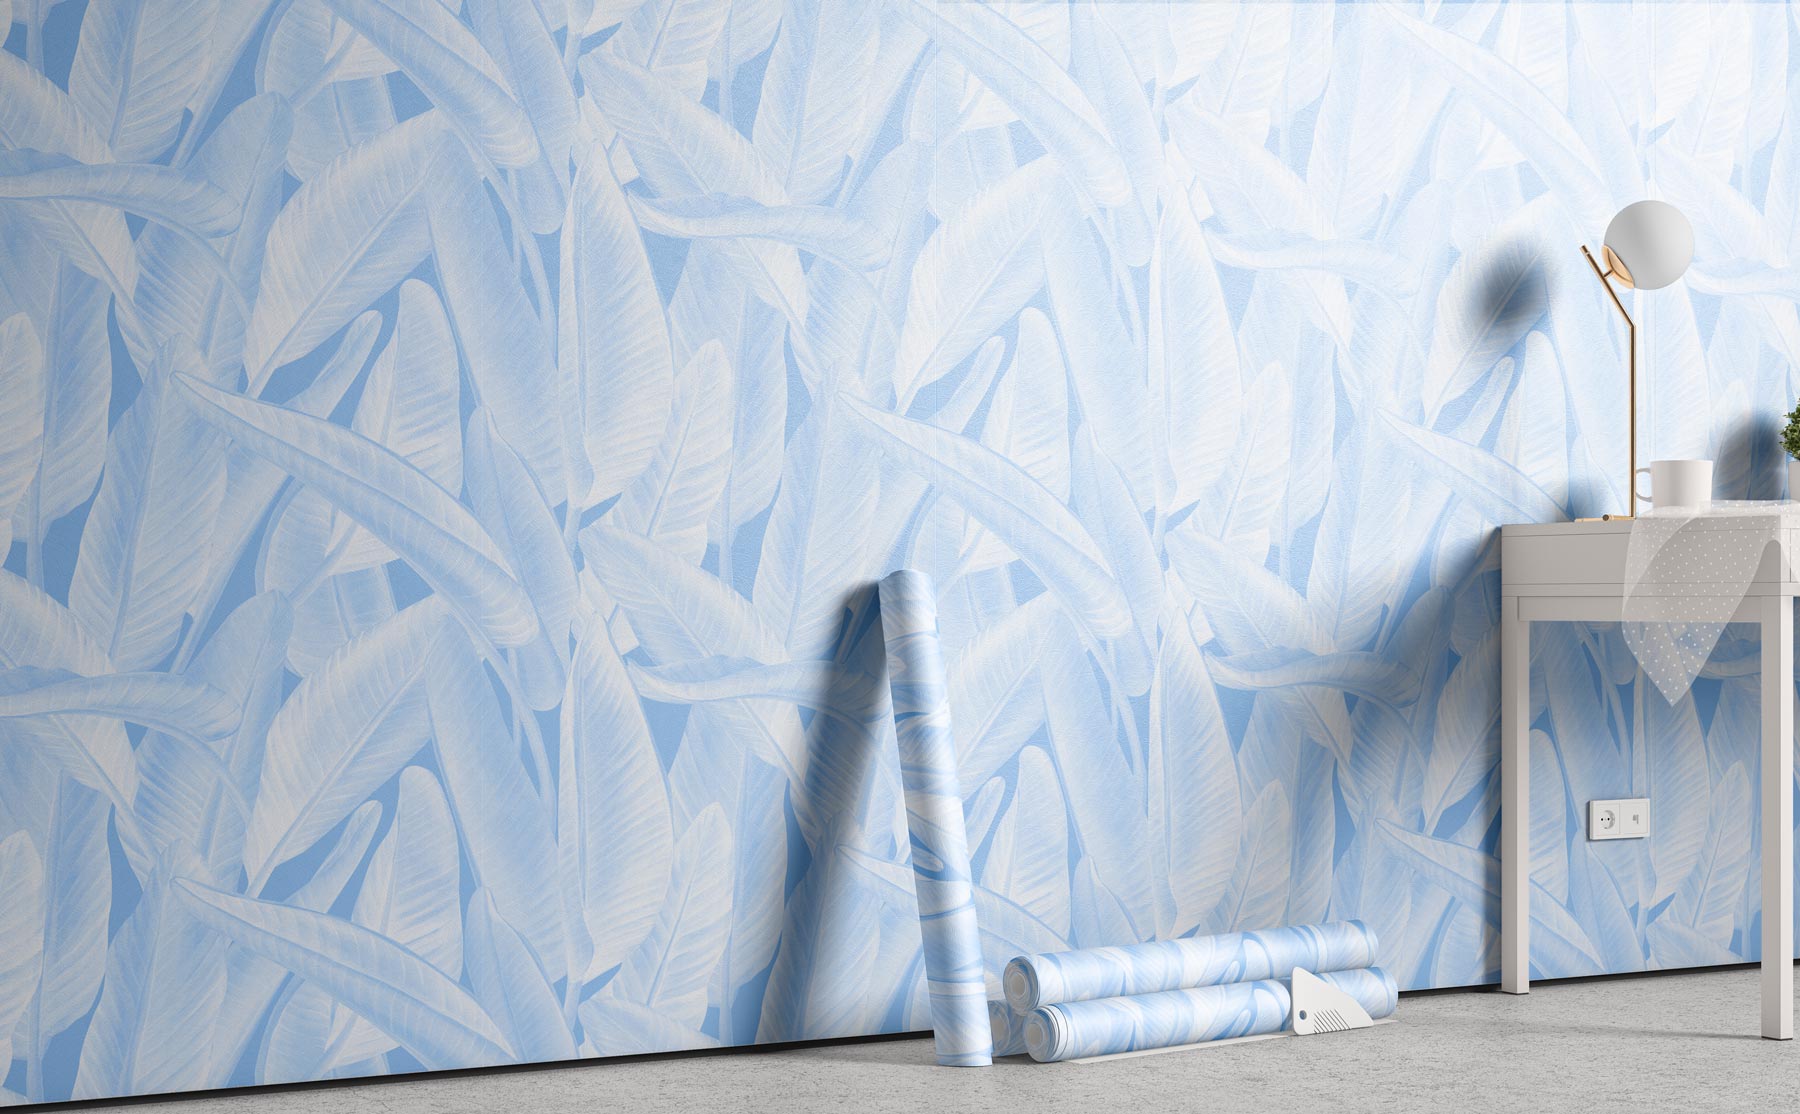
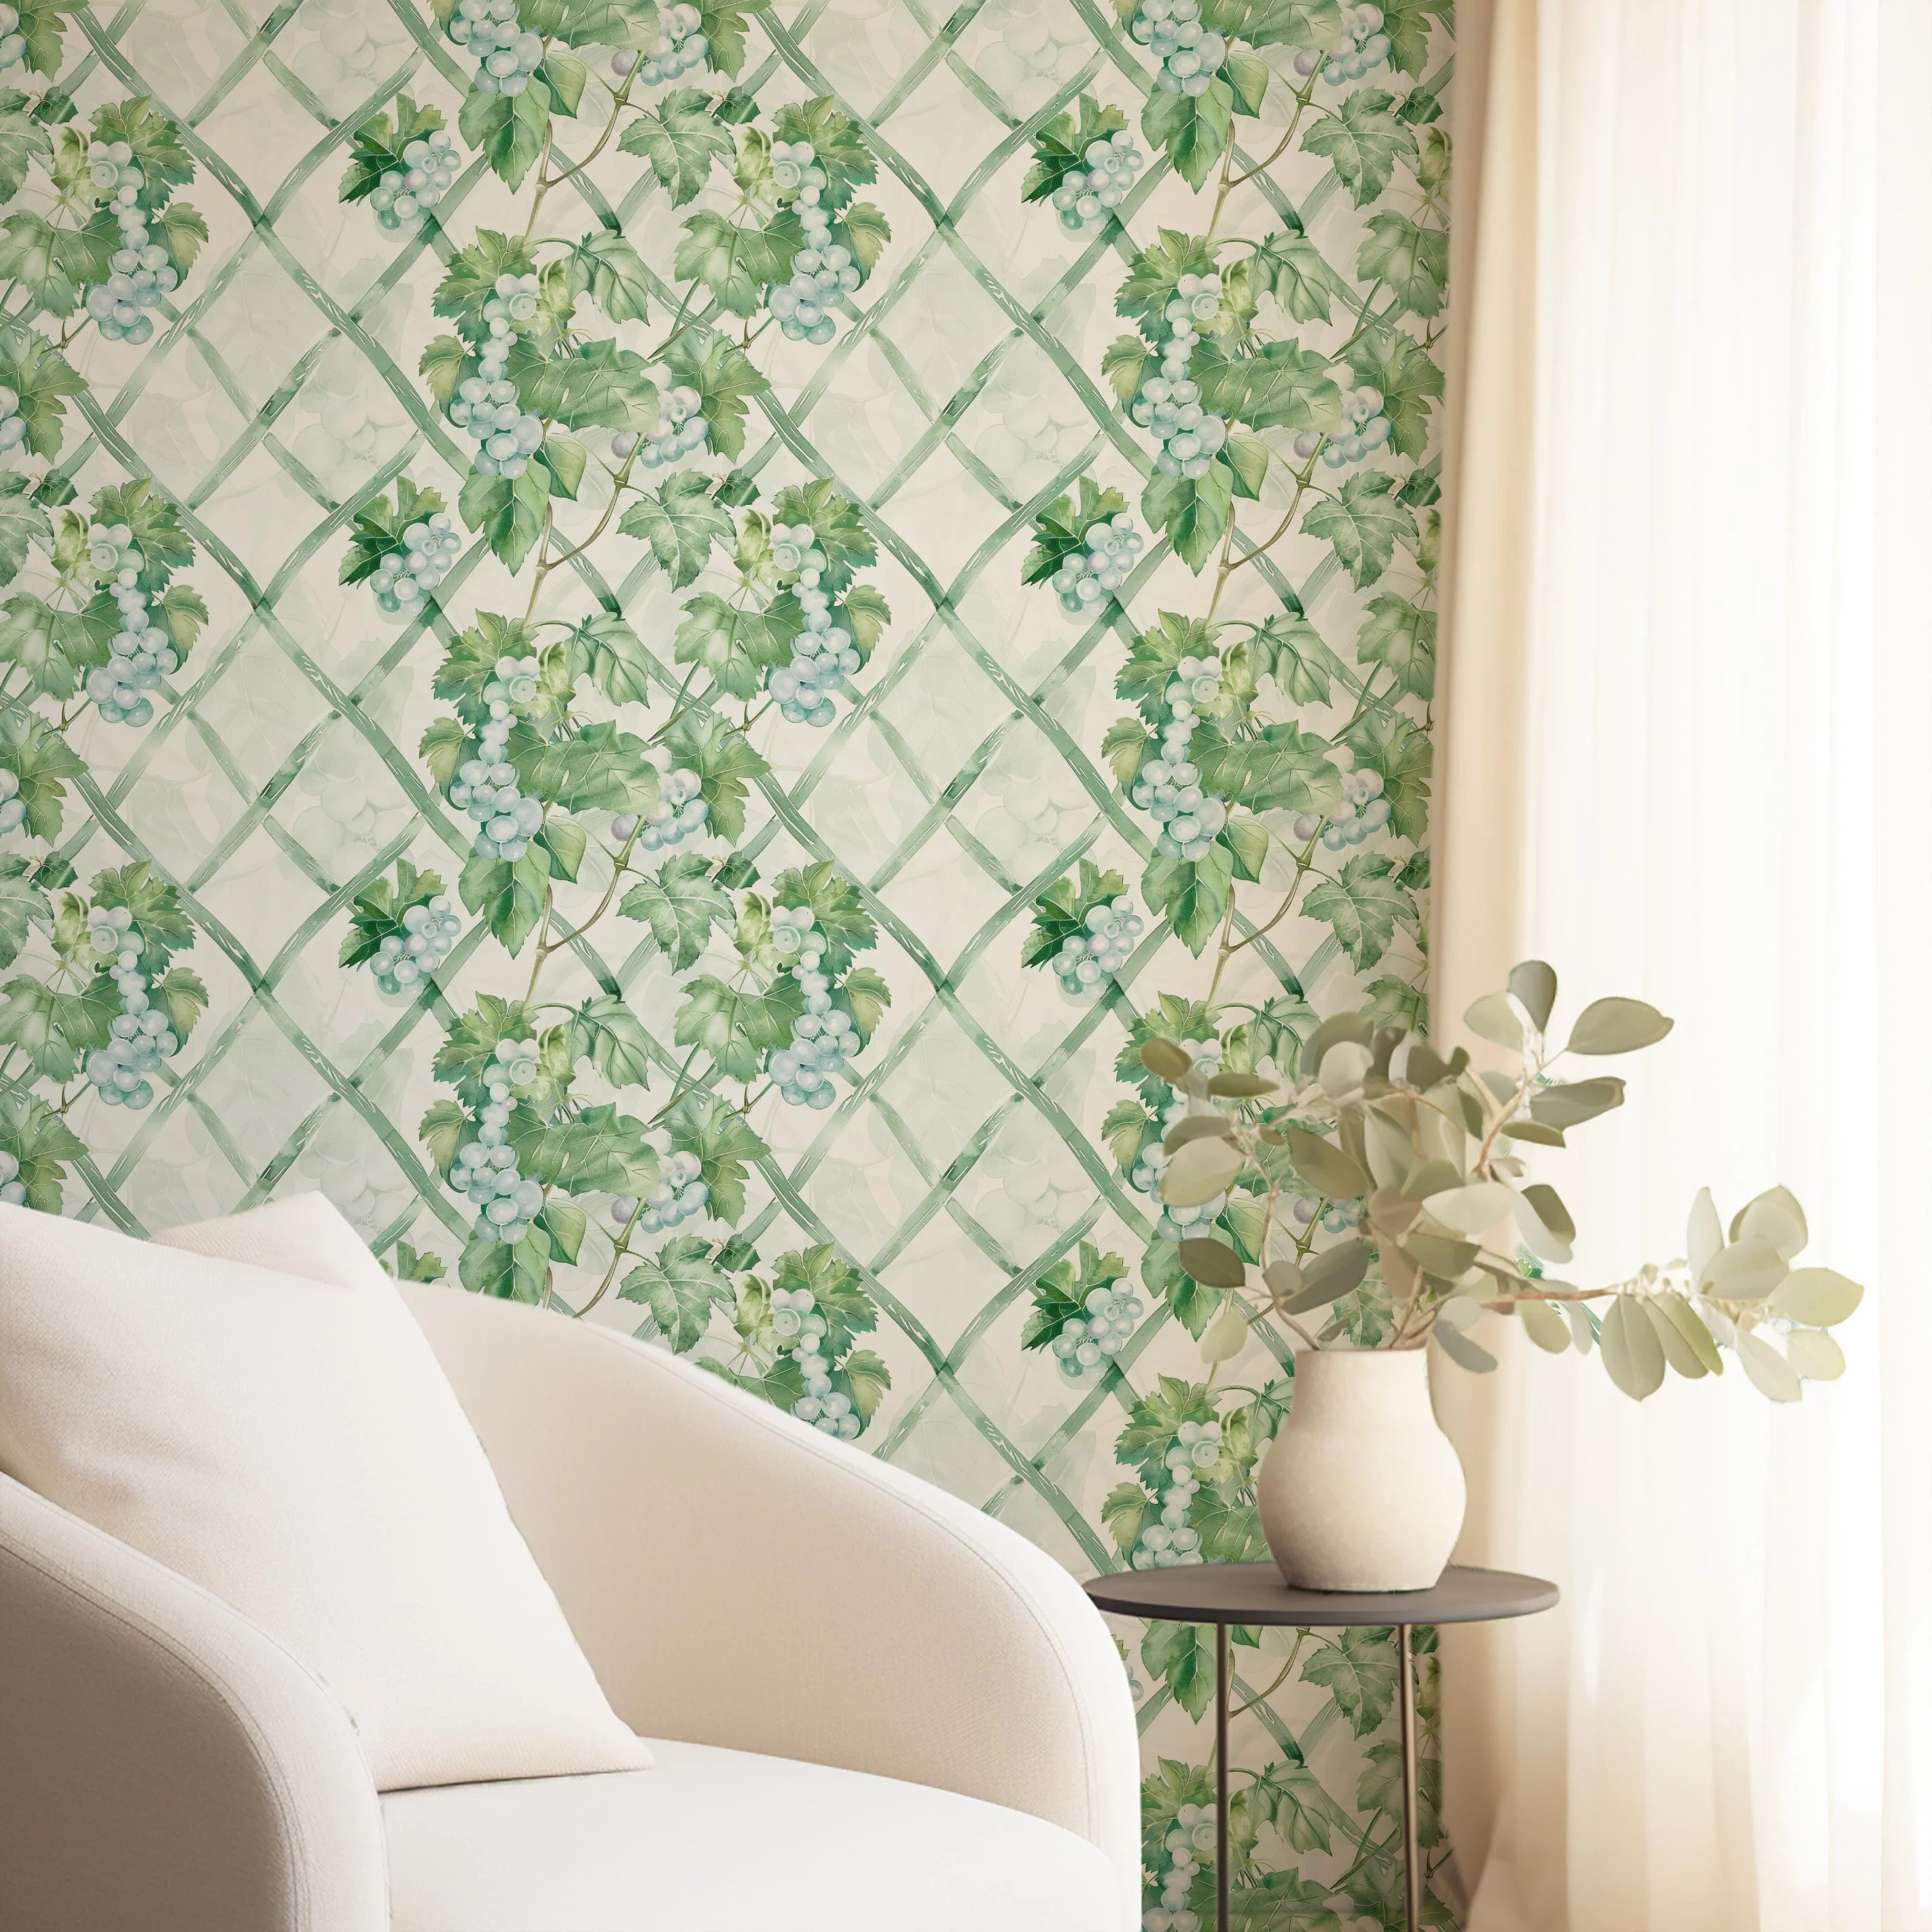
Peel & stick wallpaper is perfect for light residential spaces and small-scale projects. Its semi-permanent nature makes it ideal for renters or anyone who loves to refresh their decor frequently.
- Great For: Accent walls, kids’ rooms, small indoor projects, and furniture makeovers.
- Not Recommended For: Large areas or multiple walls unless professionally installed.
If your project involves large-scale coverage, consider consulting a professional installer for a seamless finish.
Gather Your Tools and Supplies
Gather Your Tools and Supplies
Be Ready to Prep
Before starting, gather everything you’ll need to ensure your walls are in the best condition for wallpaper application:
- Sandpaper or Sanding Block: For smoothing rough areas.
- Warm Water: To clean the walls thoroughly.
- Lint-Free Cloth: For drying and removing any remaining dust.
- Viponds Self-Adhesive Prep Coat (Specialized Primer): Essential for creating a bond-friendly surface.
- Roller or Brush: For applying the primer evenly.
Estimate Primer Quantity:
For a standard wall measuring approximately 384cm by 280cm, you’ll need 2-3 liters of Viponds Self-Adhesive Prep Coat. To avoid running out mid-application, it’s always a good idea to purchase a little more than estimated. This ensures full coverage and keeps your project running smoothly.
Now that you have your tools and supplies ready, you’re all set to move on to priming your walls for a flawless finish.
Step-by-Step Wall Preparation
Step-by-Step Wall Preparation
Step 1: Inspect Your Walls
Carefully examine the walls for cracks, peeling paint, or rough patches. Repair any damage and sand down imperfections to create a smooth surface.
Step 2: Clean Thoroughly
Wash the walls with a mild detergent to remove dust, grease, or dirt. Wipe them down with a damp cloth and allow them to dry completely.
Step 3: Prime for Adhesion
Apply Viponds Self-Adhesive Prep Coat, a primer specifically designed for peel & stick wallpaper. This primer creates a bond-friendly surface and helps prevent peeling.
- Apply three even coats with a roller or brush, allowing proper drying time between layers.
- Extend the primer slightly beyond the wallpapered area to ensure full coverage and prevent edge peeling.
Step 4: Confirm Wall Dryness
Ensure the walls are completely dry before application. This is especially important in bathrooms, kitchens, or basements where moisture is common.
Downloadable Installation Guides
Downloadable Installation Guides
For Peel & Stick wallpaper, we emphasize that it is only suitable for advanced DIYers or professionals with prior experience. Due to its high-tack adhesive and precision requirements, installation must be performed by someone with a skilled hand. Incorrect handling or improper application can result in stretching, bubbling, or misalignment, which is not covered under warranty.
Installation Guide:
It is essential that your installer follows the provided instructions carefully and handles your wallpaper with the utmost care. Excessive pressure, rubbing, hard rubber tools, or improper application techniques should be avoided, as any damage caused during installation, including skipping wall preparation, is not covered under warranty.
For the best results, we strongly recommend following our installation and care instructions precisely.
Additional Tips for Success
Test with a Sample
Before starting a full-scale installation, test a wallpaper sample on your wall to evaluate the color, quality, and adhesion. Ensure your wall is prepped with Viponds Self-Adhesive Prep Coat first, and avoid testing on recently painted walls. Applying a sample to paint that hasn’t fully cured can result in peeling or damage to the paint surface.
When to Hire a Professional
For large-scale projects, such as covering multiple walls or expansive areas, hiring a professional installer can ensure flawless results. Peel & stick wallpaper requires specialized skills for proper alignment, strong adhesion, and avoiding issues like bubbles or peeling.
Choose a signage installation expert with experience in self-adhesive materials rather than a traditional wallpaper installer. Their expertise with these products ensures a seamless, polished finish and minimizes the risk of common application errors.
Investing in the right professional can save time, prevent costly mistakes, and guarantee a stunning transformation for your space.

Our Commitment to Your Success
At Olive et Oriel, our peel & stick wallpaper is crafted for simplicity and style, but proper wall preparation is the foundation for achieving flawless results. By following this guide, you’re setting yourself up for a seamless, long-lasting installation that will transform your space into the haven you’ve always envisioned.
If you have any questions or need additional guidance, our friendly customer care team is here to support you every step of the way. With well-prepared walls and a bit of creativity, your space will undergo a stunning transformation. Let’s bring your vision to life—happy decorating!
Navigating Potential Wall Care After Wallpaper Removal
While the removal process of our Peel & Stick wallpaper is designed to be as gentle and straightforward as possible, it's important to acknowledge that, in some cases, minor to significant cosmetic damages to the wall may occur. Such damages are often a reflection of the wall's initial preparation and condition rather than the wallpaper or removal technique itself. Factors such as the quality of the underlying paint, the presence of previous damages, or the type of surface can influence the outcome of the wallpaper removal.
It is crucial to understand that the preparation of the wall before applying the wallpaper plays a significant role in the ease of removal and the condition of the wall afterward. A well-prepared wall, treated with the appropriate primers and smooth surfaces, is less likely to experience damage when the wallpaper is removed. Conversely, walls with pre-existing issues or those not adequately prepared may be more susceptible to cosmetic damages during the wallpaper removal process.
As a company, we provide guidelines and recommendations for both the application and removal of our Peel & Stick wallpaper to minimize the risk of damage as we want the entire process to be as easy as possible. However, it's essential to recognize that we cannot take accountability for damages that occur during the removal process, as these are tied to the wall's initial conditions and preparation. We encourage our customers to carefully consider the preparation of their walls to ensure the best possible outcome when the time comes to remove or update their wallpaper.
At Olive et Oriel, we recognize the appeal of products marketed as damage-free and renter-friendly, and we strive to meet these expectations with our own offerings. Yet, we understand that each wall and paint application has its own set of characteristics. In practice, it's tough to provide a universal solution that's perfect for every scenario. At Olive et Oriel, we are dedicated to providing you with the essential information and resources, helping you make the most informed choice for your particular environment.


