

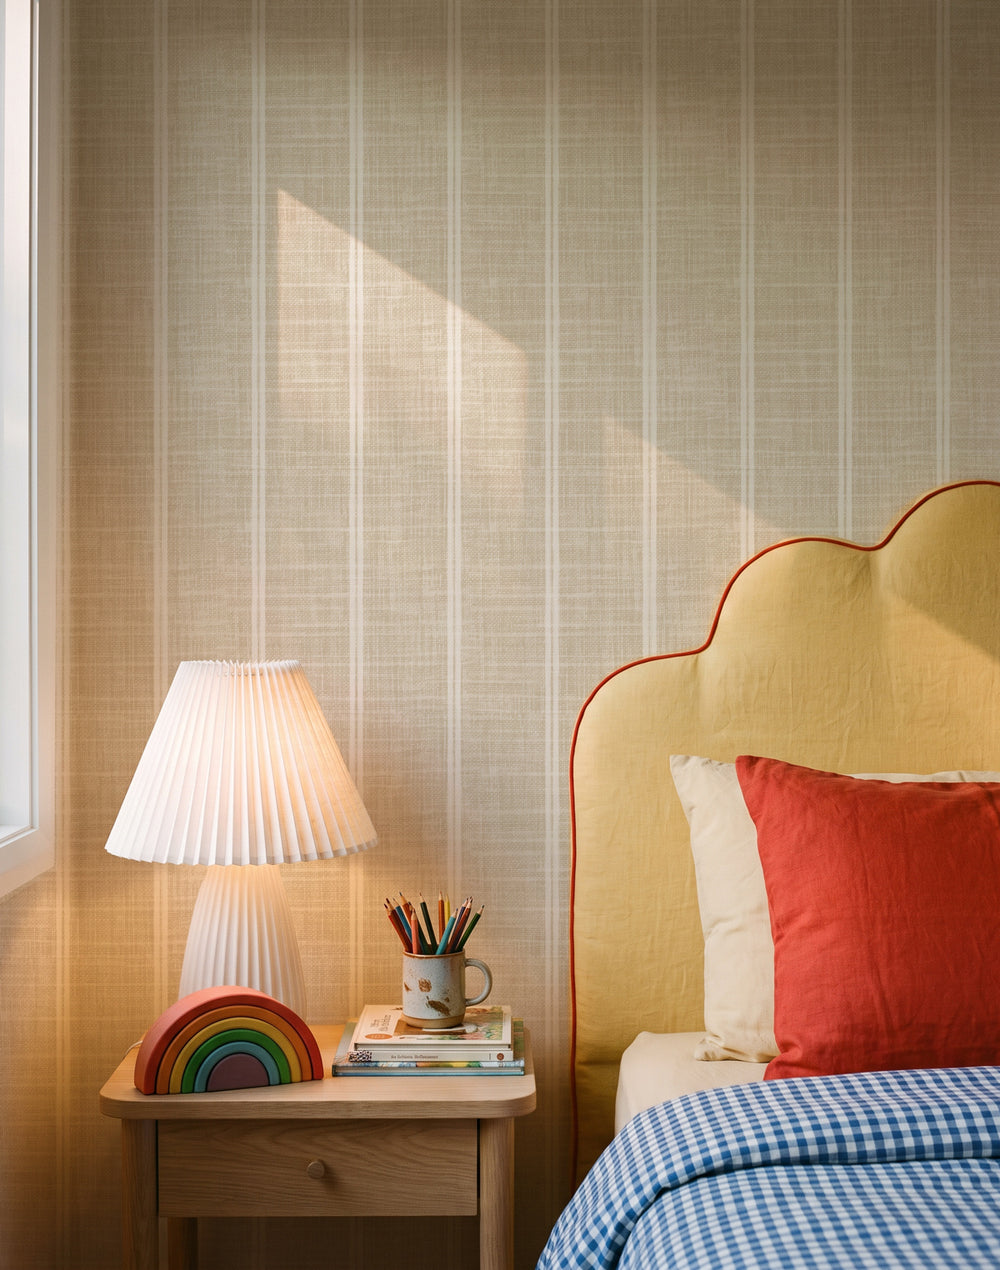
If you have ever looked closely at a wallpapered wall and wondered how the pattern seems to flow straight across the joins, there is a good chance the installer used a technique called double cutting. It is a careful way of turning two overlapping wallpaper edges into one neat butt join.
Double cutting gives you more control when a wallpaper or mural is supplied with an overlap. Instead of trusting two factory edges to meet perfectly on a real wall, you match the pattern first, cut through both layers together, remove the two narrow waste strips and settle the new edges back into place. The result is a seam created for that exact position on that exact wall.


Linen Double Stripe in Oatmeal | Linen Texture Wallpaper · Abacus Stripe Wallpaper · Husk Stripe in Brown Wallpaper
What does double cutting wallpaper mean?
Double cutting is an installation method used where two wallpaper panels temporarily overlap. Once the pattern is aligned, the installer places a straight cutting guide over the overlap and makes one controlled cut through both layers. The top waste strip is removed, the upper panel is lifted just enough to remove the matching waste strip underneath, and the two newly cut edges are pressed together.
The important idea is simple: both final edges come from the same cut. That is why they fit one another so closely. It can be useful for wall murals, large-scale patterns and some commercial wallcoverings where an overlap is supplied to make pattern matching more forgiving.
It is not the standard method for every wallpaper. Many pre-trimmed products are designed to be installed as a direct butt join, with the factory edges placed together but never overlapped. Always follow the instructions supplied with your wallpaper. If your panels do not include an overlap, do not create one by covering part of the printed design.
Match the artwork first. Create the final seam second. That order is what gives double cutting its control.
Why an overlap can make pattern matching easier
A wall may look straight from across the room while still wandering by a few millimetres from top to bottom. Ceilings dip, corners lean and plaster is rarely as mathematically tidy as a digital artwork file. An overlap gives the installer a small adjustment zone before the final seam is committed. Our guide to wall murals and repeat-pattern wallpaper explains why those two formats need different planning.
That matters most when the design includes large leaves, strong lines, architectural shapes or a panoramic scene. Your eye follows those elements across the wall. A slight mismatch can be more noticeable than the seam itself. With an overlap, the second panel can move gently into the best visual position while the first remains secure.
For a made-to-measure mural, start long before the knife comes out. Measure carefully using our wallpaper measuring guide, check the supplied panel map and lay the panels out in order. If you are still choosing the right scale, explore our custom wallpaper service before production. Getting the wall size and crop right removes far more risk than any cutting technique can fix later.
When should you double cut a wallpaper seam?
Use the technique only when the product instructions call for an overlap and trim method, or when an experienced installer has confirmed it is appropriate for the material. It is commonly considered in these situations:
- Overlapped mural panels: Some murals are printed with a narrow repeated image area at each join so the installer can align the artwork before trimming.
- Large or irregular motifs: A botanical leaf, stripe or painted gesture may need tiny position changes to read naturally across the seam.
- Commercial vinyl wallcoverings: Certain project-grade materials are trimmed on the wall to suit the specified construction and site conditions. Browse our commercial vinyl wallcoverings for the product range, then confirm the exact installation specification for the selected finish.
- A closing seam: Where the last panel meets the first, a controlled double cut can help an installer manage the final join when the pattern cannot continue perfectly around the full room.
- Inside or outside details: Experienced installers may use an overlap and trim around complex architecture, but corners need their own planning and should not be treated like a simple flat-wall seam.
Do not assume the method is right simply because a video makes it look quick. Thin papers, delicate surfaces, heavily textured walls and some self-adhesive materials can need a different approach. If you are unsure, use our wallpaper installer directory and ask the installer to review the product instructions before quoting. Specifiers can also read our separate professional guide to double cutting commercial wallcoverings.


Ashcombe Tartan in Blue & Beige Wallpaper · Prescott Tartan in Sage Green Wallpaper
The tools that make the difference
A clean double cut relies on simple tools used with care. Have everything ready before paste is applied so you are not searching for a blade while the wallpaper is relaxing on the wall.
- A fresh, sharp blade: A dull blade drags fibres, tears the printed surface and encourages extra pressure. Professional installers change blades often.
- A rigid straightedge: The guide needs to stay still for the full cut. Its edge must be clean so dried paste does not mark the wallpaper.
- A cutting strip or seam pad: This sits behind the overlap where the product and installer call for it. It helps protect the prepared wall from being scored.
- A wallpaper smoother: Choose a tool suited to the surface. A softer tool is safer for delicate printed finishes.
- A clean sponge and water: Paste should be removed while it is fresh, using the cleaning method specified for the wallpaper.
- A level or laser: The first panel still needs a reliable vertical reference. Double cutting cannot correct an installation that begins out of plumb.
- Good lighting: Side lighting helps you see the pattern alignment, paste residue and any lifted edge before the seam dries.
Wall preparation matters just as much as the blade. Fill and sand surface defects, remove dust and use the recommended wallpaper primer rather than ordinary wall paint as your only preparation layer. If you are installing a removable material, read our guide to preparing walls for peel and stick wallpaper. For paste-the-wall products, keep our paste-the-wall installation guide beside the product instructions.
How to double cut wallpaper step by step
1. Confirm the panels, wall and instructions
Open every roll or panel before installation. Check that the design, colour and quantity are correct and that the panels are in sequence. Compare the finished wall measurement with the order. A made-to-measure design is produced for one wall size, so a late discovery that the width and height were reversed changes the entire layout.
Mark the vertical starting line and plan where each seam will sit. Avoid placing a seam only a few centimetres from a door, window or corner where possible. Think about the room from its main viewing position. The most important part of the artwork should sit where furniture, joinery and natural sightlines allow it to be enjoyed.
2. Install the first panel accurately
Apply the adhesive recommended for the product, working only across the area you can cover before it skins over. Position the first panel to the plumb line, leaving the specified trimming allowance at the ceiling and skirting. Smooth from the centre outward without stretching the material. Stretching can make a seam look correct while wet and pull apart as it dries.
For a broader room refresh, compare mural scale in our designer wallpaper collection and look at how full-height designs change the feeling of a room. A confident large pattern often makes a space feel more intentional because the eye reads one complete statement rather than a series of small decorations.
3. Position the second panel and match the pattern
Bring the next panel into place with the printed overlap sitting over the first panel. Match one clear motif near eye level, then check the alignment above and below it. Do not focus on only one tiny point. Step back and follow the pattern across the entire height.
If the design aligns at the top but drifts lower down, stop. Check whether the panel is vertical, whether too much pressure stretched the material, and whether the wall itself is uneven. Do not keep sliding and rubbing until the surface is damaged. Lift, correct and smooth again while the product instructions still allow movement.
4. Protect the wall behind the overlap
A double cut needs enough pressure to pass through both wallpaper layers, but it should not score the plasterboard, plaster or lining surface behind them. A cut into the wall can create a weak line that opens later as the wallpaper dries.
Professional installers often use a purpose-made seam cutting strip beneath the overlap. The exact method varies by product. If you do not know how to place and remove that strip without disturbing the wallpaper, this is the point to bring in a professional rather than learn on the finished wall.
5. Make one controlled cut through both layers
Place the clean straightedge within the overlap, keeping the cut clear of the overlap boundaries. Hold it firmly. With a fresh blade, cut through both layers in one steady movement. Keep the blade angle consistent and avoid repeated sawing strokes.
For a very tall wall, the installer may work in manageable sections while preserving one straight path. Safety comes first. Use suitable access equipment and never stretch sideways from a ladder while guiding a blade. Read our complete wall mural hanging guide before deciding whether the full installation is within your experience.
6. Remove both waste strips
Lift away the narrow strip cut from the top panel. Then ease back the newly cut edge just enough to remove the matching strip from underneath. Work slowly so the lower panel does not move or tear.
You should now have two fresh edges that meet on the same cut line. If a piece of waste resists, do not pull hard. Find the uncut fibre and finish it with the blade while protecting the face of the wallpaper.
7. Close, clean and inspect the seam
Set both edges back into the adhesive and bring them together without overlap or gap. Smooth gently toward the join. If the product allows a seam roller, use light pressure. Heavy rolling can push paste away from the seam or leave a shine on some surfaces.
Remove adhesive residue immediately with clean water and the method specified for the material. Change the water frequently. Paste that dries on the printed face can become more visible in side light even when the seam itself is neat.
Inspect the join from close range, then step back to the room entrance. A seam can be technically tight while the pattern still feels interrupted. The final test is whether your eye continues across the artwork naturally. If a join has already dried with a problem, start with our guide to fixing wall mural seams rather than cutting again without a diagnosis.
What can go wrong, and how to avoid it
The cut does not pass through both layers
The blade may be dull, the pressure may be uneven or the material may be heavier than expected. Replace the blade before trying again. Do not pull at an incomplete cut because that can tear the printed face beyond the waste area.
The wall is scored behind the seam
This happens when the blade travels through the wallpaper and into the substrate. The prevention is a correct seam pad or cutting strip, controlled pressure and an installer who knows how the selected material behaves. A scored wall is not a harmless mark. Movement and drying tension can reveal that weakness later.
The pattern matches in one place but not another
Check the plumb line, panel sequence, wall condition and whether the wallpaper has been stretched. Also confirm the product has not been installed upside down or in the wrong order. Painted and hand-drawn designs can include intentional movement, so compare the actual overlap area rather than assuming every nearby line must mirror perfectly.
Paste marks appear beside the join
Use clean tools, clean hands and fresh rinse water. Work before adhesive dries. The correct cleaning method depends on the wallpaper surface, so never scrub first and read the instructions later.
The seam opens after drying
Possible causes include an unprimed wall absorbing adhesive, stretched material contracting, insufficient adhesive at the edge or too much pressure squeezing paste away. Good preparation is the real fix. Hiding an opening with colour or filler does not solve the installation problem underneath.


Boheme Cheetah in Peach Wallpaper · Songbird Garden in Pale Pink Wallpaper
Should you double cut wallpaper yourself?
A confident DIY installer may handle a straightforward wall when the product instructions specifically support the method. You need steady access, careful wall preparation, the right cutting protection and enough spare material to stop if the first seam is not right.
Choose a professional for very tall walls, stairwells, complex corners, commercial vinyl, expensive custom murals or any job where one damaged panel affects the whole design. The best installer is not simply someone who can cut straight. She or he will plan the artwork placement, understand how the material relaxes and protect both the wall and the printed surface.
If you are comparing rooms and materials, begin with the way you want the finished space to feel. A calm bedroom may suit our bedroom wallpaper collection, while a child’s room can start with kids wallpaper or nursery wallpaper. The installation method follows the product you choose, not the other way around.
Order a sample before you commit to the wall
A screen can show the pattern, but it cannot show how the paper feels in your hand or how the colour responds to your room throughout the day. Order the $4.99 wallpaper sample, sized at 48cm × 40cm (19in × 16in), and move it around the room. Check it in morning light, evening light and beside the finishes that will remain.
The sample also gives your installer a first look at the surface. It does not replace the final installation instructions or provide the panel overlap, but it helps everyone understand the colour, print and material before the full order is produced. Our wall mural sample guide shows what to check when it arrives.
Olive et Oriel custom sizes wallpaper to your exact wall dimensions at our Central Coast manufacturing facilities. Full-price wallpaper orders are made to order, with production typically completed in four business days. We ship to more than 40 countries and cover international import duties on wallpaper orders, so the project is simpler from approval through to arrival.
Frequently Asked Questions
Does every wallpaper need to be double cut?
No. Many wallpapers are pre-trimmed and designed for a direct butt join. Double cutting is appropriate only when the supplied product includes an overlap or its instructions call for an overlap-and-trim method.
How wide should a wallpaper overlap be?
Use the overlap printed or specified by the manufacturer. Do not invent a width. The repeated image area is part of the production file and determines where the two panels can be matched safely.
Can double cutting damage the wall?
Yes, if the blade scores the wall behind the seam. A purpose-made cutting strip or seam pad and controlled technique help protect the prepared surface. If you are unsure, use a professional installer.
What blade should I use?
Use the sharp trimming blade recommended for the wallcovering and change it frequently. The exact blade and pressure depend on the material. Heavy commercial vinyl behaves differently from a lighter residential paper.
Why should I avoid pressing hard with a seam roller?
Too much pressure can squeeze adhesive away from the join, flatten some textured surfaces or leave a visible shine. Smooth and roll only as the product instructions recommend.
Can I double cut peel and stick wallpaper?
Only if the specific peel and stick product instructions allow it. Removable adhesives and film constructions can respond differently to cutting and repositioning. Follow the supplied method rather than transferring instructions from paste-the-wall wallpaper.
What if my pattern does not align across the full height?
Stop before cutting. Recheck the panel order, plumb line, wall shape and whether the material has stretched. If the drift cannot be corrected without forcing the wallpaper, ask the supplier or installer to review the panels.
Is double cutting suitable for commercial wallcoverings?
It can be, but the exact construction, adhesive, overlap, seam treatment and local project requirements must be confirmed. Commercial projects should be reviewed against the selected product specification before installation.
A cleaner seam starts before installation day
The knife work may be the satisfying part to watch, but the real result comes from everything around it: accurate measuring, correct panel order, a prepared wall, the right adhesive, a fresh blade and a patient pattern match.
Start with a design you want to live with, order a sample and give the wall dimensions the attention they deserve. Browse wallpaper for every room, compare statement designs in our wall mural guide, or send your measurements through our custom sizing team. If the design itself is yours, read how custom wall murals are commissioned. When the panels arrive, follow the instructions written for that exact wallpaper and choose boldly, knowing the final seam has been planned rather than left to chance.


