Preparing Your Walls for Peel & Stick Wallpaper Installation
Self Adhesive Peel & Stick Wallpaper
Peel & Stick Self-Adhesive Wallpaper is a versatile and DIY-friendly option, ideal for light residential interiors and small indoor projects. We'll cover off everything you need to achieve professional results, including a detailed pre-purchase checklist, essential wall preparation guides to ensure optimal adhesion, and step-by-step installation instructions tailored for both beginners and advanced DIYers. Learn about its features, suitability, and care tips, plus advice for semi-permanent decorating and tackling common challenges.
Wallpaper Guide
Welcome to your ultimate guide for Peel & Stick Wallpaper, complete with a pre-purchase checklist to get you started. Discover essential wall preparation steps, detailed application instructions, and expert tips to ensure a smooth and successful installation.
Pre-Purchase Checklist
Pre-Purchase Checklist
Peel & stick on wallpaper is a unique product that requires special, dedicated wall preparation -please review this comprehensive guideon how to set yourself up for success.
Wait 30 days post-painting before priming or wallpaper installation.
Obtain a sample to assess design, color, and pattern suitability. (See Step 3. below for more detailed information)
Verify measurements, allowing for overhang on the left and right. See our detailed How To Measure Guide. Note:Most designs are non-repeating, and unfortunately, purchasing 'extensions' after your initial order is not possible under any circumstances.
Installation Instructions
Installation Instructions
We recommend this product for advance DIYers only, always have a helping hand or two to assist in installation of self-adhesive wallpaper.
Download installation guide.
We also have comprehensive information pages dedicated to informing you about the wall preparation required for this unique product.
Disclaimer
Disclaimer
The information provided above is for guidance only and is to assist in do-it-yourself application(s) but without warranty as the skill of application and site conditions / environment are beyond our control. If you are unsure of any steps, we highly recommend consulting a professional signage or self-adhesive wallpaper installation professional.
Olive et Oriel provides premium quality wallcoverings, however we are not responsible for issues encountered during installation or incorrect measuring.
Caution: Self-adhesive wallpaper and wall decals pose a choking hazard and are not intended as toys. Full adult supervision is essential, and these items should be kept out of reach of children. It is strongly recommended to refrain from installing self-adhesive wallpaper above a crib or any bed intended for infants or children.
Primer Guide — What to Buy by Country
A purpose-built self-adhesive prep coat creates the barrier between your painted wall and the wallcovering that ensures a secure, lasting bond. Standard paint primer is not suitable.
Apply 3 coats (satin or semi gloss finish — not low sheen). Allow 24 hours cure before installing. Always test with a sample first.
Your walls must have been painted at least 30 days ago. Fresh paint continues to off-gas and will prevent adhesion — do not install on walls painted less than 30 days prior.
viponds.com.au/stockists
Or: Resene ColorShops for Resene Broadwall Acrylic Wallboard Sealer as alternative
Smooth Paste the Wall Wallpaper
Download product information sheet here
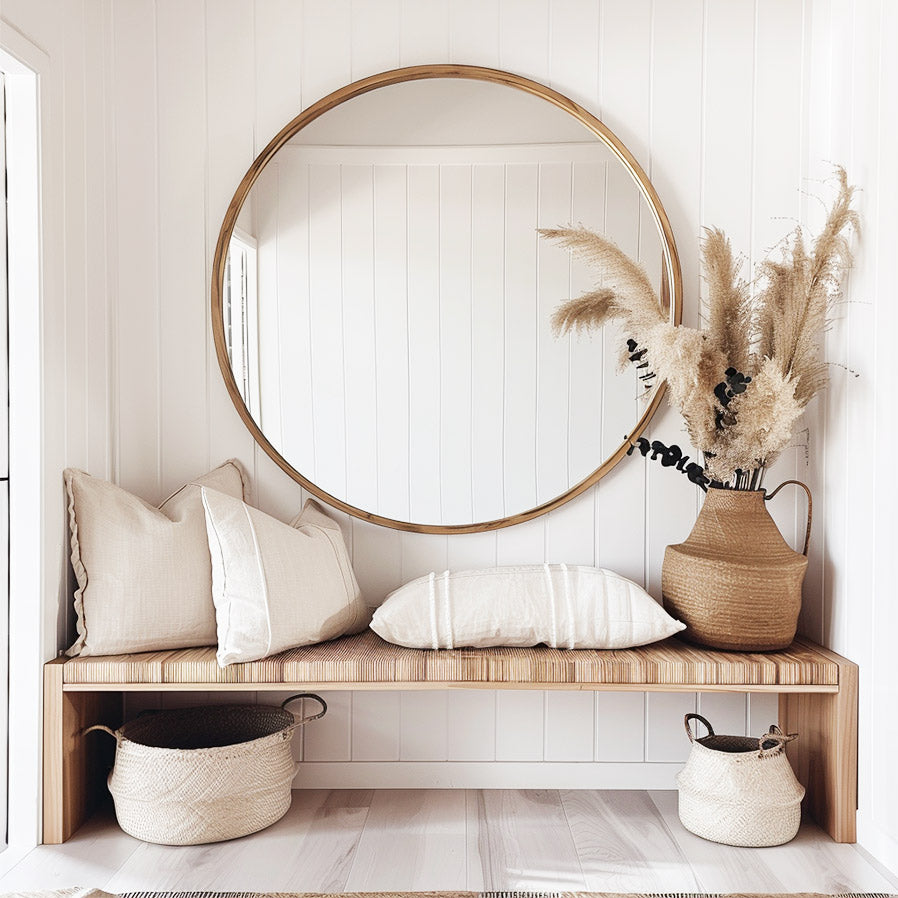
Achieve a flawless look with our Smooth Paste the Wall Wallpaper, designed for relaxed elegance and a modern aesthetic. Its sleek surface delivers a polished, professional finish that’s perfect for both contemporary and classic interiors.
Ideal for creating a streamlined, minimalist vibe or showcasing bold patterns with crisp details, this wallpaper type ensures your walls make a statement. Durable and easy to install, it’s a versatile choice for any space seeking a clean, high-end look.

Linen Textured Wallpaper
Download product information sheet here.
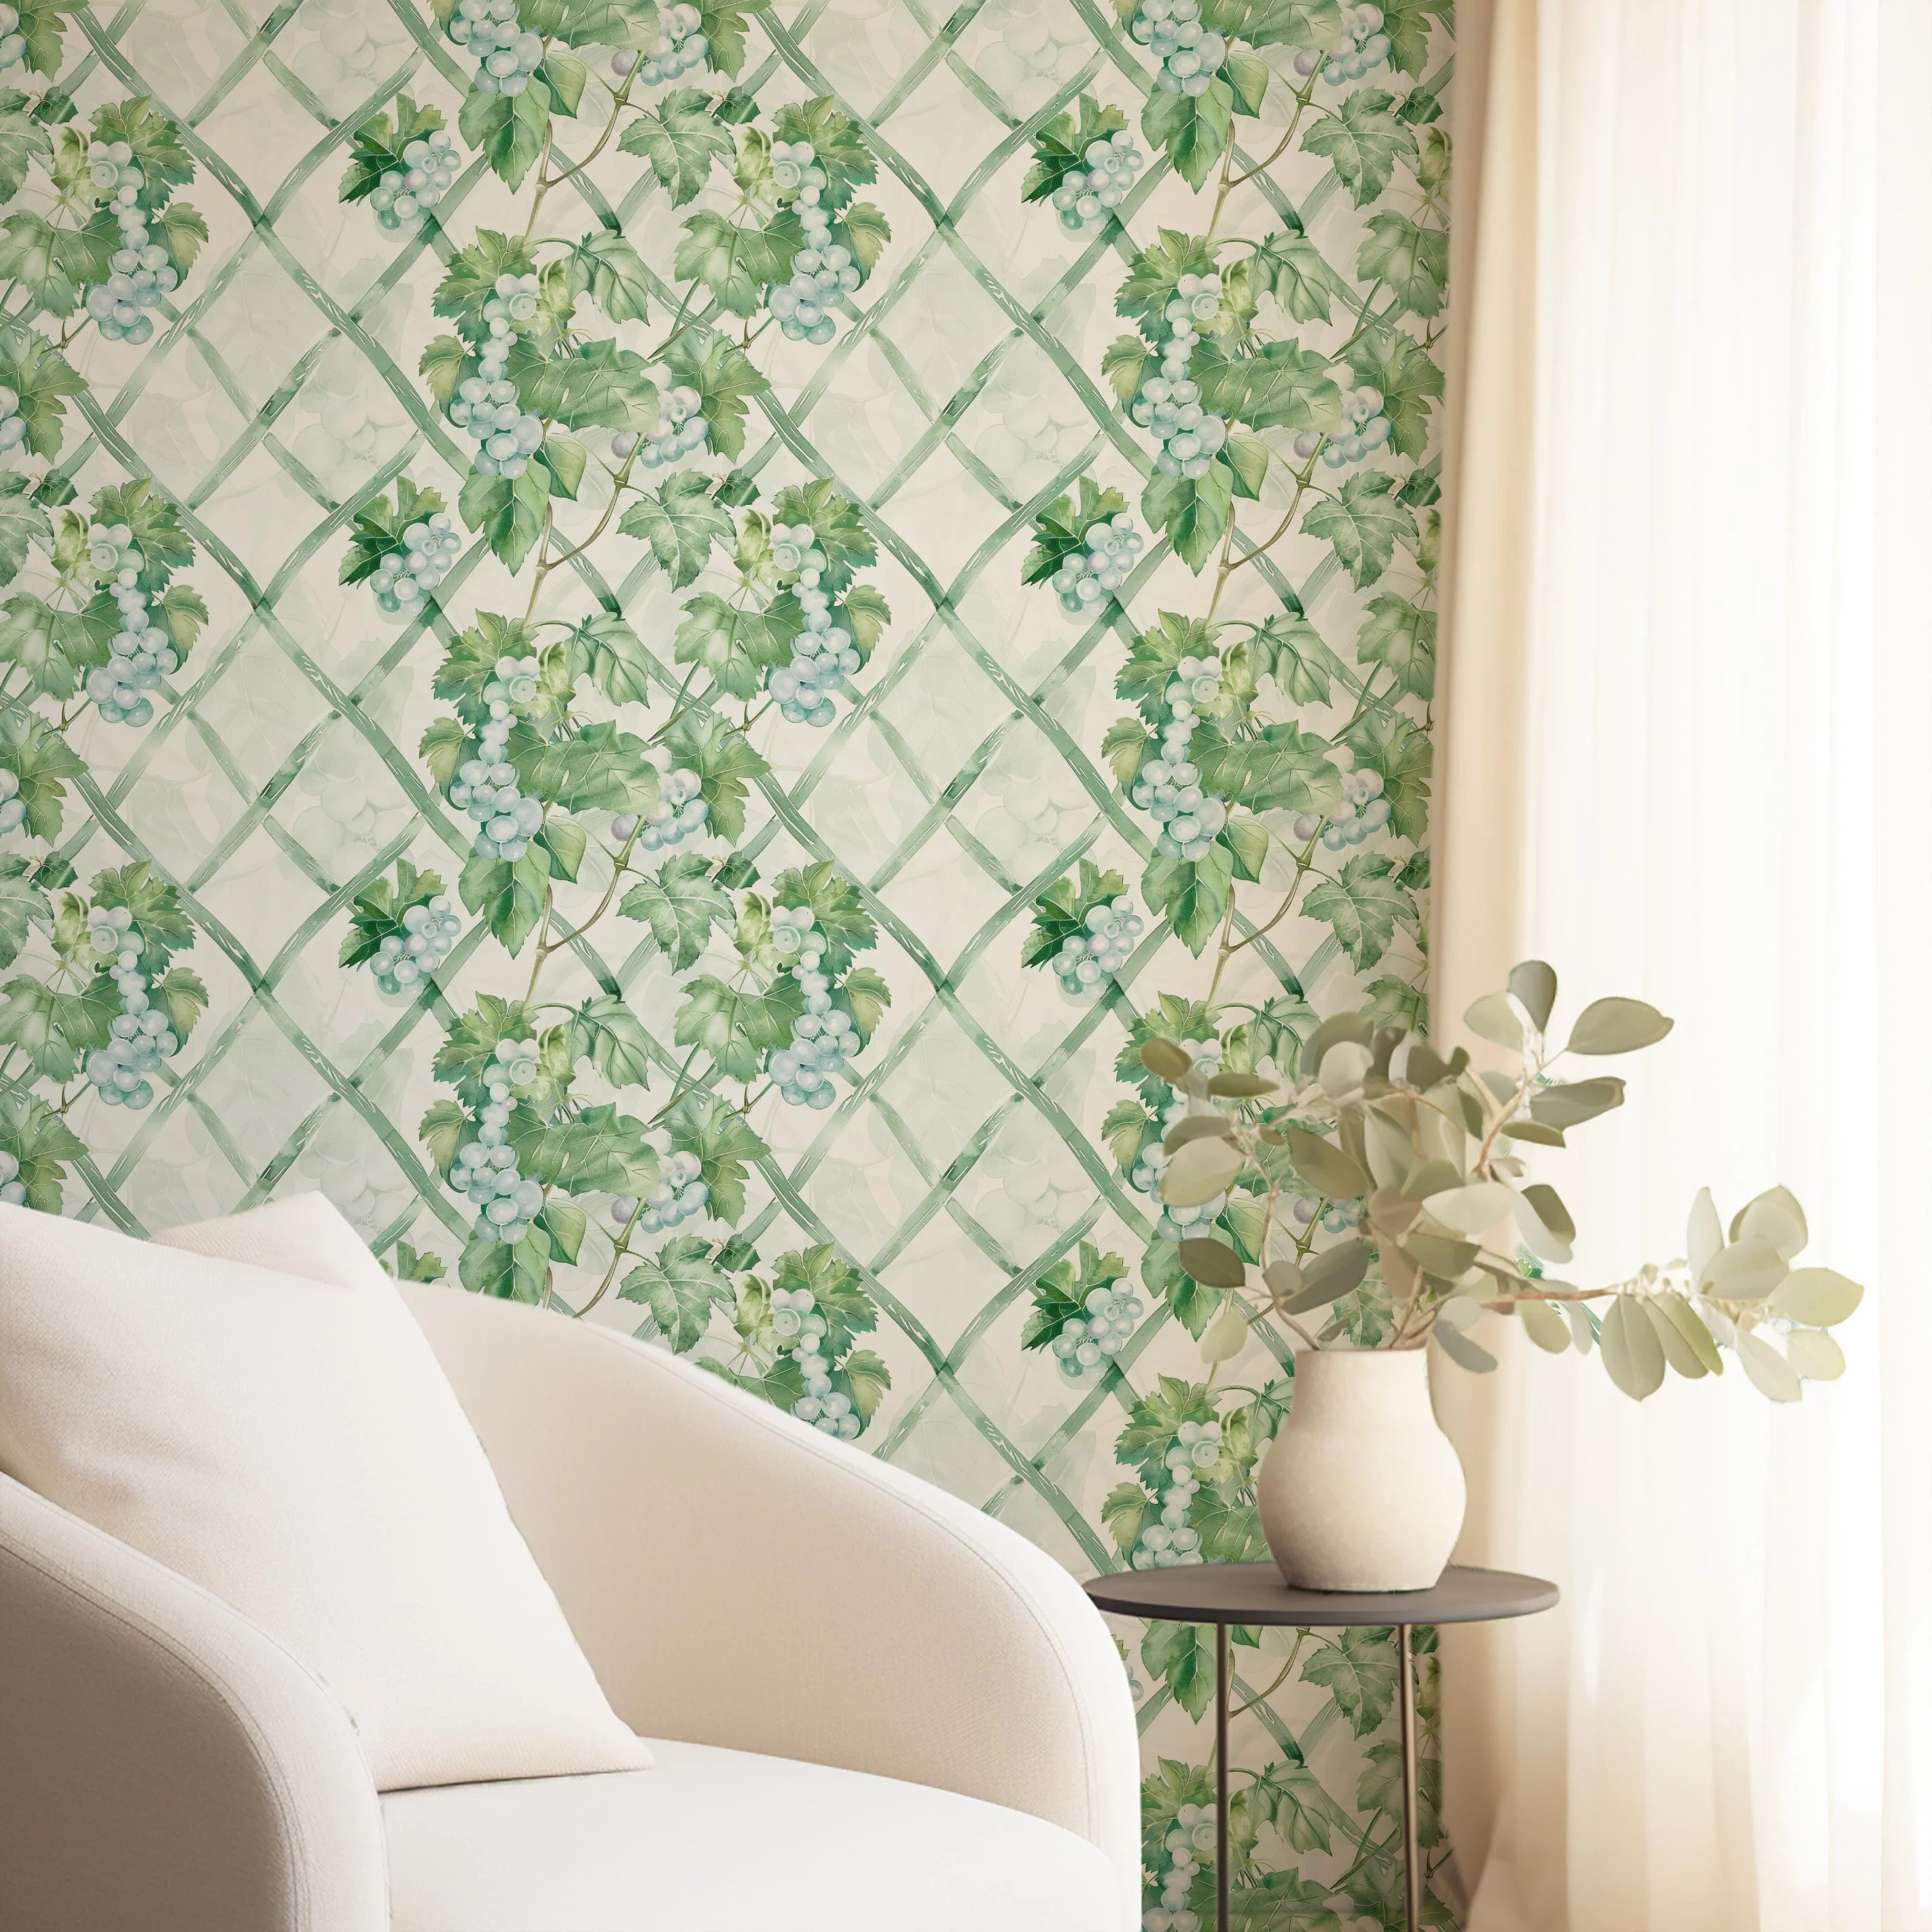
Bring depth and character to your walls with our Linen Textured Paste the Wall Wallpaper. Designed to mimic the natural look and feel of linen, this wallpaper adds subtle texture and warmth, perfect for creating an inviting and sophisticated ambiance.
Whether you’re going for a cozy, relaxed vibe or an upscale, textured backdrop, this wallpaper delivers timeless appeal with a modern twist. Easy to install and maintain, it’s a stylish choice for any room seeking a touch of relaxed elegance.
Versatile, Stylish, and DIY-Friendly
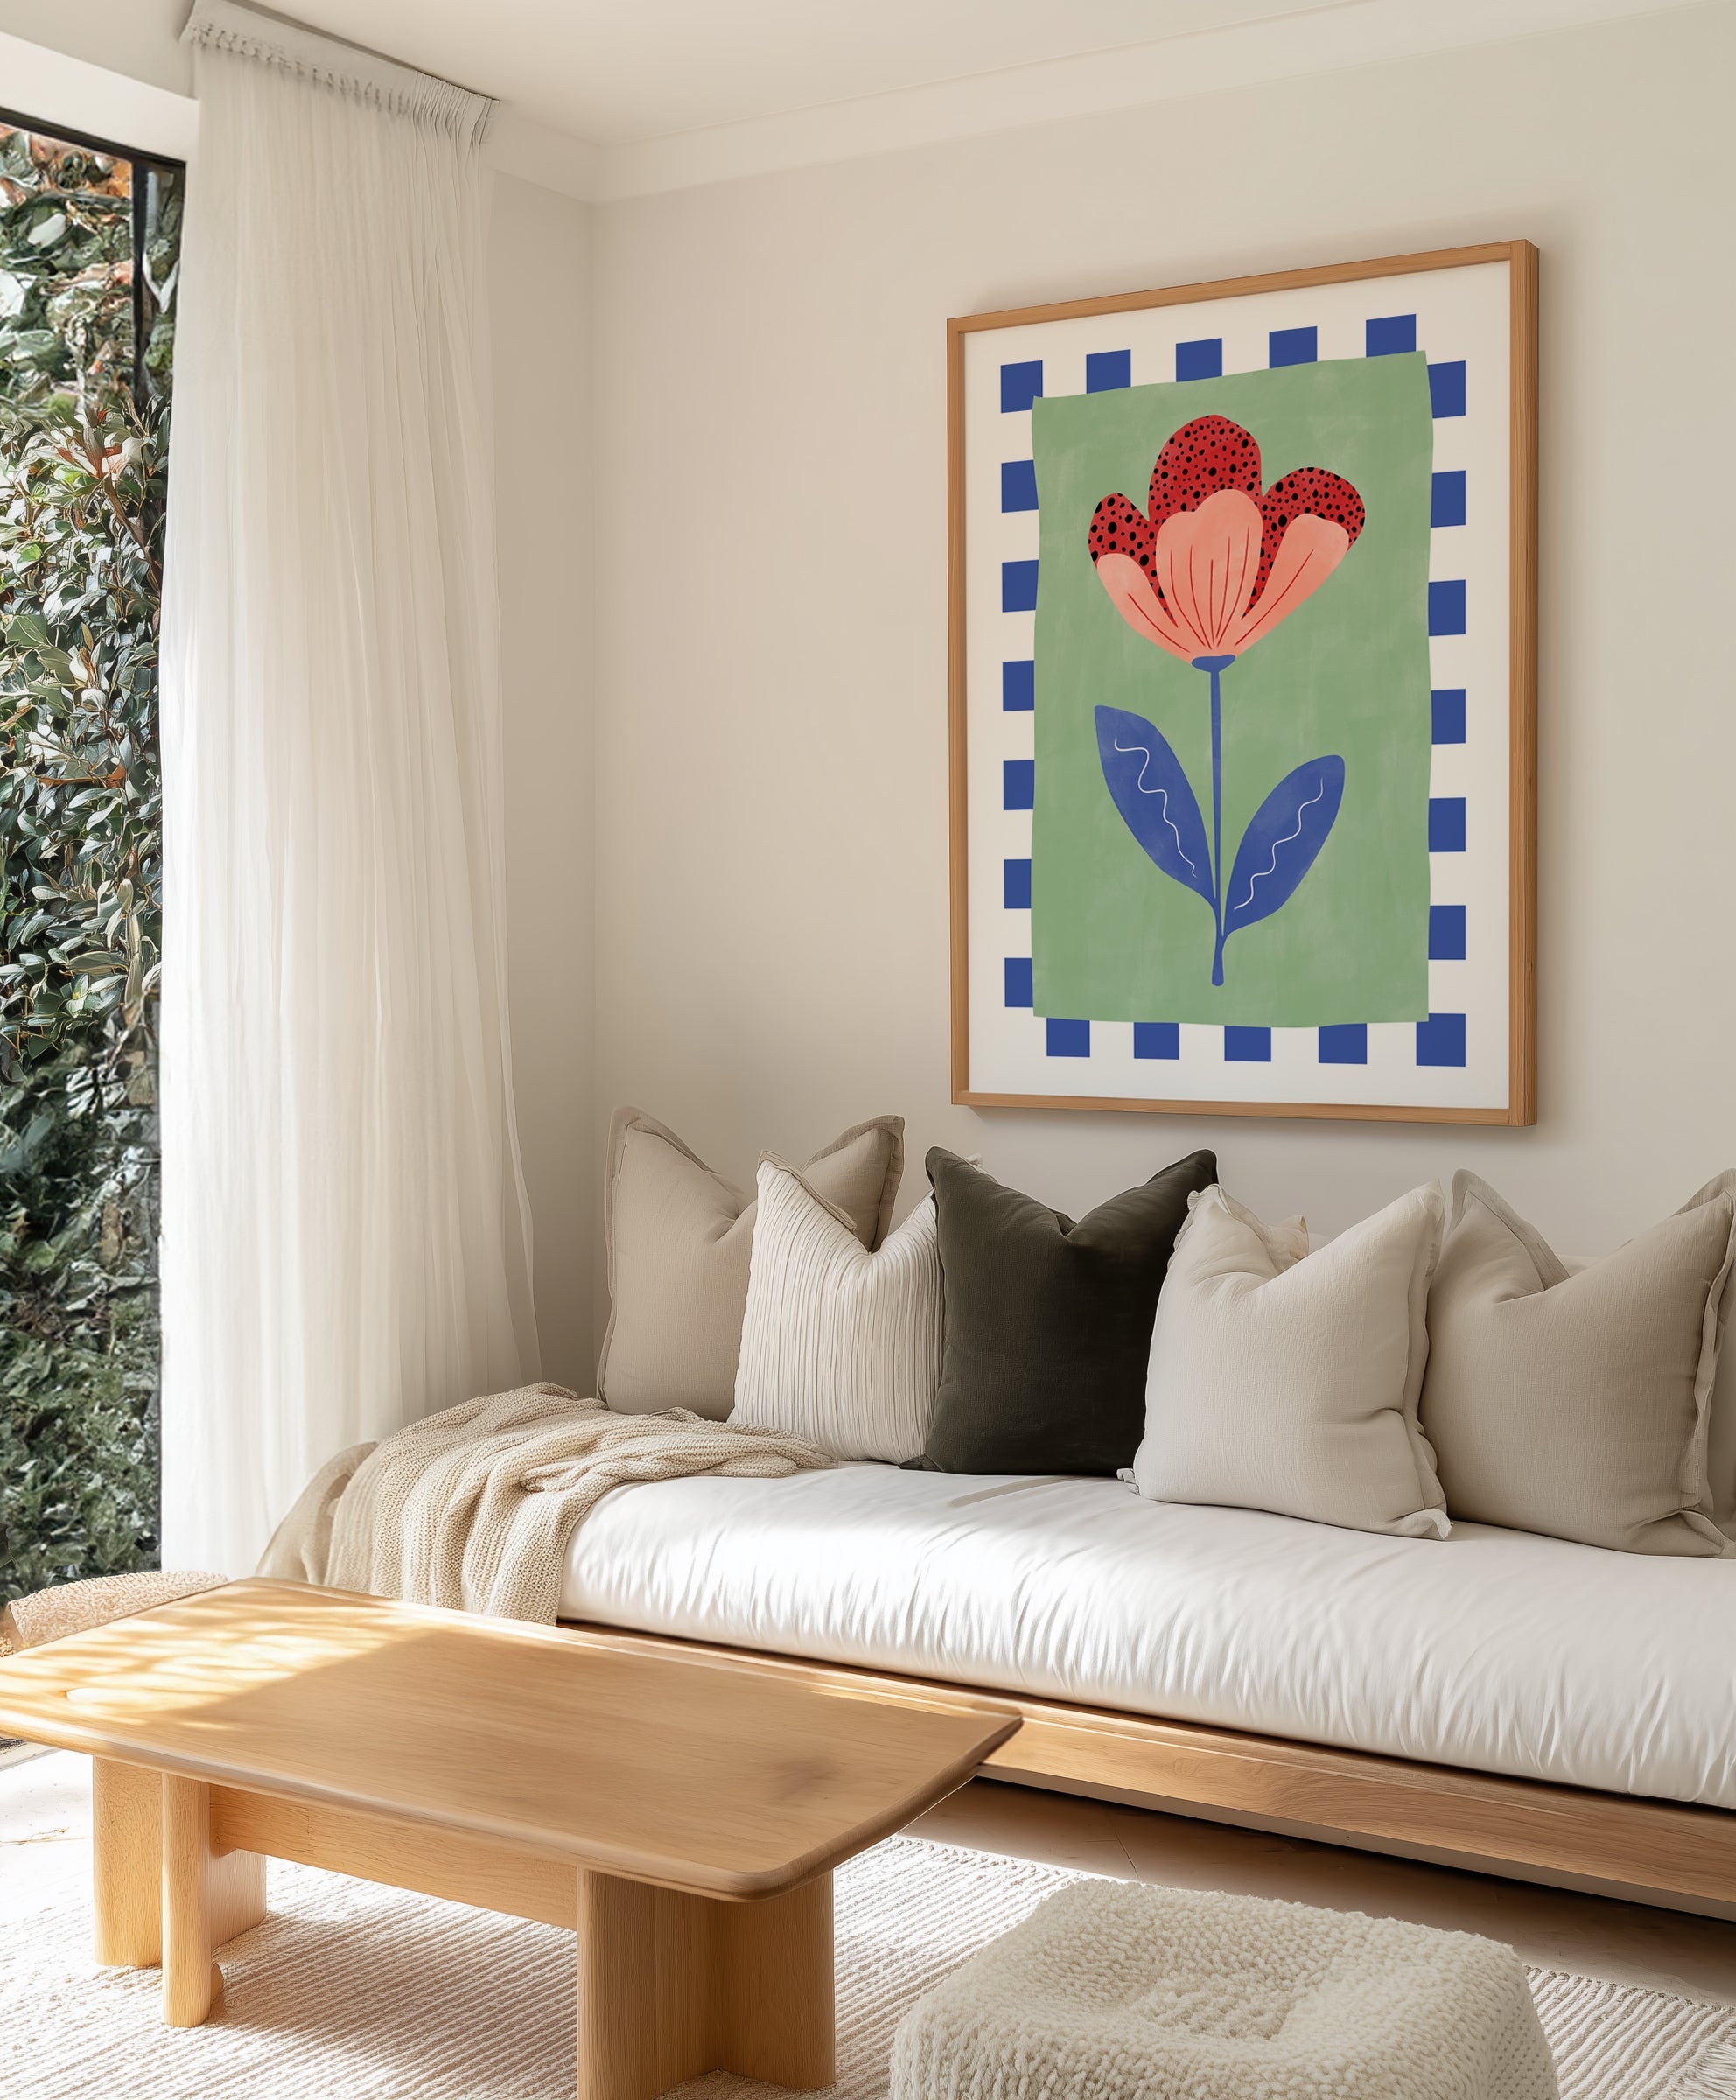
Our peel-and-stick wallpaper is a favorite for its convenience and modern design, making it perfect for light residential interiors, renters, and DIY enthusiasts. Featuring a durable polyester face and self-adhesive backing, it offers a hassle-free application without the need for additional paste, allowing for quick updates and easy removal. This user-friendly option is ideal for children’s rooms or spaces where you want the flexibility to change designs more frequently.
With high-definition printing and vibrant colors, it delivers bold, striking designs that elevate any interior. Each 48cm-wide panel is custom-made to your required height, with an extra 10cm included free of charge for a flawless fit.
Printed with low-VOC inks, this wallpaper is safe, sustainable, and tear-resistant. Its breathable structure prevents moisture buildup, ensuring long-lasting quality. Darker designs feature a luxurious satin finish, adding depth and elegance to your decor.
This wallpaper is the perfect blend of style, practicality, and flexibility for transforming your space effortlessly.
Product Recommendations
Suitable For: Smooth, light residential interiors, making it perfect for accent walls, small projects, or semi-permanent decorating solutions.
Not Suitable For: Textured walls or areas near high heat or excessive moisture. Surfaces with any level of texture, such as orange peel, are not ideal for peel-and-stick application. If your walls are not completely smooth, we recommend considering our traditional paste-the-wall wallpaper for better results.
Panel Width: 48cm (1' 7")
Product Recommendations
| Suitable For | Residential and commercial interior spaces, including bathroom areas (ensure a mould and mildew-inhibiting non-woven wallpaper paste is used). Walls must be clean, smooth, properly prepared, and free from marks or strong colour contrast prior to installation. |
| Not Suitable For | Highly textured walls, poorly prepared surfaces, or areas near open flames or high heat. Wallpaper is not designed to conceal dark, heavily pigmented, or uneven wall colours, which may show through once installed. |
| Panel Width | 48cm (1' 7") |
| Made to Order | Each wallpaper is custom-made to your specifications. Please allow 7-10 business days for production before dispatch. |
| Installation Tip | This is paste-the-wall wallpaper. Apply adhesive directly to the wall, not the wallpaper. Ensure walls are clean, smooth, and properly prepared for best results. For optimal results and long-lasting durability, we strongly recommend hiring a professional wallpaper installer. Dark or strongly coloured walls must be repainted to a light, even tone and allowed to fully cure before installation. |
| Fire Rating | Fire classification according to EN 13501-1: class B – s1, d0 (very limited contribution to fire); therefore permitted for ceilings and staircases. Full certification available upon request. |