How to Create a Gallery Wall — Step by Step From Start to Finish
How to Create a Gallery Wall — Step by Step From Start to Finish
A gallery wall is one of the most impactful things you can do to a room — and one of the most feared. The fear comes from the permanence of nails and the complexity of getting multiple pieces to work together. But with the right process, creating a gallery wall is straightforward. This step-by-step guide takes you from blank wall to finished arrangement.
We've helped hundreds of thousands of homes create considered gallery walls with our art prints and matching print sets. Here's exactly how we recommend approaching it.

Step 1: Choose Your Wall and Measure It
Before you select a single print, choose your wall and measure it. Note the width and height of available space. If the wall is above a sofa or console, note the furniture width and top height — your gallery arrangement should be anchored to this, not floating above it.
Most successful gallery walls are wider than they are tall — a horizontal arrangement feels more stable and designed. The total arrangement width should be roughly 50–75% of the wall width, and visually similar to or slightly narrower than the furniture below.
Step 2: Choose Your Prints and Frames
Curate your prints with a shared thread — colour palette, subject matter, or mood. They don't need to be identical, but they should feel like they belong in the same conversation. Matching print sets make this easy — each set is designed to work together as a gallery arrangement.
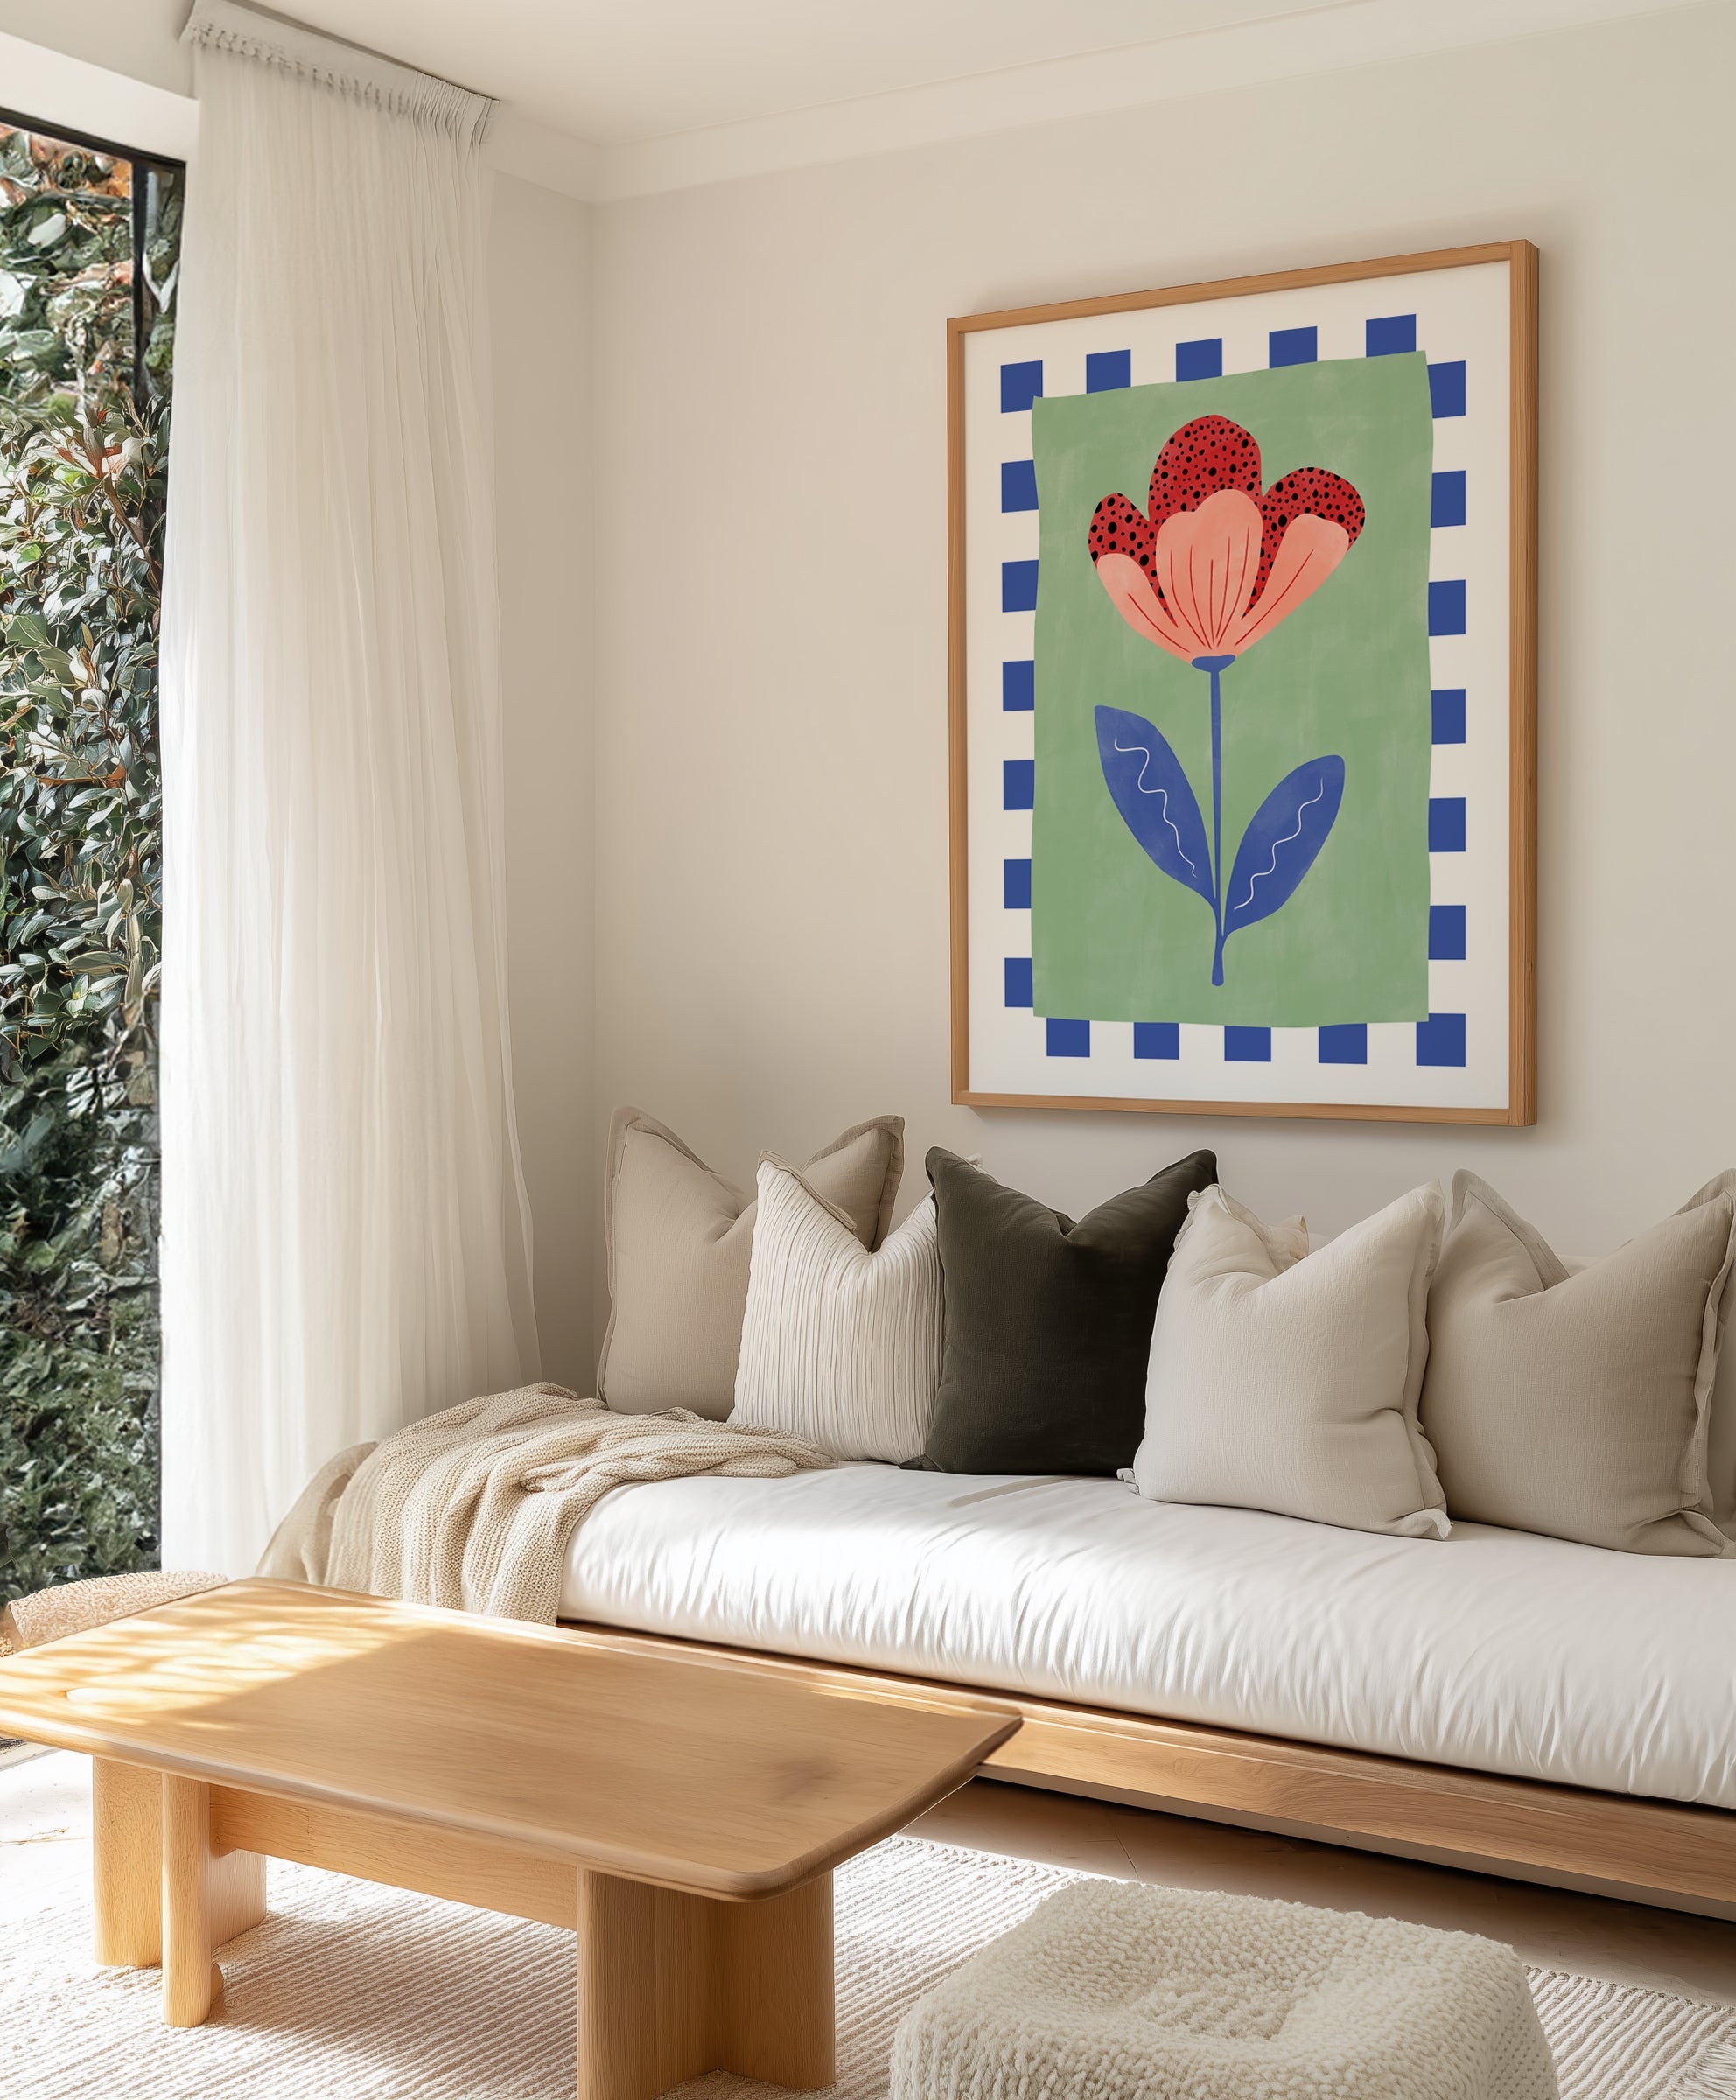
Frame selection is the single biggest decision in a gallery wall. All-matching frames (same colour, varied sizes) create the most cohesive look. All-black frames on a white wall have maximum graphic impact. All-oak frames feel warm and organic. Avoid mixing more than two frame colours in one arrangement — it quickly looks accidental.
Framed art prints arrive ready to hang with consistent frame profiles, which makes mixing sizes in one arrangement much easier than sourcing frames separately.
Step 3: Layout on the Floor First
This is the step most people skip — and the one that makes the biggest difference. Lay all your prints and frames on the floor in the arrangement you're planning, and step back to assess. Is the composition balanced? Does the largest piece feel centred? Are the gaps consistent?
Take a photo of your floor arrangement. You'll use this as your reference when transferring to the wall. Make adjustments on the floor until you're happy — it's infinitely easier than repositioning frames after they're nailed up.
For more detailed layout guidance, see our gallery wall layout ideas guide, which includes templates for different wall shapes and frame count combinations.

Step 4: Transfer to the Wall
Start with the centre piece. Find the horizontal and vertical centre of your intended arrangement area, and hang the anchor piece first. Then work outward from there, using your floor-arrangement photo as reference. Maintain consistent 5–8cm gaps between frames.
A useful trick: cut paper templates the exact size of each frame and tape them to the wall with painter's tape before nailing. This lets you adjust positions without any holes and confirm the arrangement looks right at full scale on the actual wall.
For the exact height to hang your arrangement, follow the 57-inch rule adjusted for furniture below.


Every piece is produced at our two manufacturing facilities on of NSW — crafting Australian wall art since 2015. We deliver to over 40 countries worldwide, with custom sizing available on all prints. Over a decade of experience, every order ships within 24 hours with our satisfaction guarantee.
Ships Next Business Day
Art prints dispatched next business day, Australia-wide.
Satisfaction Guaranteed
If it arrives damaged or doesn't perform as described, we'll replace it.
Frequently Asked Questions
How do I start a gallery wall?
Start by choosing your wall and measuring it. Then decide on your frame style and gather 5–9 prints. Lay everything on the floor and arrange the composition before touching a nail. Take a photo of your floor arrangement, then transfer it to the wall starting from the centre piece and working outward, maintaining 5–8cm gaps between frames.
How many pictures make a gallery wall?
Gallery walls typically work best with 5–15 pieces, depending on wall size. Fewer than 5 pieces tends to feel like scattered art rather than a cohesive arrangement. For a sofa wall, 6–9 frames is the sweet spot.
What goes in the centre of a gallery wall?
The centre piece should typically be the largest or most visually dominant print in your arrangement. This is your anchor — everything else is arranged around it. If symmetrical, the centre piece has equal space either side.
Do gallery wall frames need to match?
Frames don't need to be identical, but they need a unifying element. The most common approach is matching frame colour (all black, all white, or all oak) with varied frame sizes. Mixing three or more frame styles tends to look accidental rather than curated.
How far apart should pictures be on a gallery wall?
5–8cm (2–3 inches) between frames is the sweet spot. Tighter than 5cm and frames feel crowded; wider than 10cm and the arrangement reads as separate pieces rather than one composition. Consistent spacing throughout is more important than the exact measurement.
Should a gallery wall be symmetrical?
Not necessarily — both symmetrical and asymmetric gallery walls work well. Symmetrical arrangements feel formal and balanced. Asymmetric arrangements feel more organic and collected, which suits eclectic or relaxed interiors.
Start Your Gallery Wall Today
Shop our curated matching print sets — designed to work together as gallery arrangements, made in Australia and shipped next business day. For more on this topic, see our art hanging resource.