

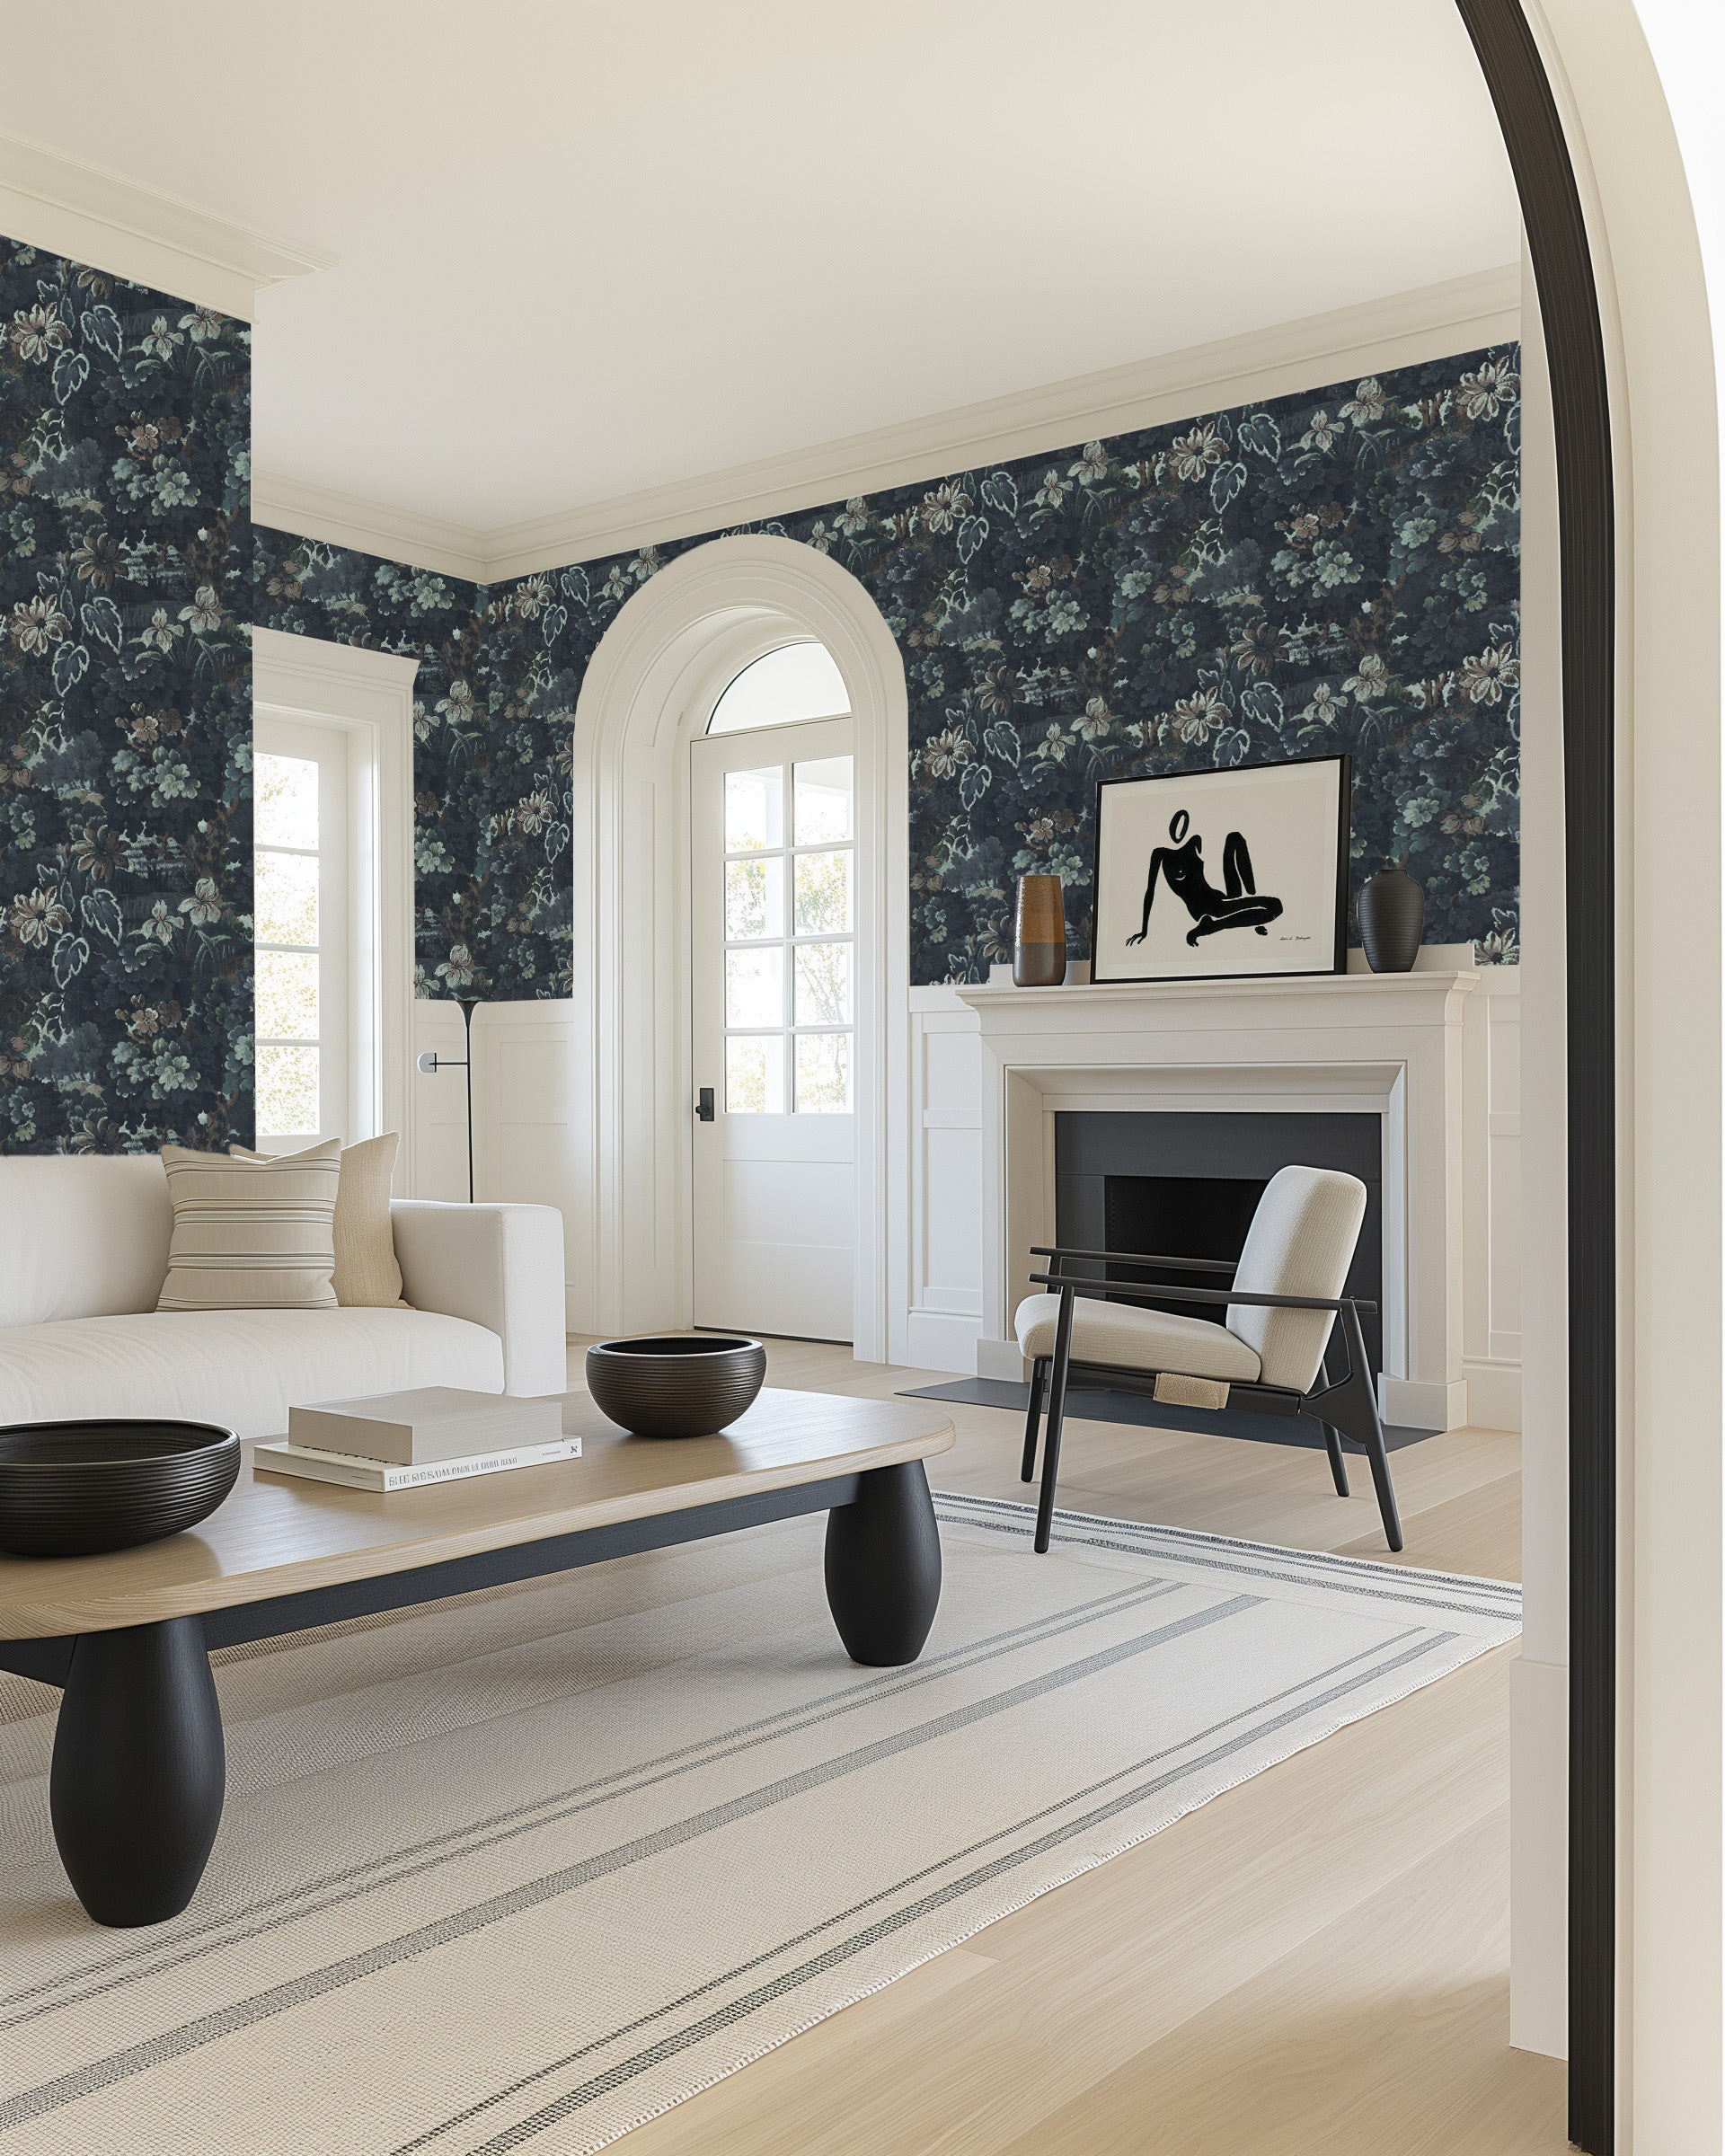
Removing a wall mural is either a twenty-minute job or a weekend nightmare — and the deciding factor is never the mural itself. It is the adhesive, the wall underneath, and the prep work the installer did on the day the mural went up. Get those three things right and a full wall peels off in a single afternoon. Get them wrong and you are looking at torn plasterboard, lifted paint, and a skim-coat bill before you can redecorate.
We make and ship removable wall murals globally from our Central Coast of NSW studio, and after a decade of answering removal questions from customers in Sydney, London and New York, we have a clear view of what actually works. This guide covers all three mural adhesive types, the wall types that raise the risk, renter documentation to protect your bond, and the repair steps that follow removal.


Vintage Tapestry Botanica in Navy Blue · Mineral Fade Panoramic in Blue · Mineral Fade Panoramic in Purple
Before You Start: Three Diagnostic Questions
Most removal disasters come from skipping this step. Before you lift a single corner, answer three questions honestly. The answers change everything that follows.
1. What adhesive type is it?
Three mural adhesive systems exist, and they come off in entirely different ways. Peel-and-stick murals have adhesive pre-applied to the back of each panel — you lift, you peel, you're done. Paste-the-wall murals use a wet paste applied directly to the wall before the dry panel is hung; they are the current European and Australian premium standard and come off with water. Traditional paste (paste-the-paper) murals are the old method where paste is applied to the back of each panel and booked before hanging. These bond aggressively to everything, including the wall.
If you bought the mural in the last ten years and can't remember which type it is, check the original paperwork or the brand's install guide. If it's one of ours, it's on the invoice.
2. How was the wall prepped before install?
A properly prepped wall is your best friend on removal day. Our peel-and-stick preparation guide calls for a clean, dust-free, fully cured acrylic-primed wall before any mural goes up — and murals installed over that kind of surface come off cleanly. Murals hung on bare plasterboard, chalky paint, or freshly-painted walls (under 30 days cured) are the ones that tear paint on the way off.
3. What condition is the paint underneath?
Press sticky tape firmly onto the wall next to the mural, then pull it off quickly. If paint flakes come with the tape, the underlying paint layer is compromised and any removal method will pull more paint with it. Budget for a skim coat and repaint.
Method 1: Peel-and-Stick Mural Removal
The easiest of the three. A properly installed peel-and-stick mural on a primed wall removes cleanly in under thirty minutes for a standard feature wall, leaves zero residue, and requires no water, heat, or chemicals. This is why peel-and-stick has become the default for renters and anyone who changes their interior style often.

Blush Petal Florals Wallpaper Mural
What you need
- A plastic putty knife or smoother (metal blades gouge plasterboard)
- A small stepladder and a clean microfibre cloth
- A warm damp sponge for residue; a helper for panels above 2.4 m
The technique, step by step
- Start at a top corner. Use the plastic smoother to lift the edge gently. If it resists, try the opposite top corner — the last one pressed down is often the easiest to lift.
- Peel slowly at a 45-degree angle downward. Not 90 degrees, not a sharp yank. A slow, low-angle pull keeps the adhesive film intact and minimises transfer to the paint underneath.
- Remove panels in reverse install order. Most murals install left-to-right, so remove right-to-left. This stops adjacent panels from fighting each other on the way off.
- Work in two-panel sections if the mural is wide. Lift the tops of two panels together, then peel them down in parallel. This keeps alignment neat if you decide to rehang the same mural elsewhere.
- Handle any residue with warm water only. A properly cured peel-and-stick adhesive on primed paint leaves nothing behind. If you see a faint tacky film, wipe it with a warm damp sponge and a little dish soap. No solvents on painted walls — they lift the paint.
Failure mode: if the adhesive has dried out (murals over seven years old in dry climates), it can become brittle and tear into small pieces instead of peeling in full panels. Warm the panel gently with a hairdryer on low heat, held 30 cm from the wall, and the film will soften enough to peel in larger sections. Our peel-and-stick wallpaper collection uses an adhesive that stays flexible for a decade-plus, so this is rarely an issue — but older murals from other brands are a different story.
Method 2: Paste-the-Wall Mural Removal
Medium difficulty. Paste-the-wall murals come off with water, a scoring tool, and patience. Expect two to four hours for a standard feature wall depending on how thoroughly the paste has cured. The full install method lives in our paste-the-wall installation guide — removal is essentially that process in reverse.


Petals in Pastel Wallpaper Mural · Luxe Wild Flowers Wallpaper Mural
What you need
- A wallpaper scoring tool (Zinsser PaperTiger is the Australian standard)
- Warm water in a spray bottle with a capful of liquid fabric softener per litre (the surfactant helps water penetrate)
- A 4-inch plastic putty knife, drop cloths for the floor and skirting, thick rubber gloves
The technique, step by step
- Score the mural surface gently. Run the scoring tool in circular motions across each panel. Light pressure — perforate the top layer, don't gouge the wall.
- Soak the panel with warm water and softener. Spray liberally. The surfactant breaks surface tension so water penetrates through the scored holes to the paste below.
- Wait fifteen minutes. This is the part everyone rushes. The paste needs time to re-hydrate. Scrape too early and the paper tears in strips.
- Lift a corner with the putty knife and peel. If the paste has re-hydrated properly, the panel comes away in large sections. Work the knife flat against the wall, never angled into it.
- Repeat for stubborn sections. If a patch resists, re-soak and wait another ten minutes. Never force a dry patch — that is how plasterboard ends up with divots.
- Wash the wall once the mural is off. Warm water on a sponge lifts the last paste residue. Let the wall dry for 24 hours before repainting or rehanging.
Failure mode: installs done on unprimed plasterboard are the nightmare scenario. The paste soaks into the paper face of the plasterboard, and when you soak the mural, you also soak the board. Work in small sections, use as little water as possible, and let the wall dry between soaks. This is the single biggest reason we recommend priming plasterboard before any paste-the-wall install.
Method 3: Traditional Paste (Paste-the-Paper) Mural Removal
The hardest of the three. Traditional paste murals — still used for some European panoramic wallpapers and many pre-2010 installs — have paste applied directly to the back of each panel, which is then booked (folded paste-side-in) before hanging. The paste bonds aggressively to everything, including the wall. Removal typically takes a full day and often requires a steamer.

Watercolour Garden Wallpaper Mural
The steam method
A wallpaper steamer (hire from Bunnings, Kennards, or your local equivalent for around AUD 40–60 a day) is the gold standard for traditional paste removal. It softens paste with heat and moisture simultaneously, which is what aged paste needs.
- Score the mural — perforation lets steam penetrate.
- Hold the steamer plate against a panel for 30 seconds. You will hear the paste release — a faint hiss.
- Peel with the putty knife immediately while the paste is still hot. Work in 30 cm squares; don't try a whole panel in one pass.
- Move in a grid pattern. Steam one square, peel, then move the steamer while you peel the next. A rhythm emerges.
- Wear gloves and protective eyewear. Hot water drips. Take breaks every 20 minutes — steam burns are the most common DIY injury here.
Chemical strippers
If you don't want to hire a steamer, gel-based chemical strippers are the alternative. In Australia, DIF Wallpaper Stripper (Zinsser) is stocked at most major hardware retailers; the same brand is widely available in the UK and US. Apply with a roller, wait 15–20 minutes, then scrape. Chemical strippers are effective but harsh — ventilate the room, wear gloves and a mask, and keep children and pets out for the application plus two hours after.
For panoramic murals wider than three metres, treat removal as a two-person job from the start. One person steams, the other scrapes. Solo removal of a large panoramic is how people end up resenting the mural they originally loved.
The Wall-Damage Risk Matrix
Not all walls are created equal, and the combination of wall type plus mural type determines your actual risk of damage. This matrix is based on a decade of customer removal reports — it is the single most useful diagnostic in this guide.


Gilded Valley Wallpaper Mural · Pink Fern Canopy Wallpaper Mural
- Primed plasterboard + peel-and-stick = minimal risk. Best case. Expect zero damage on removal day.
- Primed plasterboard + paste-the-wall = low-medium risk. The water step has a small chance of softening paint. If you work fast and don't over-soak, damage is negligible.
- Primed plasterboard + traditional paste = medium risk. Heat and aggressive paste mean some surface paint can lift. Assume a skim coat before repainting.
- Unprimed plasterboard + any mural = high risk. The paper face of the board bonds to the adhesive. Removal often tears the top layer. Plan for repairs.
- Lath-and-plaster walls (pre-1960 homes globally) + any mural = HIGH risk. Brittle plaster pulls away in chunks. Use our wallpaper installer directory to find a pro for these.
- Freshly-painted wall (under 30 days cured) + any mural = high risk of paint tearing. Latex paint takes 28–30 days to full cure. The adhesive bonds to the paint film and peels it off with the mural.
- Textured surfaces (render, brick, concrete) = variable risk. These shouldn't have been muralled in the first place; if they were, expect surface damage and resurfacing.
Repair Prep After Removal
Even a clean removal leaves a wall that needs prep before repainting or re-wallpapering. This is the step most DIYers underestimate — and why rooms look worse two weeks after mural removal than on removal day.
- Wash the wall. Warm water, a microfibre cloth, a capful of sugar soap. Remove any adhesive or paste residue. Dry 24 hours.
- Fill gouges with lightweight filler. Sand flush once cured (around four hours). For divots over 5 mm deep, use two coats, sanding between.
- Skim coat if the paint tore. A thin skim of premixed plaster compound evens the surface. AUD 40–60 for DIY materials, or AUD 300–500 for a pro skim on a standard feature wall.
- Sand with 180-grit. Gentle, even strokes. Vacuum, then wipe with a tack cloth.
- Prime. A single coat of acrylic primer-sealer. Non-negotiable if you are repainting a different colour or rehanging a new mural.
- Paint or re-wallpaper. Two coats of paint, or a fresh mural install — our step-by-step mural install guide covers the latter.
Over-Painting vs Re-Wallpapering: Two Different Paths
The prep work is almost identical for the first four steps, then diverges.
Repainting: prime with a tinted acrylic primer that shifts the wall toward your new colour (grey tint for cool tones, warm beige for warm tones). This reduces your coat count from three to two. Finish with a premium interior acrylic in low-sheen or matte.
Re-wallpapering: prime with a clear acrylic primer-sealer rated for wallpaper. This creates a uniform, non-porous surface that accepts peel-and-stick or paste-the-wall adhesive evenly. For a different mural size, follow our how-to-measure guide before ordering.
When to Call a Professional
Four scenarios make DIY removal a false economy.
- Any mural on lath-and-plaster walls — brittle plaster crumbles on any wrong move.
- Panoramic murals wider than four metres — alignment and logistics make this a two-person-plus job; a pro team is faster.
- Murals on textured walls, render, or brick — removal usually reveals damage that needs specialist repair.
- Heritage homes with hand-painted wallpaper or pre-war plaster — pros use micro-steam and conservation-grade scrapers to protect original surfaces.
The OEO wallpaper installer directory lists vetted installers globally who handle removal as well as installation. Expect AUD 300–600 for a standard single-wall removal; AUD 600–1,200 for a panoramic or heritage job including repair prep.
Renters: Documenting Wall Condition to Protect Your Bond
If you rent and the mural is going on a wall you don't own, documentation is the difference between getting your bond back and not. This applies in Australia, the UK, New Zealand, and most US states with security deposit regulations. Do the following before you hang a panel, and repeat on removal day.

Pink Jungle Leaves Wallpaper Mural
Before install
- Photograph the entire wall in natural daylight — wide shot plus four corner close-ups.
- Record a slow 30-second video panning the wall (phone metadata embeds time and date).
- Email photos to yourself and the landlord with a short note: "Installing a removable peel-and-stick mural today. Current condition documented."
- Keep the original mural invoice — proof the product was specified as removable.
After removal
- Repeat photo and video documentation.
- Fix minor damage (hairline cracks, small divots) before the inspection — filler and touch-up paint are cheaper than a bond deduction.
- Email the before-and-after comparison to the landlord as part of the move-out handover.
Peel-and-stick is the most renter-friendly mural format for exactly this reason. Browse our peel-and-stick wallpaper collection or our full removable mural collection if you are choosing a first mural and want to minimise removal risk from day one.
The Designer's Next-Move: What to Do With the Newly Bare Wall
You've removed the mural, repaired the wall, and you're looking at a blank canvas. Most people rush this moment and later regret it. Three realistic paths, each with a different time and budget.


Sage Green Jungle Wallpaper Mural · Serene Tropical Jungle Wallpaper Mural
- Replace one mural with another. The cheapest path if the wall was prepped correctly — it's already primed and ready. Pick a different colour palette or scale to signal the new chapter. Our custom wallpaper service lets you resize, recolour or commission a completely new mural if nothing in the collection is exactly right.
- Paint a single bold colour. Sometimes a quiet wall is the right answer. A deep colour — clay red, forest green, charcoal, deep blue — reads as intentional and lets the furniture and art do the talking. Pair with framed wall art from our wall art collection for a layered, gallery-style result.
- Leave it white for six months. The underrated option. Living with the empty wall for a season tells you what the room actually needs — which is often different from your first instinct on removal day.
Frequently Asked Questions
How long does mural removal take for a standard feature wall?
Peel-and-stick: 20–40 minutes. Paste-the-wall: 2–4 hours including soak time. Traditional paste: a full day, sometimes two. These are averages for a 3m × 2.7m feature wall, solo. Double the time for panoramic murals over three metres wide.
Is chemical wallpaper stripper safe to use in a home with kids?
Modern gel-based strippers like Zinsser DIF are low-VOC and considered safe when used to label — but low-VOC is not zero-VOC. Ventilate with open windows and a fan, wear gloves and a mask, and keep children and pets out until the application time plus two additional hours. If you would rather avoid chemistry entirely, the steam method uses only water and heat with no off-gassing.
Do I need paint touch-ups after peel-and-stick removal?
Usually no, if the wall was properly primed before install and the mural was under five years old at removal. If you see paint tone differences where the mural sat (UV-exposed paint darkening around the edges), a single coat of the original wall paint restores uniformity. Keep a 500 ml tester pot of your wall colour on hand after any significant install.
Can I install a new mural directly over a removed mural site?
Only if the wall has been properly prepped: washed, filled, sanded, and primed. Skip any of those steps and the new adhesive bonds to a compromised surface — expect bubbling, lifting edges, or peeling within six months. The prep takes a day; skipping it costs you the new mural.
Will paste-the-wall removal damage plasterboard?
Not if the plasterboard was primed before the original install. Primed plasterboard has a sealed surface that water can't penetrate — the water stays on the mural side. Unprimed plasterboard is where damage is likely; water soaks into the paper face of the board and weakens it.
What causes tannin staining from timber framing behind plasterboard?
On older homes with hardwood framing (Australian ironbark, spotted gum, or equivalent dense hardwoods in other markets), excess water from paste-the-wall removal can wick through plasterboard and draw tannins from the studs. These appear as yellow-brown vertical stripes. Prevention is the only real fix: minimum water, small sections, let the wall dry between passes. If staining occurs, a stain-blocking primer like Zinsser BIN is the only product that reliably covers tannin bleed.
My home has lath-and-plaster walls. Is mural removal a nightmare?
Potentially yes. Lath-and-plaster construction (pre-1960s homes, UK terraces, Queenslanders, US Craftsman bungalows) has a brittle plaster layer over thin timber laths. Aggressive scraping, soaking, or steam cracks the plaster and pulls chunks from the laths. Always call a pro for mural removal on lath-and-plaster — and ideally, only use peel-and-stick murals on these walls since dry removal has the lowest risk.
When should I call a professional instead of DIYing?
Four situations make the call-out fee worth it: (1) any mural on lath-and-plaster or heritage surfaces, (2) panoramic murals wider than four metres, (3) any mural on textured, render, or brick surfaces, and (4) any removal where the first test corner reveals paint tearing. In all four, a DIY attempt usually multiplies the repair cost. Our wallpaper installer directory lists vetted professionals, and most will quote a flat rate for a standard feature wall.
The Bottom Line
Removing a wall mural without damaging the wall is achievable — but it requires honest diagnosis of what you're working with, the right tools for the adhesive type, and the patience to let water do its work instead of forcing the scrape. A peel-and-stick mural on a primed plasterboard wall comes off in an afternoon with zero residue. A traditional paste mural on unprimed lath-and-plaster is a different project entirely.
If you're choosing a mural for the first time and removability is a priority — for renters, for anyone who redecorates often — our removable wall mural collection and peel-and-stick wallpaper collection are built for exactly this. Custom sizes, all import duties paid globally, $4.99 samples before you commit, and four-business-day production from our Central Coast studio. Whether you're in Sydney, London, or Brooklyn, removability is engineered in from the start.
For more, read our complete wallpaper removal guide, our damage-free wallpaper removal tips, our vinegar-method reality check, our 2026 mural trend guide, and our mural installation guide. Everything we know about murals, from spec to install to removal, is on On the Wall.


