Removing wallpaper is one of those jobs that sounds straightforward until you are halfway through your first wall and the paint is coming off with the paper. The gap between a clean removal that leaves the wall ready for the next treatment and one that requires weeks of plaster repair comes down almost entirely to technique — and to understanding what you are working with before you start.
Australian homes complicate the job in ways a generic removal guide will never cover. A 1920s Queenslander wall is lath and plaster, not modern plasterboard — the underlying substrate reacts differently to steam and moisture. A 1970s brick-veneer home in Adelaide might have wallpaper over solid render or over gyprock. A rental apartment in Melbourne has peel-and-stick installed over walls that may not have been primed, and the bond is holding to flakes of ten-year-old paint rather than to the plasterboard. Each of these scenarios calls for a different approach, different tools, and different expectations about what a successful result looks like.
At Olive et Oriel, we manufacture wallpaper on the Central Coast of NSW and we ship to 40+ countries with all import duties paid. Every paste-the-wall product we make is engineered for clean removal without wall damage when the correct process is followed. Our peel-and-stick range, installed over properly prepared walls, releases from the prep coat rather than from the paint beneath. The guidance below is drawn from over a decade of manufacturing, installing, and — yes — helping customers reverse installations that did not go to plan.


Homestead Trail Panoramic Mural · Stillwater Forest Panoramic Mural · Eucalyptus Haze Mural
The Three Categories of Wallpaper You Might Be Removing
Before you touch a scraper or a steamer, identify which of the three wallpaper categories you are dealing with. Using the wrong removal method on the wrong category is the single biggest cause of wall damage during removal.
- Non-woven paste-the-wall (modern premium wallpaper): This is what we manufacture and what most quality wallpaper companies produce today. The paste is applied to the wall, not to the paper. The paper is dimensionally stable and engineered to strip dry in full-length sections. Peel a corner and pull slowly at a low angle — the backing should release in one continuous strip without water, heat, or chemicals. This category is the easiest to remove by a significant margin.
- Traditional paste wallpaper (pre-2000 installations, lower-cost wallpaper): The paste is applied to the paper, which is then hung on the wall. The paper is not dimensionally stable and is often backed with a thin scrim that tears on removal. Starch-based and vinyl-based adhesives bond aggressively to the wall. This category requires steam or water penetration and patience measured in hours rather than minutes.
- Peel-and-stick (self-adhesive) wallpaper: No paste involved. A removable pressure-sensitive adhesive is pre-applied to the back of the paper. Removal is a matter of peeling the panel back on itself at a 45-degree angle. The outcome depends almost entirely on what it was stuck to — a properly primed and cured wall releases cleanly, while a chalky or semi-gloss paint surface can deliver a messy result with paint coming off alongside the paper.
The substrate matters more than the paper. A $900 roll of wallpaper hung over badly prepared walls can ruin the walls on removal. Cheap wallpaper hung over properly primed walls will come off like tape.
Is It Peel-Off, Strippable, or Stuck Solid? A Diagnostic Test
Before you commit to a full removal plan, run this simple test on a corner you can hide if it goes badly — behind a future door stop, beside a skirting board, or in a cupboard.
Step 1: Slip a blunt plastic scraper or an old credit card under a seam or corner. Lift approximately 3cm of paper away from the wall.
Step 2: Pull slowly at a low angle — roughly 15–20 degrees from the wall surface, not outward. Note what happens.
Step 3: Read the reaction.
- The paper lifts cleanly in a continuous strip: You have non-woven paste-the-wall. Proceed with dry removal. No water, no steam, no chemicals needed.
- The paper tears but the backing stays bonded: You have a two-layer vinyl or a pre-pasted paper. The face peels off, the backing remains. You will need to steam or soak to remove the backing.
- The paper will not lift at all, or it lifts but drags paint and plaster with it: You have either a heavily adhered traditional paste wallpaper or a wall with substrate issues — chalking paint, unprimed plaster, or a previous removal that was patched rather than skimmed. Stop. Read the lath-and-plaster and professional-help sections further down before proceeding.
Tools and Prep — What You Actually Need (Realistic AUD Costs)
There is a difference between the minimum you need and what makes the job significantly easier. Here is the honest breakdown.
Minimum kit (approximately $60–$90 AUD):
- Plastic scraper or stripping knife — $8–$15 from Bunnings or Mitre 10
- Wallpaper scorer (the small wheeled tool that perforates the surface) — $12–$20
- Large spray bottle (1L minimum) — $6–$10
- Warm water and fabric softener or white vinegar (already in the house)
- Drop sheets — $15–$25
- Sponges and buckets — $10–$15
- Painter's tape and plastic sheeting to protect skirtings and floors — $10–$15
Upgrade kit (add $120–$200):
- Steam wallpaper stripper — $90–$160 from Bunnings (Ozito) or hire from Kennards for around $40/day
- Ladder or step stool rated for the ceiling height — $60–$120 if you don't already own one
- Heavy-duty rubber gloves and safety glasses — $15–$25
Before you lift a single strip, prepare the room. Turn off power to any outlets on the wall you are removing from — steam and water around live wiring is a genuine risk, not a theoretical one. Cover the floor with drop sheets and tape plastic sheeting over skirting boards to catch drips. Open windows for ventilation if you are using chemical strippers. Have a bucket of clean warm water and two sponges on hand — one for softening the paper, one for wiping residue as you go.
Method 1: Steam Removal (The Most Reliable Method for Stubborn Wallpaper)
Steam is the single most effective tool for removing traditional paste wallpaper and any installation where warm water alone has failed to penetrate. A handheld wallpaper steamer produces vapour at around 100°C, which softens the adhesive without soaking the plaster behind it.
How to use a wallpaper steamer:
- Fill the reservoir with clean tap water and allow 5–10 minutes for the unit to come up to temperature.
- Score the surface of the wallpaper first with a wheeled scorer. Score lightly — you want to perforate the face of the paper, not gouge the wall.
- Hold the steam plate flat against the paper for 20–40 seconds. You will see the paper darken as moisture penetrates.
- Move the plate to the next section. As the steam loosens the paper, use a plastic scraper to lift strips away.
- Work top-down on each panel. Steam rises naturally, so working downward gives you a continuous heat zone.
Critical safety note for older Australian homes: If your home predates 1960, you likely have lath-and-plaster walls rather than modern plasterboard. Lath-and-plaster absorbs water and steam, and sustained heat applied in one spot can cause the plaster to blow — that is, detach from the timber lath behind it. Keep the steamer moving. Never hold the plate in one position for more than 40 seconds. If you see plaster softening or hear hollow sounds when you tap the wall after steaming, stop and reassess. This is where Queenslanders, federation homes, and interwar California bungalows regularly catch their owners out.


Tropical Dreamscape Mural · Misty Dreamscape Mural · Floating White Floral Wallpaper

Method 2: Warm Water and Fabric Softener (The Budget Method)
Every renovation blog recommends fabric softener. Here is the honest version: it works, but only on the right wallpaper and only if you give it time. The active ingredient in fabric softener is a cationic surfactant that breaks the surface tension of water, allowing it to penetrate the paper face and reach the adhesive beneath.
The ratio that actually works: one part fabric softener to three parts hot water. Not 50/50 — that is wasteful and no more effective. Mix in a spray bottle, score the paper with a wheeled scorer, spray generously, and wait a minimum of 15 minutes before attempting to strip. Most people fail at this method because they spray, wait two minutes, then pull. The solution needs time to reach the adhesive layer.
When it works: traditional paste wallpaper on modern plasterboard walls. Pre-pasted wallpaper. Lightweight vinyl wallpaper.
When it fails: non-woven paste-the-wall (strip dry — don't bother spraying), heavily layered installations where previous wallpaper was not removed, any vinyl-coated wallpaper where the vinyl face prevents water reaching the adhesive. For vinyl-coated papers, the score-and-soak method (see Method 4) is mandatory.
Method 3: Chemical Strippers (When Water Is Not Enough)
Commercial wallpaper strippers — DIF, Zinsser, Bayset — contain enzymes and surfactants that break down dried wallpaper paste more aggressively than water alone. They are available at Bunnings, Masters Paint, and most specialist paint shops around Australia. Expect to pay $20–$35 AUD for a litre of concentrate, which will treat approximately 20–30 square metres of wall.
Strippers are most useful on stubborn traditional paste installations, particularly pre-1990 wallpapers where the paste has fully cured and resists plain water. Dilute according to the manufacturer's instructions (usually 1 part concentrate to 3–4 parts warm water), score the paper, apply generously, and allow 20–30 minutes of dwell time before stripping.
Ventilation and safety: even the low-fume formulas produce vapour. Open windows. Wear rubber gloves and safety glasses. Do not use in poorly ventilated bathrooms or powder rooms without a fan running. Pregnant women and people with respiratory conditions should not use chemical strippers — use steam instead.
Method 4: Score and Soak (For Vinyl-Coated Wallpapers)
Vinyl-coated wallpaper was installed in tens of thousands of Australian bathrooms and kitchens during the 1980s and 1990s because the vinyl face resisted steam and splashes. That same vinyl face is exactly what makes the paper almost impossible to remove with water alone — the surfactant can't reach the adhesive through the sealed coating.
The solution is the score-and-soak method. Run a wheeled scorer across the entire panel in a cross-hatch pattern, applying enough pressure to perforate the vinyl without gouging the plaster. Spray heavily with hot water or wallpaper stripper. Re-wet every 10 minutes. Give it a full 30–45 minutes of soak time before attempting to strip. When the backing is fully saturated, the vinyl face and the backing will come away together in strips.
This is the slowest of the four methods. Budget half a day per small bathroom, a full day per average kitchen. Patience here pays off enormously compared to trying to rush and leaving backing residue that has to be re-soaked a second time.
Peel-and-Stick Removal — Simpler, But With Its Own Gotchas
Peel-and-stick removal is the easiest of any wallpaper type when the original installation was done correctly. When it wasn't, it becomes the most frustrating.
The correct removal technique is to peel from the top corner at a 45-degree angle, pulling the panel back on itself rather than outward. Work slowly. If the adhesive resists, apply a hair dryer on low heat for 10–20 seconds, holding it 10cm from the wall. Never pull hard or fast — this is the single most common cause of paint damage on peel-and-stick removal.
What goes wrong, and why:
- Paint coming off with the paper: the wall was painted with a chalky, water-based paint that had not fully cured, or it was an old paint surface where the adhesive bond exceeded the paint-to-plaster bond. This is why proper prep with Viponds Self-Adhesive Prep Coat (three coats) matters before installation — the prep coat sacrifices itself on removal, not your paint.
- Adhesive residue left behind: hot climate installations (Queensland summers, bathrooms without exhaust fans) can cause the adhesive to soften and transfer slightly to the wall. Remove residue with warm soapy water and a soft sponge while it is still workable. Dried residue responds to isopropyl alcohol on a cloth.
- The paper tearing mid-strip: usually means the paper has been on the wall for 5+ years, or it was installed on a hot day and the adhesive has partially fused. Warm the surface with a hair dryer before lifting.
Temperatures to avoid: do not attempt peel-and-stick removal in sub-15°C conditions (the adhesive becomes brittle and tears) or above 30°C (the adhesive becomes gummy and transfers to the wall). Aim for 18–25°C room temperature for best results.
If you are preparing to install new peel-and-stick after removal, read our wall preparation guide for peel-and-stick first — skipping the prep step on the second installation guarantees the same removal problems will repeat. For a full install walkthrough, see our peel-and-stick installation guide.

Wall Prep After Removal — The Part No One Covers
Removing the wallpaper is only half the job. The wall you are left with almost never is paint-ready or wallpaper-ready without some remedial work. Here is the complete sequence.
- Dry the wall completely. Allow 24–48 hours after water or steam removal. Moisture trapped behind new paint or wallpaper will cause blistering and seam lifting. In humid conditions — a Brisbane summer, a Perth winter with condensation — extend to 72 hours.
- Remove all adhesive residue. Any residual paste, backing fibres, or adhesive patches will telegraph through the new finish. Wash with warm water and a mild detergent, using a soft sponge. Rinse with clean water. Allow to dry again.
- Inspect for damage. Run a torch across the wall at a shallow angle. Gouges, torn paper facing on plasterboard, and areas of chalky paint will all show up clearly in raking light. Mark these for repair.
- Repair with flexible filler. Use a lightweight flexible filler for small imperfections (Selleys Spakfilla Rapid, Gyprock Easyfill). For torn paper facing on plasterboard — where the paper layer of the board has been pulled off — skim the entire affected area with a thin coat of filler. Do not simply spot-repair torn paper facing; the hard line between repaired and unrepaired areas will show through paint and wallpaper.
- Sand smooth. A fine-grit sanding sponge (180–220 grit) and patience. Run your hand across the repair area — any ridge you can feel will be visible under the new finish.
- Prime before next finish. An acrylic primer-sealer (Dulux 1 Step, Zinsser Bulls Eye 1-2-3) locks down any remaining adhesive residue, seals the filler, and gives a consistent porous surface for paint or new wallpaper. For a new peel-and-stick installation, use three coats of Viponds Self-Adhesive Prep Coat over the primer.


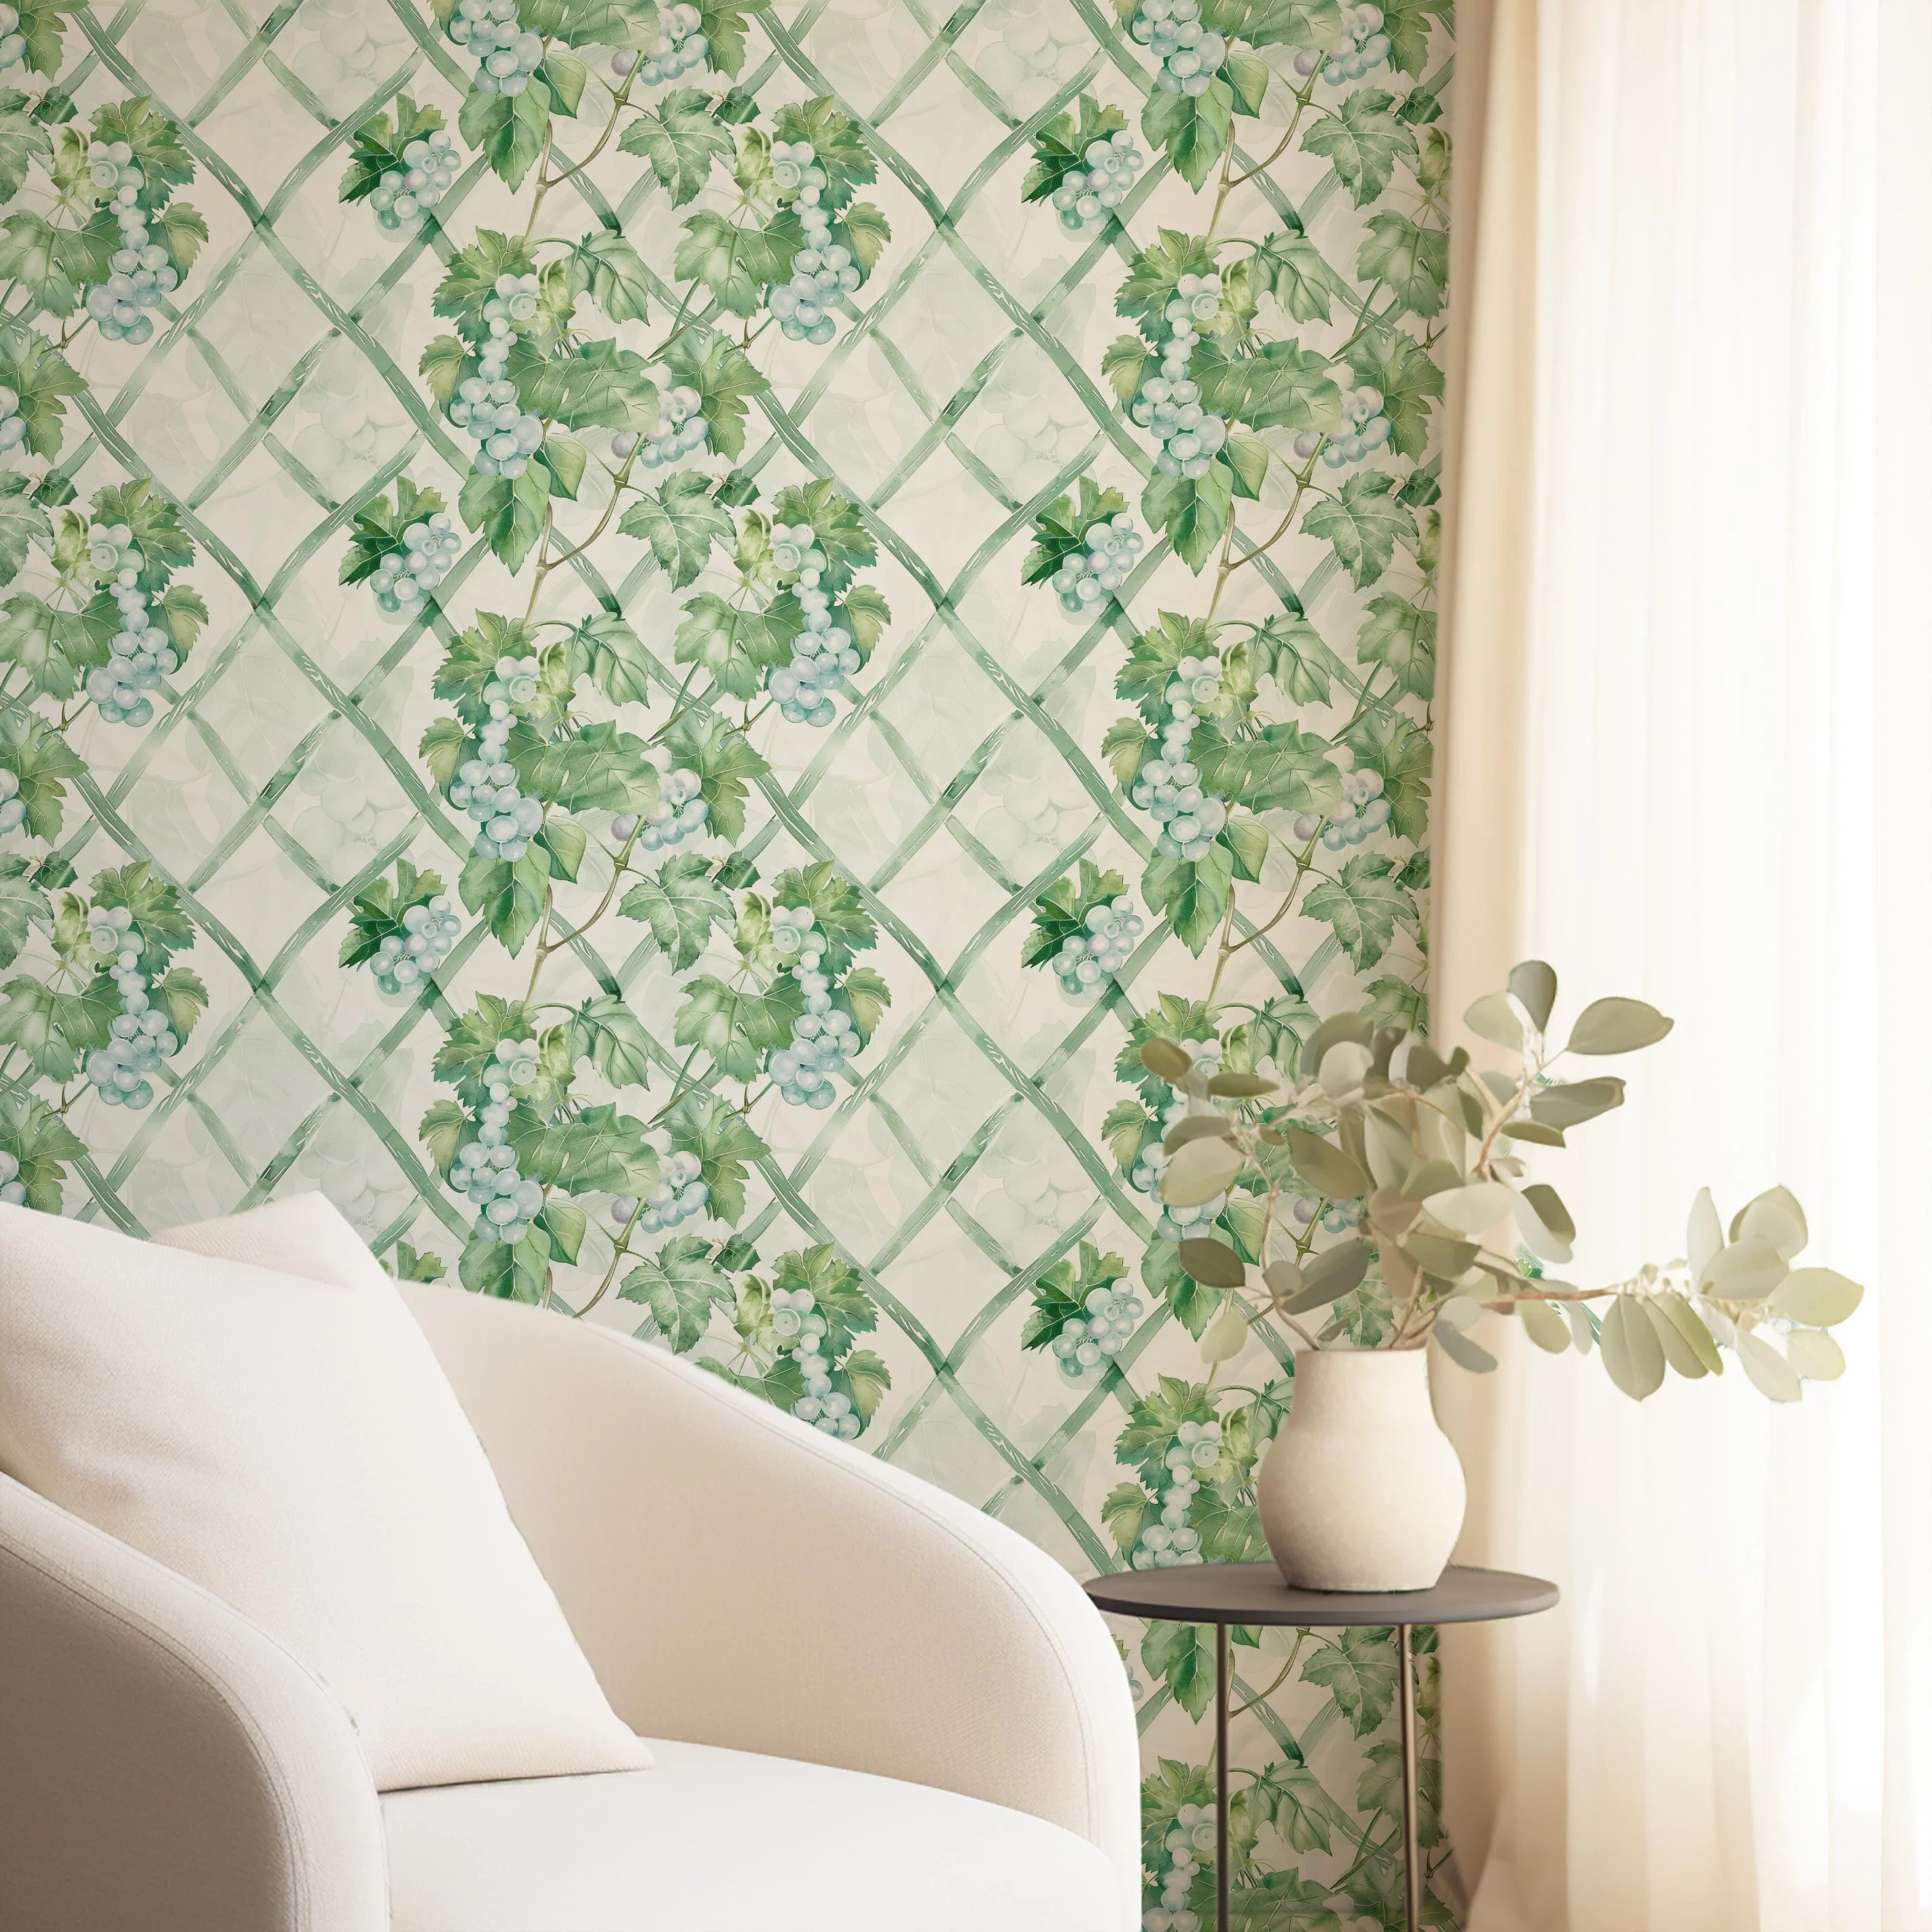
European Countryside Panoramic Mural · Vintage Woodland Trees Panoramic Mural
When to Call a Professional
There are four situations where attempting DIY wallpaper removal is genuinely not worth the risk. An honest assessment will save you thousands in repairs.
- Lath-and-plaster walls in pre-1960 homes. Queenslanders, federation homes, California bungalows, interwar workers' cottages — these walls cannot tolerate extended steam or water. A professional with experience on this substrate is worth the call-out fee. Our wallpaper installer directory lists specialists across Australia who handle heritage substrates.
- Asbestos-era wallboard in pre-1987 homes. Pre-1987 Australian homes may contain asbestos in wall linings, particularly in wet areas (bathrooms, laundries) and on the backs of some plaster sheets. If you are not certain of the construction date and materials, do not sand, scrape aggressively, or drill into the wall. A licensed asbestos assessor can test a sample for around $80–$150. A licensed asbestos removalist is legally required for any removal work above the residential exemption threshold.
- Lead-paint-era homes (pre-1970). Aggressive sanding or scraping of lead-based paint creates dust that is genuinely hazardous, particularly for young children. If the wall was last painted before 1970, have the paint tested. DIY-safe removal is possible with chemical strippers and HEPA vacuuming — but if children or pregnant women are in the home, a licensed painter is the safer call.
- Large-scale commercial or multi-room installations. Anything beyond two or three walls, or any installation with water damage, mould remediation, or structural plaster repair underneath, belongs with a trade. See our installer directory for vetted Australian tradespeople.
Rental Considerations — Protecting Your Bond
If you are renting, the removal conversation starts before the wallpaper goes up. Peel-and-stick is almost always the correct choice for rentals — but even peel-and-stick can damage walls if the paint surface is chalky, old, or poorly prepared. Here is how to protect yourself.
- Document the wall before installation. Wide photos and close-ups of every wall. Store these with your lease paperwork. Focus on paint finish, any existing marks, and corners. If paint comes off on removal, you need to prove what was there before.
- Test in a hidden spot. Before installing a full wall, press a 10cm square of wallpaper into a corner that will be hidden by furniture. Leave it for 48 hours. Peel slowly. If paint comes off with that sample square, the wall is not suitable for peel-and-stick and you need to either prime the wall (with written landlord permission) or choose a different approach.
- Choose removable products. Our full self-adhesive wallpaper range is designed for exactly this scenario — removable without paste, residue-minimal, and rental-friendly when installed over properly prepared walls.
- Re-document on removal. Photos of every wall after removal, before the final clean. If there is damage, a ten-minute skim-and-paint on your way out is almost always cheaper than a bond claim.
For renters considering a bolder, more committed wallpaper moment after removal, our custom wallpaper service can produce a design sized to a specific feature wall — useful for rentals where you want a big visual without the scale of a full-room install.
Frequently Asked Questions
How long does it take to remove wallpaper from one wall?
For modern non-woven paste-the-wall wallpaper, allow 1–2 hours per average-sized wall (around 8–10 square metres). For traditional paste or vinyl-coated wallpaper, budget 4–6 hours per wall including soak time. Add 2–3 hours for wall prep after removal. Peel-and-stick is the fastest — typically 30–60 minutes per wall.
Can I remove wallpaper that has been painted over?
Yes, but it is significantly harder. Paint seals the surface of the wallpaper, preventing water or steam from reaching the adhesive. You will need to cross-hatch the entire surface with a wallpaper scorer to break through the paint layer before applying any softening agent. Steam is usually more effective than water on painted-over wallpaper. Expect the job to take roughly twice as long as removing unpainted wallpaper.
What if the wallpaper is on drywall (plasterboard) and the paper facing tears?
Plasterboard is manufactured with a paper facing on both sides. If wallpaper was installed directly over unprimed plasterboard, aggressive stripping can tear this facing layer. The fix is to skim the entire affected area with a thin coat of flexible filler, sand smooth, and prime with an acrylic primer-sealer before the next finish. Do not spot-repair — the patched areas will telegraph through the new finish.
Is wallpaper steam safe to use in older homes?
Generally yes, but with caution on lath-and-plaster walls in pre-1960 homes. Keep the steamer plate moving and never hold it against one area for more than 40 seconds. If you see plaster softening, hear hollow sounds when tapping, or notice any flex in the wall, stop immediately. Electrical outlets on the wall should be powered off at the switchboard before any steam work.
Are wallpaper chemical strippers safe to use indoors?
Low-VOC wallpaper strippers from brands like Zinsser and DIF are designed for indoor use and are widely sold in Australia. Ventilation is still essential — open windows, run exhaust fans in bathrooms, and wear rubber gloves and safety glasses. Pregnant women, young children, and people with respiratory conditions should stay out of the room during application and for at least two hours after. If chemical removal feels risky, steam is the safer alternative.
Will wallpaper removal damage my walls?
If you use the correct method for your wallpaper type and the installation was done properly, damage should be minimal — a few small imperfections that a bit of filler and sanding resolves. Damage is almost always the result of rushing, using the wrong method, or working on walls that were not properly prepared before the original installation. The diagnostic test earlier in this guide will tell you within minutes whether you are in for a clean removal or a difficult one.
How much does it cost to hire someone to remove wallpaper?
In Australia, professional wallpaper removal typically costs $20–$45 per square metre depending on the wallpaper type, substrate, and region. Sydney and Melbourne trend toward the higher end. Heritage substrates (lath-and-plaster), painted-over wallpaper, and multi-layer installations all command premiums. Expect a minimum call-out of $150–$250. Our wallpaper installer directory lists vetted specialists by state.
Can wallpaper be removed from tiled surfaces?
Yes, and this is actually one of the easier scenarios. Wallpaper or peel-and-stick installed over tiles usually peels away cleanly because the smooth, non-porous tile surface provides less bonding area than plasterboard. Warm the adhesive with a hair dryer on low heat if resistance occurs. Remove any residual adhesive with isopropyl alcohol on a soft cloth. Tiles themselves should be unaffected.
After Removal — What Comes Next
The moment your wall is bare, dry, and primed is the moment to make the decision you did not have the luxury of making the first time. Paint? New wallpaper? A feature wall with a custom mural? The wall you have just exposed is a blank slate, and it will never be this ready again without another removal job in its future.
If you are drawn back to wallpaper — and many customers are, once they see how clean a modern removal can be — consider a commissioned design through our custom wallpaper service. We work with you to produce a one-off mural sized exactly to your wall, printed in Australia, and engineered for the same clean removal you have just experienced.
For removable alternatives, our removable wallpaper range is the rental-friendly, commitment-light option — paste-free, removable, and available in the same curated designs as the paste-the-wall range. Prefer the permanence and premium finish of traditional paste-the-wall? Our full wallpaper range covers florals, landscapes, geometrics, and a deepening line of photo-realistic murals.
Not sure where to start? Order a $4.99 sample (48cm x 40cm / 19in x 16in) of any wallpaper design to test how the paper hangs, how the colour reads in your light, and — importantly — how it releases from your specific wall surface. It is the cheapest insurance policy in interior design.
Before installing, read our wallpaper measuring guide and the paste-the-wall installation guide to make sure the next wallpaper goes up as cleanly as the last one came off.
More reading from On the Wall: learn how to paint over wallpaper and when you shouldn't, try the vinegar removal method, read about peel-and-stick basics, and see our guide to hanging a wall mural. Head back to On the Wall for more designer-led guidance, or browse our bedroom wallpaper collection for your next project.