How to Install Wallpaper — From Prep to Perfect Finish | Olive et Oriel
For textured walls, proper primer preparation is essential before applying peel and stick wallpaper. 3 coats of the right primer for your country is mandatory. See our full country-specific wall preparation guide.
Install Wallpaper Like a Pro — From Prep to Perfect Finish
A great wallpaper installation starts long before the first panel goes up. The prep work — cleaning, smoothing, sizing, plumbing — determines whether your finished wall looks professional or amateur. Get the prep right and the installation follows naturally.
This guide covers both peel and stick wallpaper and paste-the-wall installation. Every Olive et Oriel wallpaper ships to the USA with all import duties paid — so your focus can be entirely on the installation, not the logistics.

Step 1 — Wall Preparation
Clean the surface. Dust and grease prevent adhesion. Wipe your walls with a damp cloth and allow to dry completely (at least 24 hours before installation).
Fill and sand. Any holes, cracks, or imperfections in the wall will show through the wallpaper. Fill with ready-mixed filler, allow to dry, and sand flush with the surrounding surface.
For textured walls (peel and stick): Apply Roman PRO-977 Ultra Primer to create a smooth installation surface. This primer levels surface texture and dramatically improves adhesion. Allow 2–4 hours drying time before installing wallpaper.
For paste-the-wall wallpaper: Apply a wallpaper sizing coat — diluted wallpaper paste (approximately 1 part paste to 4 parts water) — brushed over the entire wall surface. This reduces wall porosity and gives you more working time to adjust panels during installation. Allow to dry before hanging.
Check for plumb. Use a spirit level or plumb line to mark a perfectly vertical line on the wall. Your first panel will be aligned to this line — everything that follows will be straight as a result.
Step 2 — Installing Peel and Stick Wallpaper
Start at the correct edge. Begin at the most visible corner or edge of your wall — typically the side you'll see first when entering the room. Work across the wall from this starting point.
Peel and position in sections. Don't peel the entire backing at once. Peel back the top 15–20cm of backing paper, align the panel to your plumb line, and press the top section firmly into place using a smoothing tool, working from the centre outward to eliminate air bubbles.
Work down the wall. Continue peeling the backing a section at a time as you work down the panel. Keep the panel taut and use the smoothing tool consistently. If you see bubbles, lift the panel back (peel and stick allows repositioning during installation) and re-apply.
Seams. Our custom sized panels are designed to butt-join cleanly. Align each panel edge carefully to the previous panel. Use a seam roller to press seams firmly. Wipe away any adhesive residue immediately with a clean, slightly damp cloth.
Trim edges. Use a sharp craft knife and metal ruler to trim any excess at ceiling, floor, and architectural edges. A blunt knife will tear rather than cut — use a fresh blade for clean results.

Step 3 — Installing Paste the Wall Wallpaper
Paste-the-wall wallpaper is applied differently — the adhesive paste is applied directly to the wall surface, not to the wallpaper backing. This keeps the panels dimensionally stable (they don't stretch when wet) and gives you longer working time.
Apply paste to the wall in a section slightly wider than one panel. Use a paste brush or roller, and apply evenly from edge to edge. Work in one panel-width sections.
Position the panel. Hang the panel from the top, aligning to your plumb line. The panel should slide on the wet paste — use this ability to adjust position before pressing firmly into place with your smoothing tool.
Seams and trim. The same principles apply as peel and stick — butt-join seams carefully, use a seam roller, and trim with a sharp knife. Wipe paste residue from the surface of panels immediately.
For our custom sized wallpaper, your panels arrive numbered and sequenced. Install in order from your starting edge. If you have questions during installation, help@oliveetoriel.com is available for support.


Custom Sized to Exact Dimensions
Duties Paid to USA
Frequently Asked Questions
What tools do I need to install wallpaper?
You'll need a plumb line or spirit level, a wallpaper brush or smoothing tool, a sharp craft knife or scissors, a seam roller, a bucket and sponge (for paste-the-wall types), and a step ladder. For peel and stick, no paste or water is needed — just the smoothing tool and knife.
How do I prepare my walls before hanging wallpaper?
Walls should be clean, dry, and smooth. Fill any holes or cracks with filler and sand smooth. Wipe down with a damp cloth to remove dust. For textured walls with peel and stick wallpaper, apply Roman PRO-977 Ultra Primer first. For paste-the-wall wallpaper, apply a wallpaper sizing coat (diluted paste) to reduce porosity.
How do I install Olive et Oriel peel and stick wallpaper?
Start at one vertical edge of your wall. Peel back the top 15cm of backing, align the panel to your plumb line, press firmly from top to bottom using a smoothing tool. Continue peeling the backing as you work down the wall. Overlap seams slightly or butt-join them — our panels are designed for clean seam alignment.
Does Olive et Oriel ship wallpaper to the USA with duties paid?
Yes. All orders shipped to the USA include import duties paid upfront. The checkout price is the complete price.
How do I remove peel and stick wallpaper without damaging walls?
Start at a corner or seam. Peel slowly at a low angle — pull the panel back on itself at approximately 30 degrees rather than pulling it away from the wall at 90 degrees. Slow, steady removal at a low angle minimises wall damage and reduces tearing.
Can I install wallpaper myself or do I need a professional?
Most homeowners can install peel and stick wallpaper without professional help. Paste-the-wall wallpaper requires more care with alignment and timing, but is also DIY-friendly with the right preparation. For large-scale murals or challenging wall configurations, a professional installer may be preferable.
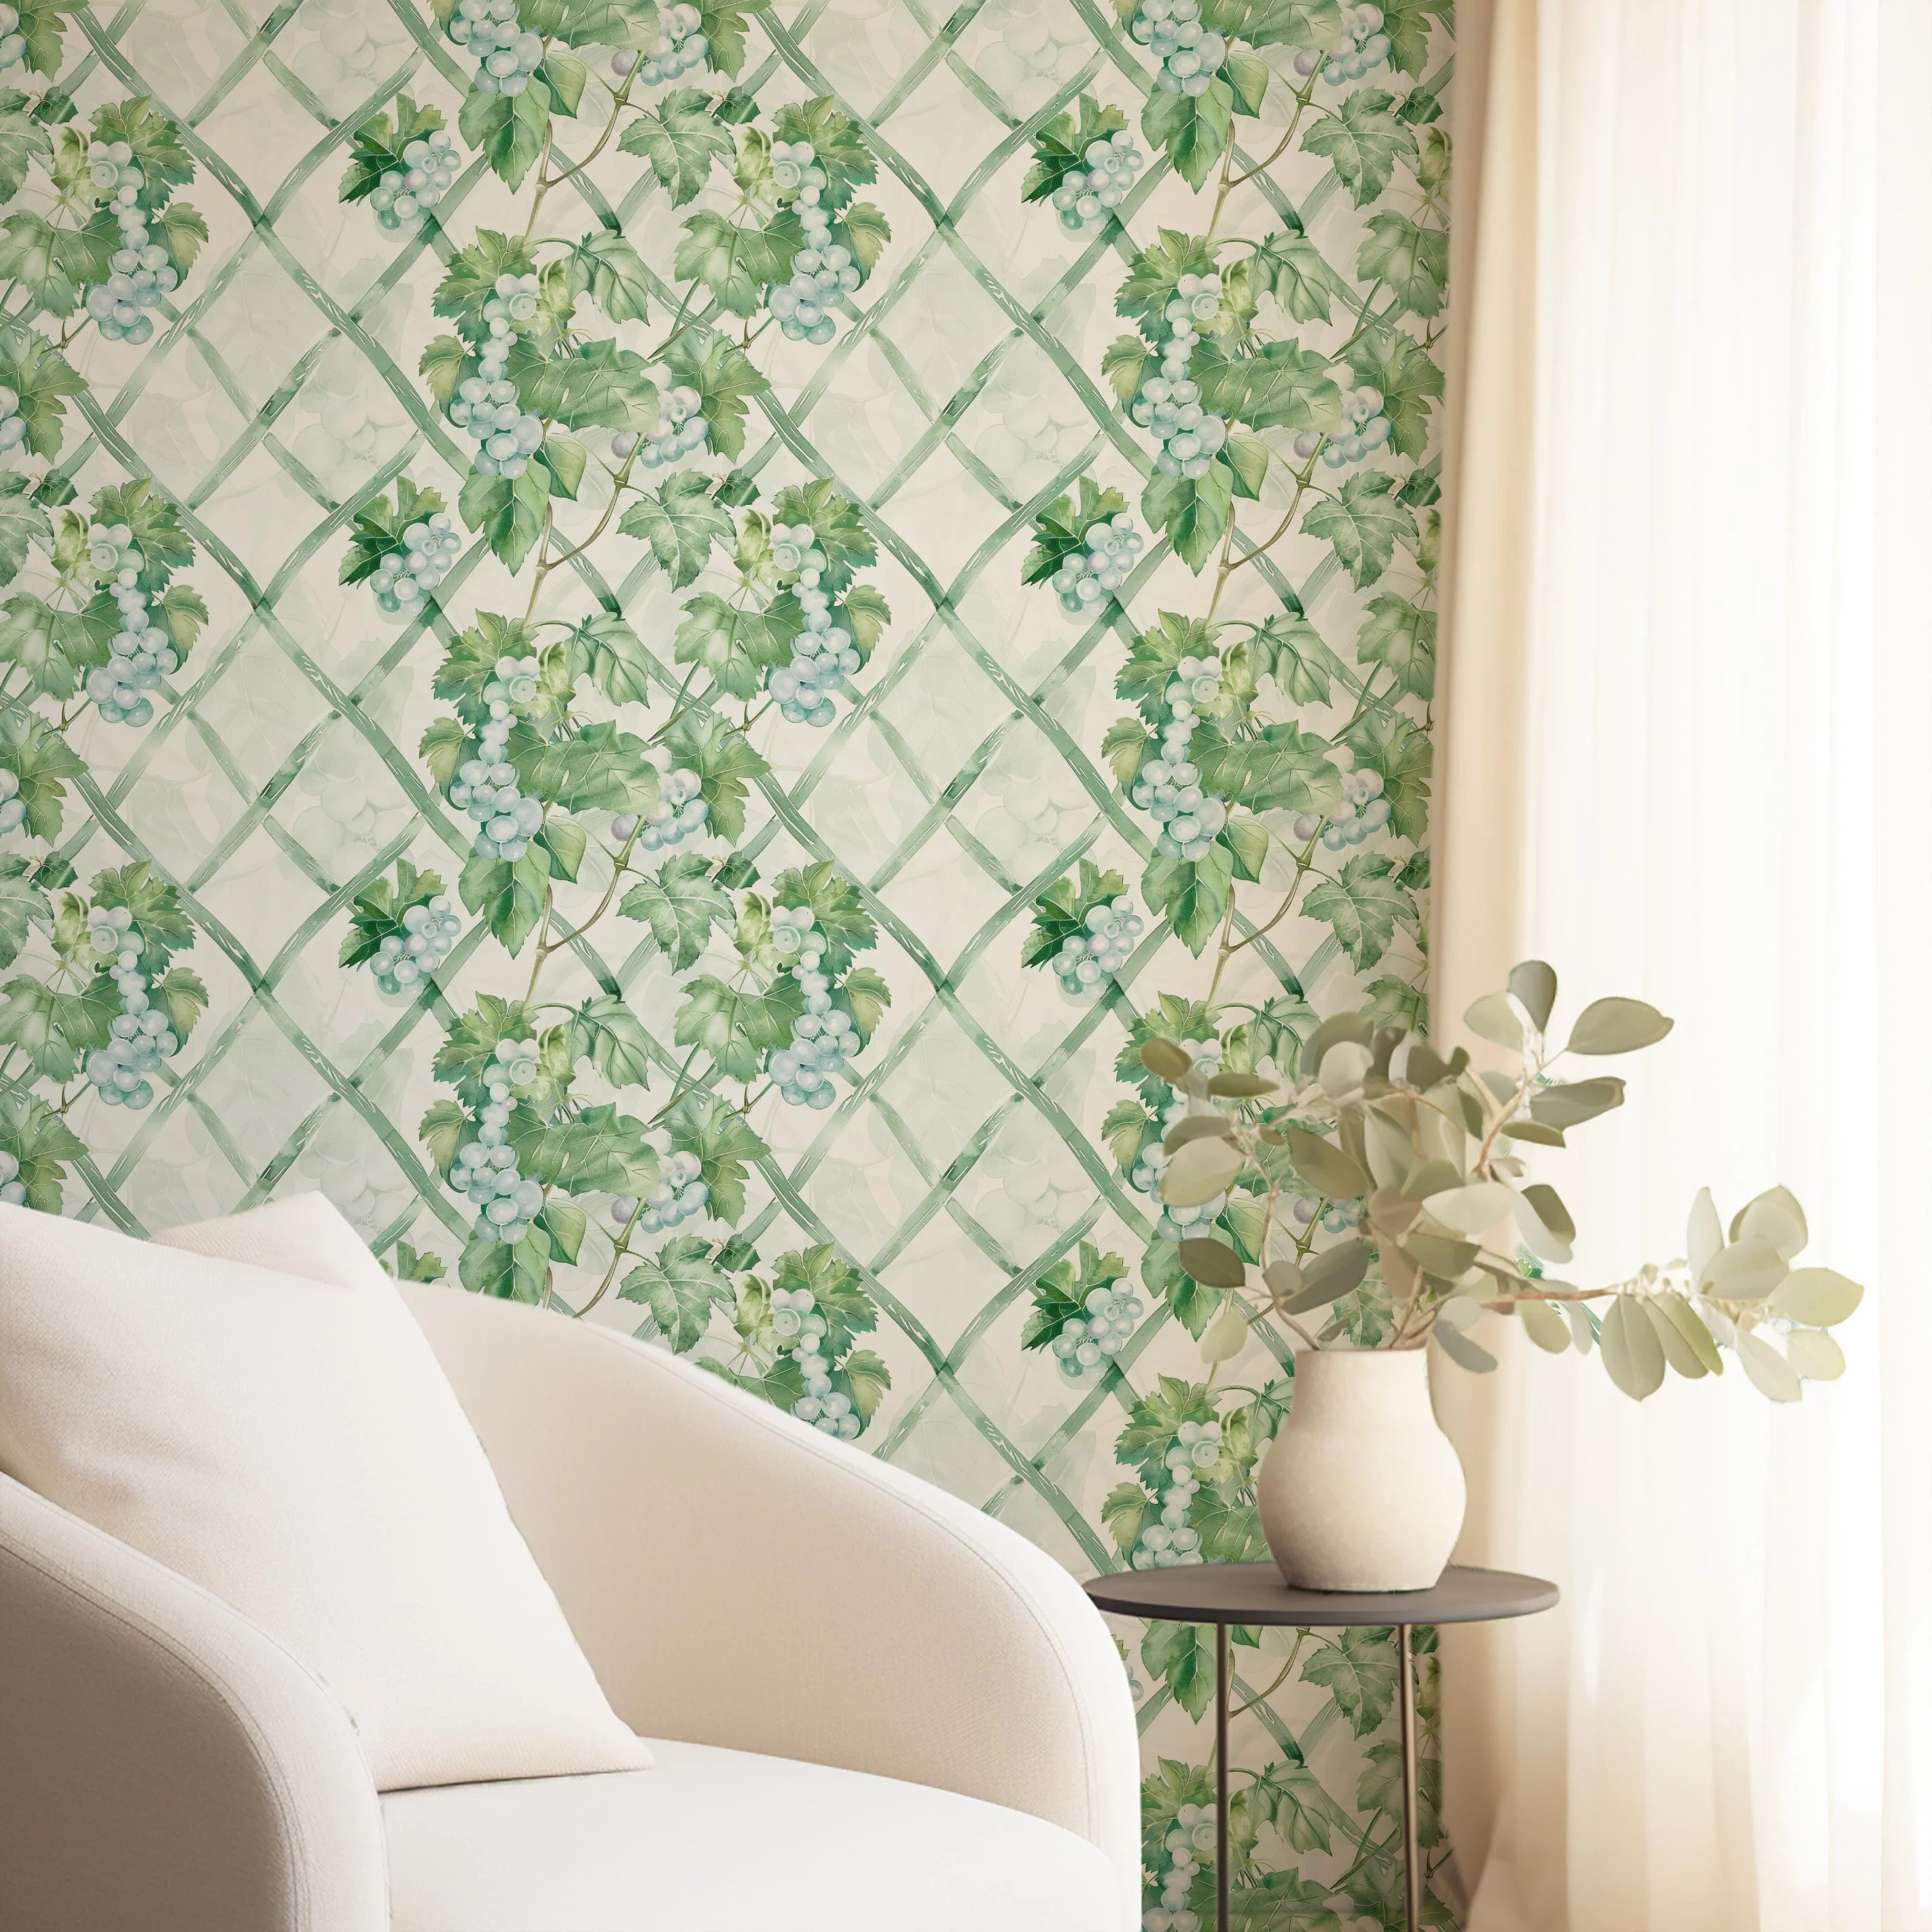
Looking for a classic geometric pattern? Browse our lattice and trellis wallpaper collection — custom sized, printed in Australia, duties included.
Need professional help? Find a wallpaper installer near you →
Ready to Start Your Installation?
Order a $4.99 sample to test the material before your full order. Every Olive et Oriel wallpaper ships to the USA with all duties paid — custom sized to your exact dimensions.