Painting over wallpaper is one of those home improvement decisions that sounds simple but has a high failure rate among people who do it without the right preparation. The failure mode is always the same. The paint activates the wallpaper adhesive, causes the paper to bubble and separate from the wall, and the painted surface develops visible seams, ridges, and texture within days or weeks of application. This is not inevitable. Painting over wallpaper can produce a clean, stable finish if the preparation is correct. But the preparation is more work than most guides acknowledge, and in some situations painting over wallpaper is simply the wrong choice regardless of how careful the preparation is.
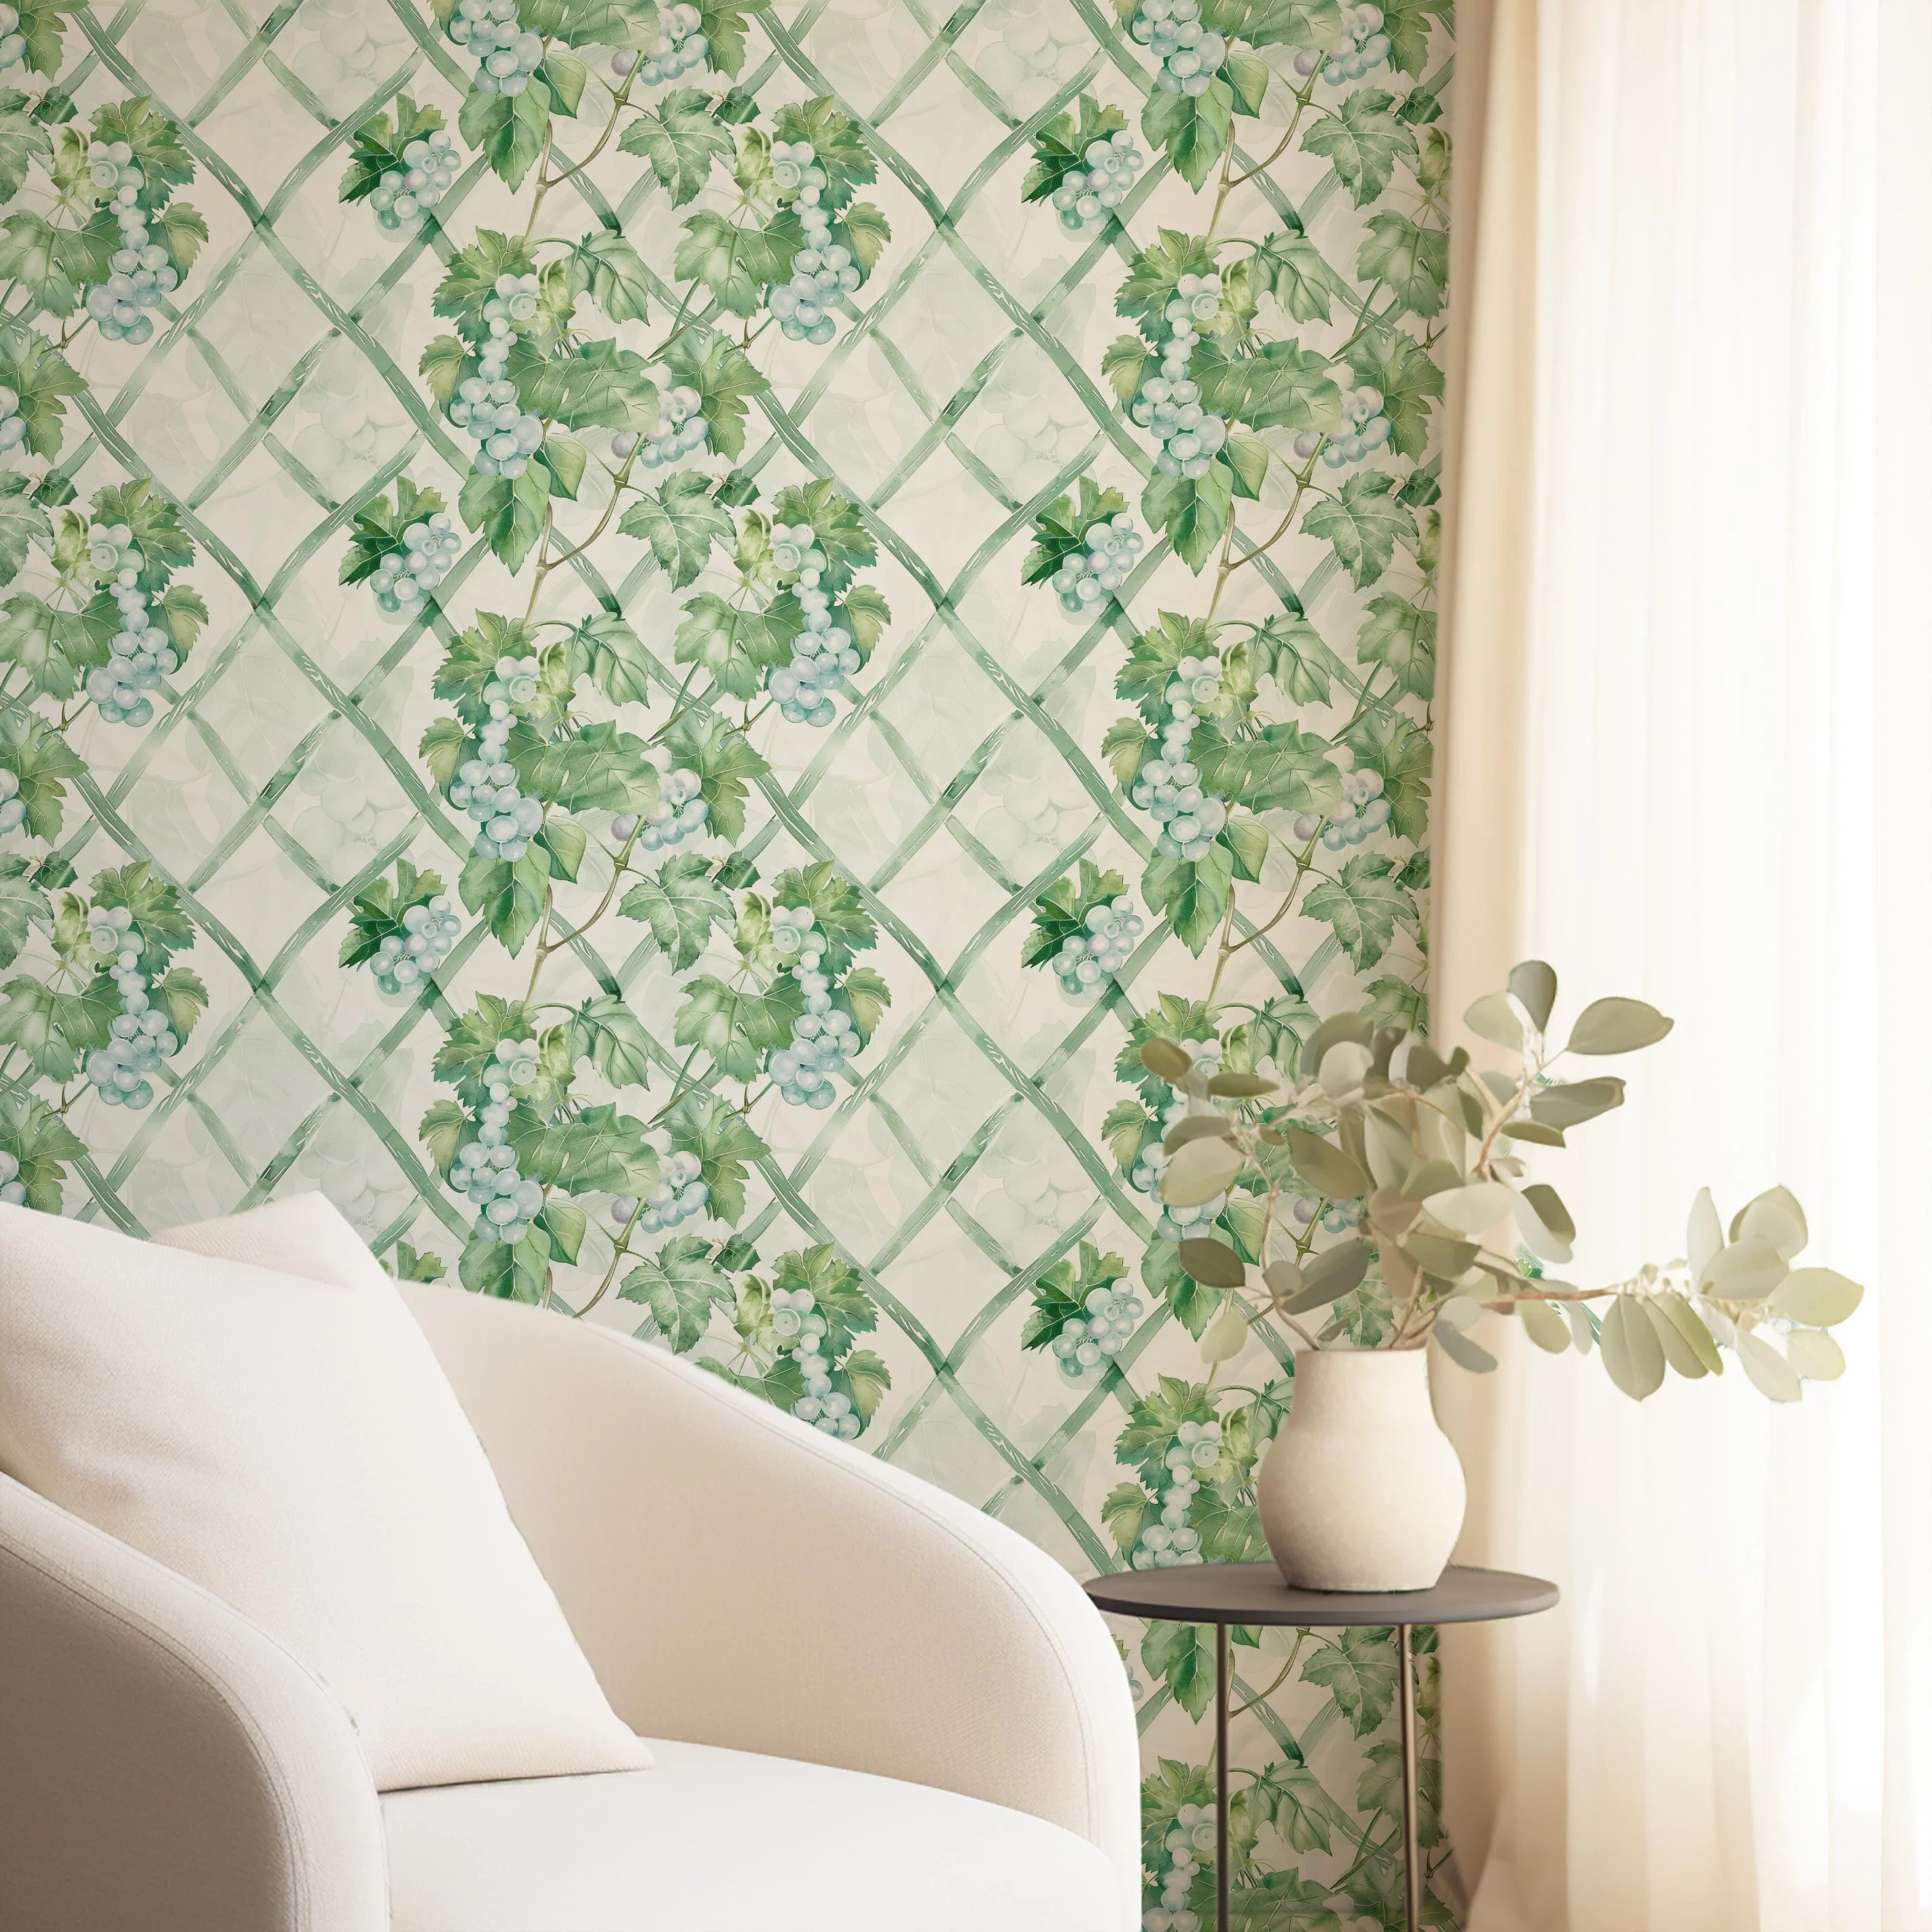
Browse our wallpaper collection.
This guide covers both sides of the decision: when painting over wallpaper is a viable solution and how to do it correctly, and when you should remove the wallpaper instead of painting over it. The decision depends on the wallpaper type, the wall condition beneath it, and what you plan to do with the surface long-term. Making the right call upfront saves significant remediation work later and prevents the frustration of a painted surface that fails within months of completion.
Order a sample before you buy.
When Painting Over Wallpaper Is a Viable Option
Painting over wallpaper works reliably when all of the following conditions are true. The wallpaper is fully adhered to the wall with no lifting edges, bubbles, or separated seams. The wallpaper is a single layer rather than wallpaper applied over previous wallpaper. The surface beneath the wallpaper is sound plaster or properly primed drywall. If these conditions are not all met, painting over the wallpaper will produce a poor result regardless of how careful the preparation is.
Painting over wallpaper is the right choice when the wallpaper is in good condition but dated in colour or pattern. It is also appropriate when you are renting and cannot remove the wallpaper without violating your lease, or when the wallpaper is applied to plaster that would be damaged by wet removal methods. It is the wrong choice when the wallpaper is already peeling or bubbling, when there are multiple layers, or when you plan to install new wallpaper in future. Paint applied over old wallpaper creates an unstable base for new wallpaper and the removal process when you eventually want to change the room will be significantly more difficult and expensive.
The Correct Preparation Process
The first step is securing all loose edges and seams before applying any primer or paint. Go around the entire room and press down every lifted seam and edge with a seam roller and seam repair adhesive. Allow to dry completely. Any seam that is not fully adhered before painting will show through the paint finish and will continue to lift after painting is complete. This step is the foundation of the entire process and cannot be skipped or abbreviated.
The second step is filling all seams and surface texture. Wallpaper seams create a raised ridge that is visible under paint, particularly under raking light from windows or lamps positioned at an angle to the wall. Apply joint compound over every seam with a wide knife, feathering it out 5 to 10cm on each side. Allow to dry, sand smooth, and repeat if necessary. This step takes significant time but determines whether the painted surface looks like wallpaper beneath paint or like a properly finished wall. The filling step is what most people skip and the reason most painted-over-wallpaper results disappoint.
The third and most critical step is applying oil-based primer. Water-based primer applied directly to wallpaper activates the adhesive, causing bubbling and separation that cannot be corrected after the fact. Oil-based primer seals the wallpaper face without activating the adhesive beneath it. Apply a full coat of oil-based primer over the entire wallpapered surface. Zinsser BIN shellac-based primer or Zinsser Cover Stain are the most reliable options available in the US. Allow to dry fully, typically 24 hours, before applying paint. Do not substitute water-based primer regardless of the paint label claims. The oil-based primer is what makes the painted-over-wallpaper approach work reliably.
The fourth step is applying paint in thin coats. Once the oil-based primer is fully dry, apply paint in thin even coats with a roller. Avoid thick coats. Heavy paint application adds moisture to the surface which can still activate adhesive even through the primer if applied in excess. Two thin coats with full drying time between them produce a better and more durable result than one thick coat.
When to Remove Instead of Paint
Remove the wallpaper rather than painting over it when the wallpaper has multiple layers, when the seams are already lifting significantly, when you plan to install new wallpaper in future, or when you want a truly smooth painted finish. Painting over wallpaper even with perfect preparation produces a surface that shows the wallpaper texture and seam lines under raking light. Also remove the wallpaper if it is vinyl-coated. Vinyl-coated wallpaper does not accept paint adhesion reliably and the paint will peel from the vinyl face rather than adhering to it. If your wallpaper has a slightly shiny or plastic feel to the surface it is vinyl-coated and should be removed rather than painted over.
The biggest mistake in painting over wallpaper is using water-based primer. It activates the wallpaper adhesive and causes bubbling that cannot be corrected after the fact. Oil-based primer only. This is not optional and there is no substitute regardless of what the paint label says.
Materials
- Oil-based primer: Zinsser BIN shellac-based or Zinsser Cover Stain. Both seal wallpaper effectively without activating the adhesive beneath.
- Seam repair adhesive: Specifically formulated for wallpaper seams. Available at most hardware stores. Standard white PVA adhesive is a functional alternative for light-duty seam repair.
- Joint compound: For filling seams and surface texture. Lightweight compound sands more easily than all-purpose compound and is the right choice for the thin coats needed over wallpaper seams.
- Wide putty knife: A 6-inch knife for seam filling and a 12-inch knife for feathering the compound out to blend with the surrounding surface.
Designer Tips
- Choose a paint with a flat or matte finish when painting over wallpaper. Sheen finishes catch light and make the wallpaper texture beneath more visible. Flat paint minimises this effect and is the most practical choice for painted-over-wallpaper applications in any room.
- Consider the long-term plan for the room before deciding to paint over the wallpaper. If there is any possibility you will want to wallpaper the room in future, remove the wallpaper now. Paint applied over wallpaper creates an unstable base and the layer removal process when you eventually want to change the room will be significantly more difficult.
- If you decide to replace the wallpaper rather than paint over it, consider upgrading to peel-and-stick wallpaper for the new installation. It removes cleanly at the end of a tenancy or when you want to change the room, making future changes straightforward. Read our guide to removing wallpaper correctly and browse our full wallpaper collection for peel-and-stick options that ship to the US and worldwide with all duties included.
The question of how to research wallpaper before buying is one that most guides skip entirely, assuming the reader will simply browse until something catches their eye. This is the approach that produces the most buyer's remorse in the wallpaper category, because wallpaper decisions made purely on visual attraction without considering the room's specific light conditions, the pattern's scale relationship to the wall dimensions, or the colour's interaction with the room's existing materials frequently disappoint at installation. The research process is not complicated, but it has a specific sequence that produces consistently better outcomes. Start with the room rather than the pattern. Identify the primary viewing distance from which the wallpaper will be experienced, which determines the appropriate pattern scale. Identify the room's light conditions throughout the day, which determines the appropriate colour temperature. Identify the room's existing material language, which determines which pattern vocabulary will feel integrated rather than imported from a different design tradition. With these three parameters established, the number of appropriate patterns in any collection drops from hundreds to dozens, and the sample process becomes a confirmation rather than a discovery among too many options.
The sample process deserves more attention than most guides give it. A wallpaper sample is not a swatch to be assessed in the hand — it is a piece of the finished wall to be assessed on the wall. The difference sounds trivial but produces dramatically different results in practice. A pattern that reads as delicate and intricate at arm's length often reads as a quiet texture at 3 metres from the primary viewing position. A colour that reads as cream in the hand reads as yellow in strong afternoon sunlight in a north-facing room. A pattern that reads as busy on a small sample reads as rich and layered at room scale. The only reliable assessment is the sample held against the actual wall at the actual viewing distance in the actual light conditions of the room at different times of day. This assessment takes approximately five minutes and is the single most reliable investment in the wallpaper buying process. We offer samples at $4.99 each and actively encourage customers to order multiple samples before committing to a full order. The cost of samples is trivial against the cost of an installation that disappoints because the pattern or colour was assessed on a screen rather than on the wall.
Custom sizing is the variable that most online wallpaper guides treat as an afterthought but that determines more of the final result than any other single factor. Standard roll wallpaper comes in fixed widths and requires pattern repeat calculations that almost always produce partial pattern repeats at the corners and edges of the wall. Custom-sized wallpaper manufactured to the exact dimensions of your wall produces panels where the pattern is complete from edge to edge, floor to ceiling, with no partial repeats and no awkward joins at corners. The difference is visible and significant. Our panels are produced to the specific measurements you provide, with the pattern composition scaled to fill the wall correctly. No calculations required from the customer side — provide the height and width and we handle the rest. Production takes 4 business days at our Central Coast NSW facility. All import duties are included in the purchase price on every order to every country. Ships to the US, UK, Europe, Australia, and 40 plus countries globally.