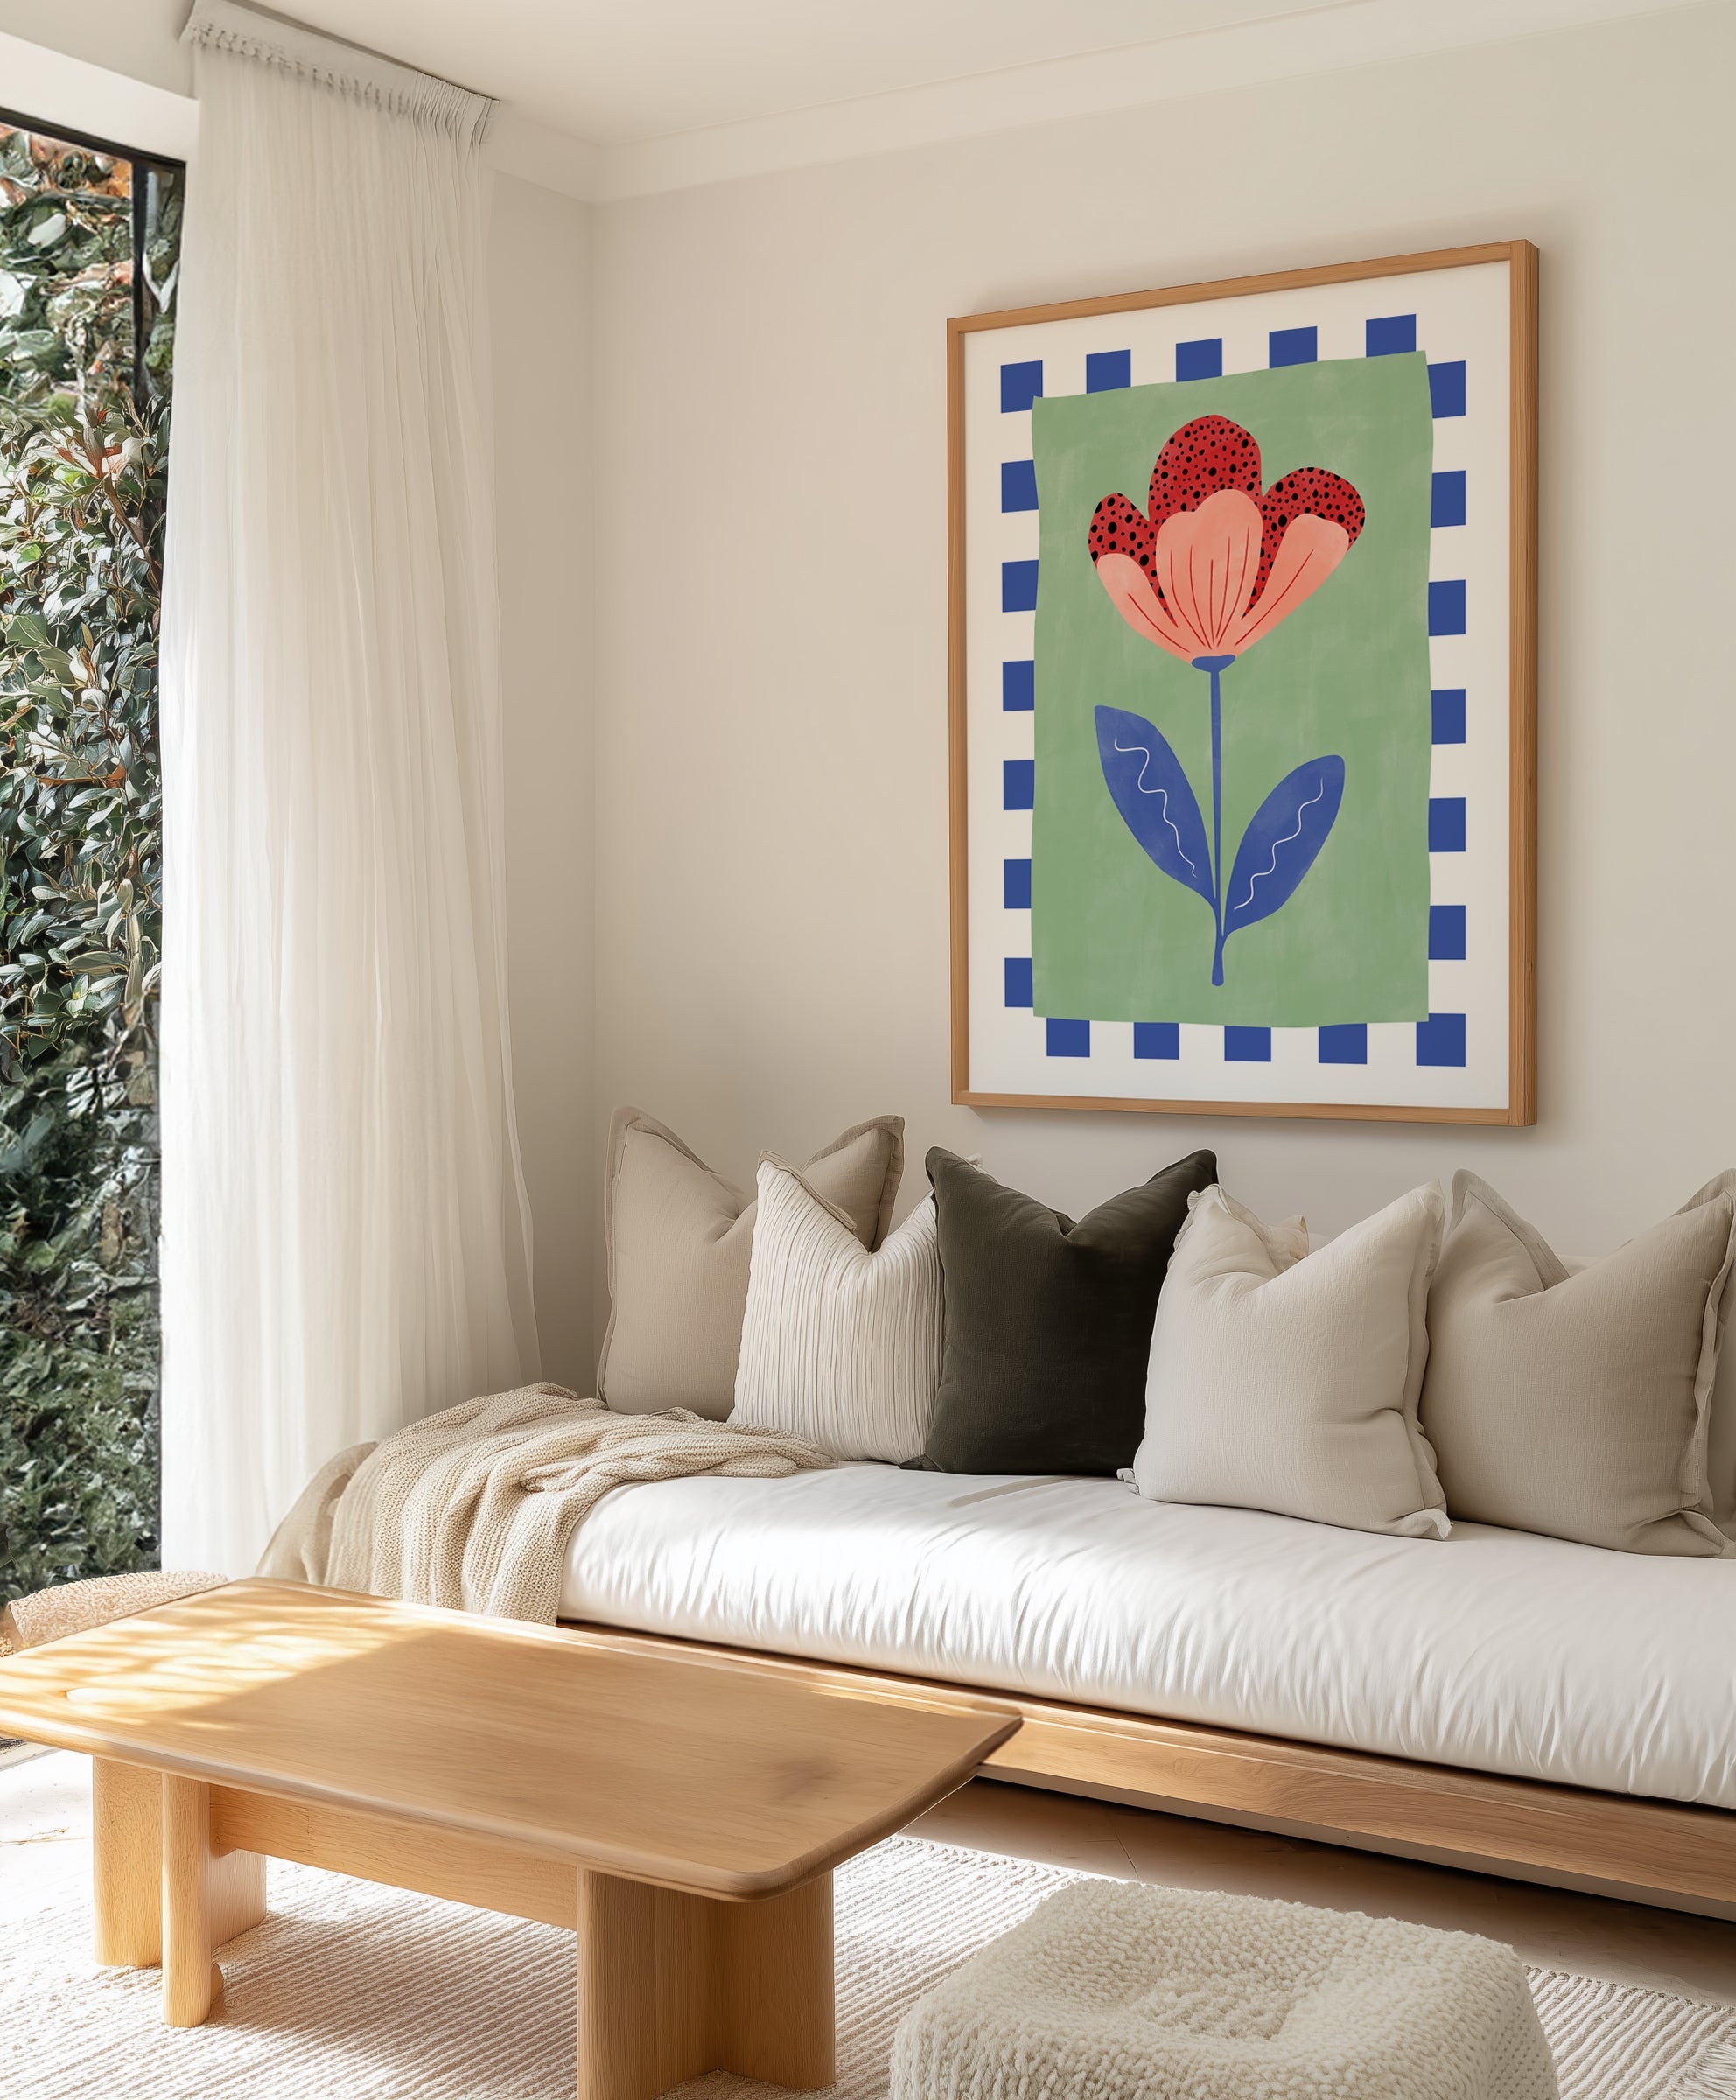
VJ board — vertical joint board, sometimes called V-groove lining — is one of the defining interior surfaces of Australian residential architecture. Found throughout Queenslanders, coastal homes, Federation cottages, and an increasing number of contemporary homes that reference this vernacular heritage, VJ walls bring a warmth and material authenticity that plasterboard cannot replicate. They are also, in terms of wallpaper application, one of the more technically demanding surfaces to work with — not impossibly so, but demanding enough that going in without understanding what you are dealing with reliably produces results that fall short of what is possible.
The challenge is the grooves. Each VJ board is typically 100–150mm wide, and where boards meet, there is a distinctive V-shaped groove that creates a regularly spaced vertical relief across the wall surface. When you apply wallpaper directly over this surface without preparation, two things happen: the wallpaper bridges the grooves (creating a temporary flat appearance that bubbles and lifts as the adhesive dries), or it conforms to the grooves (creating a visible ribbed texture through the face of the paper that interrupts the wallpaper's pattern). Neither outcome is acceptable for a premium installation.


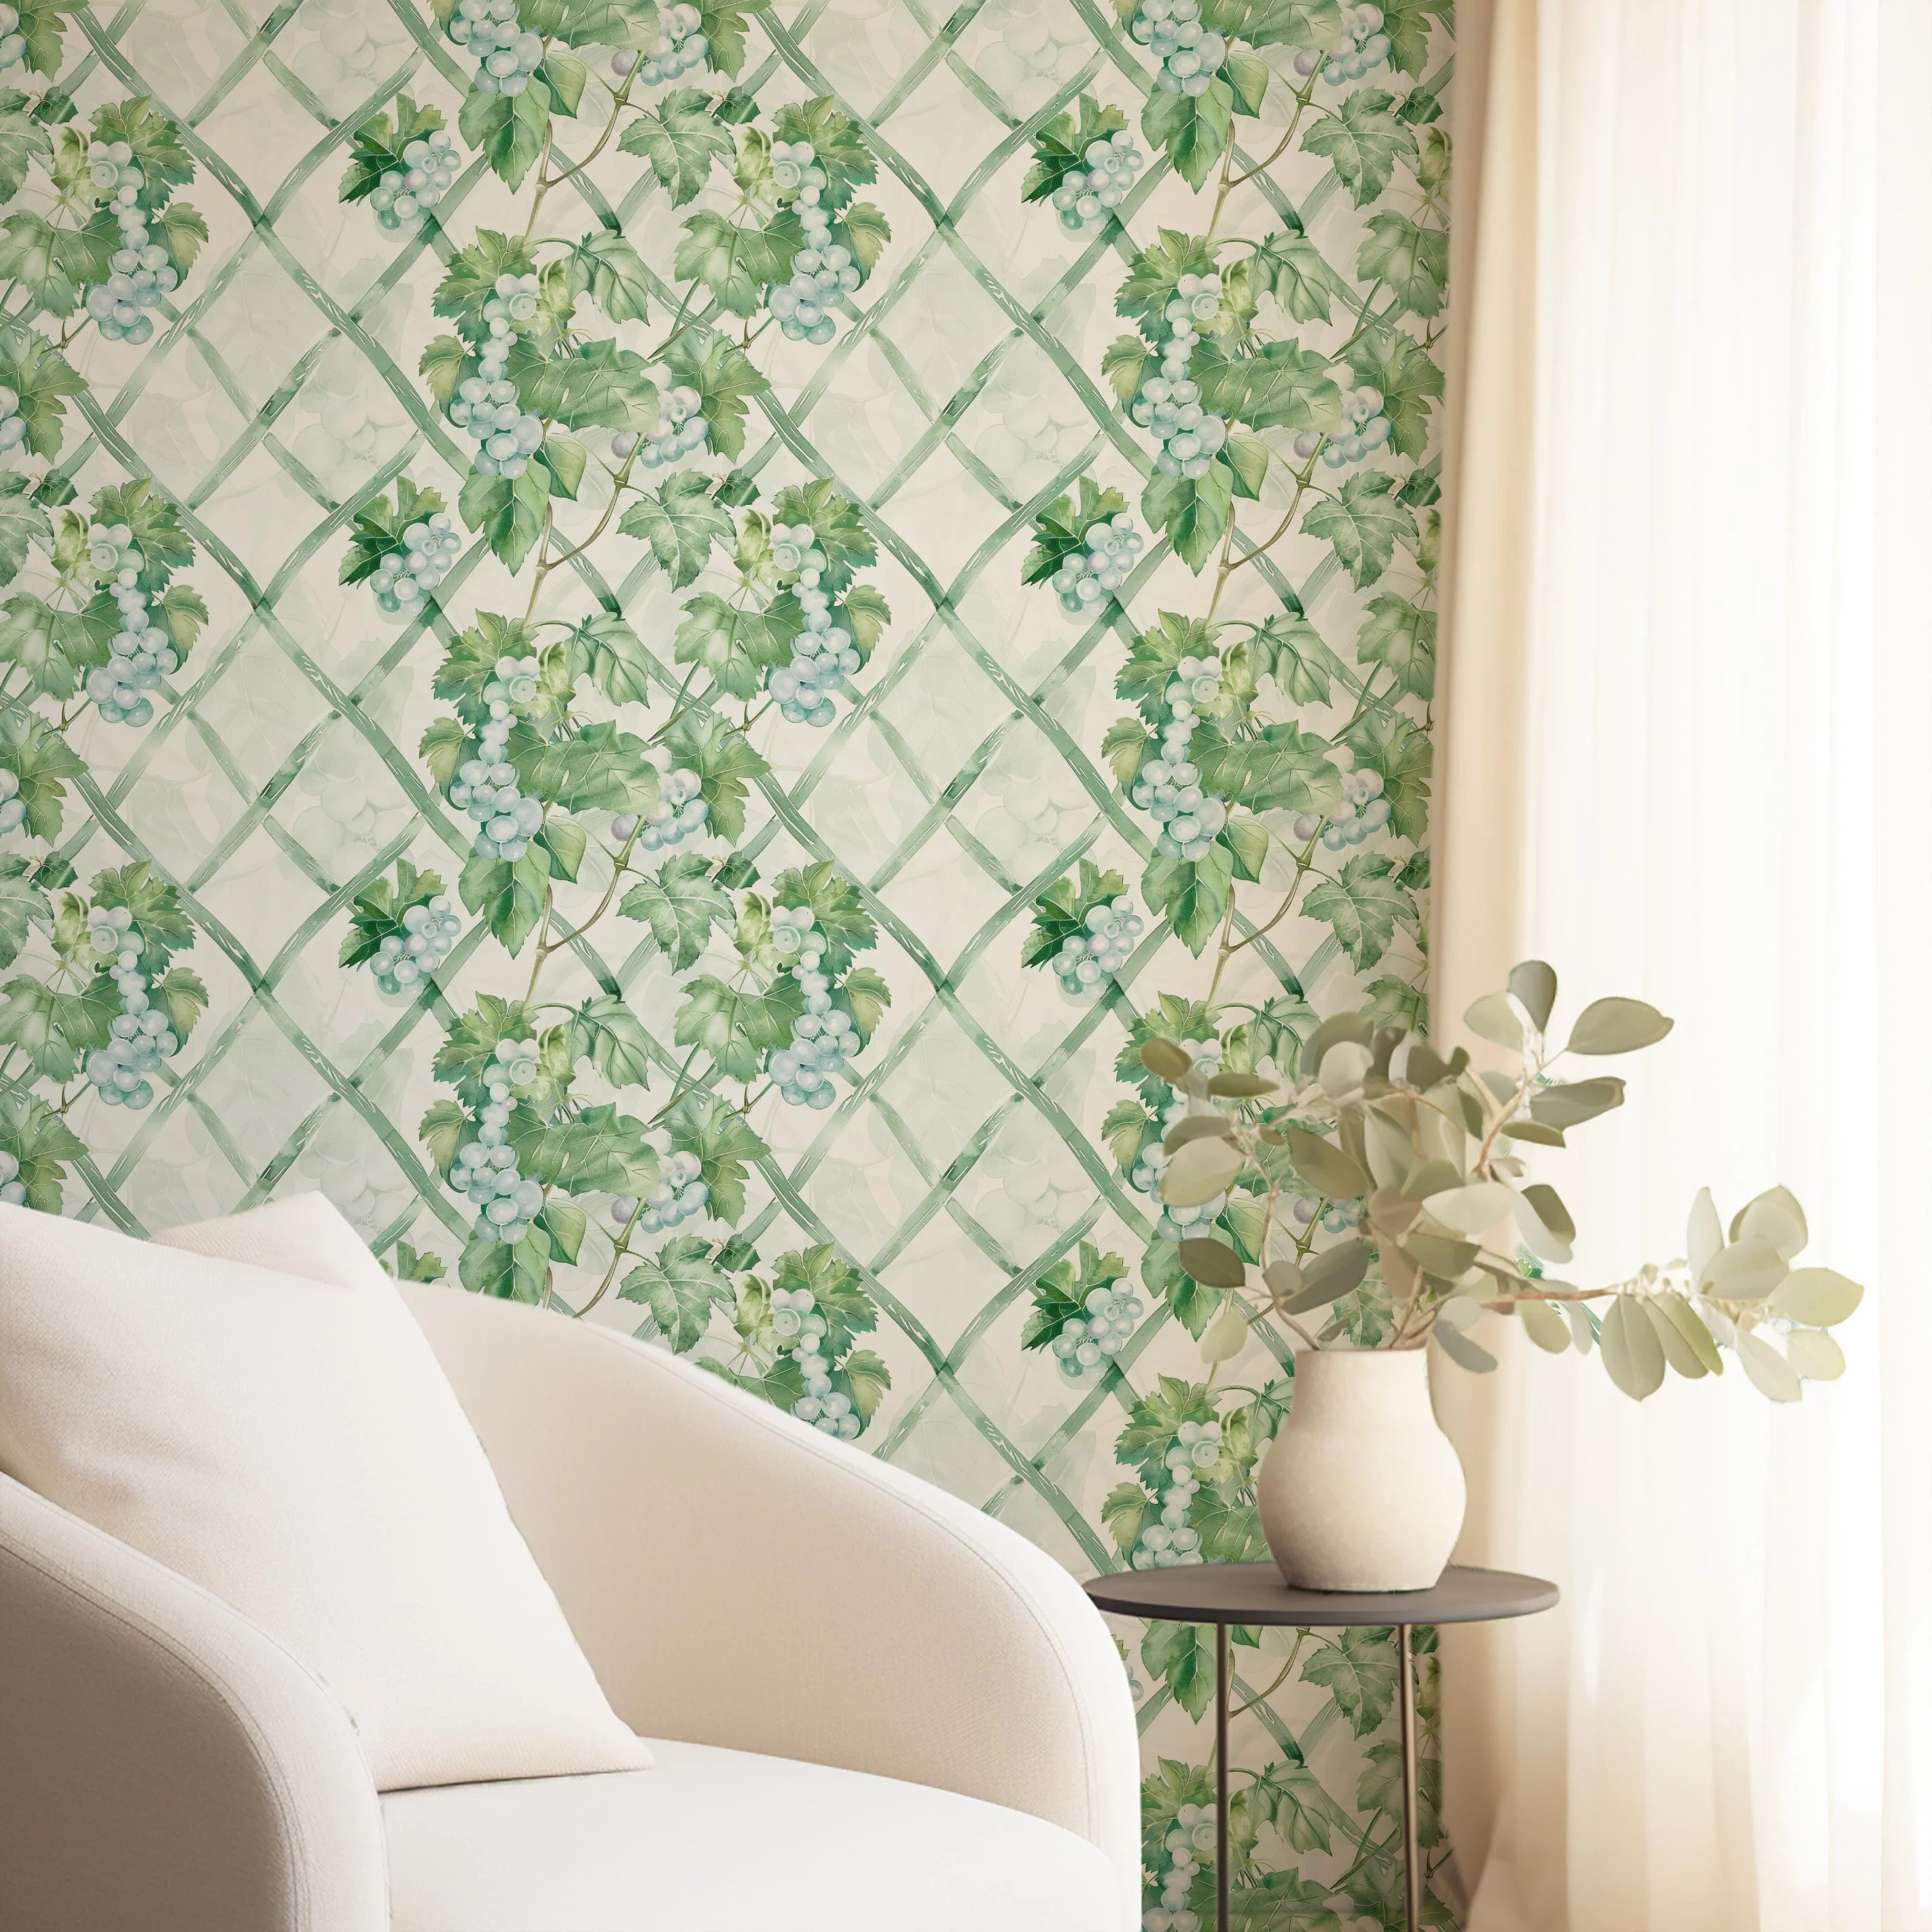
Ethereal Horizons Wallpaper Mural · Citrus Tree Luxe in Sage Green Wallpaper · Avalon Palm Wallpaper in Grey
At Olive et Oriel, we have manufactured wallpaper for VJ board applications across Queenslanders and coastal homes in Queensland, New South Wales, and Western Australia for more than a decade. The technical guidance that follows is drawn from that experience, from the expertise of our production team on the Central Coast of NSW, and from the installation feedback of the professional wallpaper hangers we work with across Australia.
Understanding VJ Boards: What You're Working With
VJ boards are typically produced from timber — originally hardwood or pine, now frequently MDF in contemporary applications — with a machined V-groove cut along each long edge where adjacent boards meet. The result is a regular pattern of shallow grooves at 100–150mm intervals running vertically from floor to ceiling. The depth of these grooves varies: in original timber VJ from a century ago, the groove can be quite deep and irregular; in contemporary MDF VJ, the groove is shallower and more consistent.
The surface texture of VJ boards also varies significantly by age and condition. Original timber VJ in a century-old Queenslander may have been painted many times, creating a built-up surface with its own irregularities. Contemporary MDF VJ is smoother but still has the groove detail. Both require preparation before wallpaper application, but the approach differs somewhat based on the depth and character of the groove.
Two Approaches: Fill or Embrace
There are two philosophically distinct approaches to wallpapering over VJ boards, and the choice between them determines your preparation process.
Approach 1: Fill the grooves. This is the approach to use when you want the wallpaper to appear as a completely flat, uninterrupted surface. Using a flexible filler compound (not a rigid plaster), fill each groove flush with the surrounding board surface. Allow to dry completely. Sand smooth. Prime with a wallpaper primer. The result is a surface that, while it still has the subtle variation of the VJ boards beneath, reads as essentially flat from the distance at which wallpaper is typically viewed. This approach is more time-consuming and requires care to avoid trapping air pockets in the filled grooves, but it produces the cleanest result for wallpaper with a tight, regular pattern or a photographic image where any surface texture would be distracting.
Approach 2: Embrace the texture. This approach accepts that the VJ board texture will read subtly through the face of the wallpaper and uses that texture as a feature rather than fighting it. It works best with wallpapers that have an inherently textural quality — linen-effect or grasscloth-effect prints, abstract patterns, loose botanical repeats — where the subtle surface variation from the VJ boards adds to rather than detracts from the design. This approach requires significantly less preparation (primarily priming and sealing) and is entirely appropriate for the majority of wallpaper applications in a Queenslander or coastal home where the VJ board character is part of the architectural appeal.
Preparation: The Critical Steps
Regardless of which approach you choose, certain preparation steps are non-negotiable for a successful VJ board wallpaper installation:
- Clean the surface thoroughly. VJ boards in older homes often carry decades of paint buildup, dust, and grease in the grooves. Clean with a sugar soap solution and allow to dry completely before any further preparation.
- Check for loose or damaged boards. Any board that moves when pressed must be refixed before wallpapering. Apply construction adhesive and re-nail if necessary.
- Sand any paint ridges. Run a sanding block across the surface to knock back any paint buildup at board edges that would create high points through the wallpaper face.
- Seal knots in timber VJ. Raw timber knots in original VJ boards will bleed resin through wallpaper over time, causing discolouration. Seal every visible knot with shellac-based primer before applying wallpaper primer over the whole surface.
- Apply wallpaper primer. This seals the surface, controls absorption, and provides the tack necessary for the adhesive to bond properly to what is essentially a paint-covered surface.
For peel and stick applications on VJ, the standard preparation also requires three coats of Viponds Self-Adhesive Prep Coat (available from specialist wallpaper suppliers, not hardware chains) applied over the primed surface. This dramatically improves adhesion and dramatically reduces the risk of lifting at the groove edges — which is the most common failure point for peel and stick on textured surfaces.
Paste the Wall vs. Peel and Stick on VJ
Both application methods can be used on VJ boards with appropriate preparation, but they have different strengths in this specific context.
Paste the Wall Smooth generally produces the more reliable result on VJ boards. The paste has more time to bond into the board surface and groove edges before drying, and the weight of the non-woven substrate holds the paper in place during this process. Paste the Wall is the recommended method for any VJ application where a high-quality, long-lasting result is the priority.
Peel and Stick is workable on VJ boards that have been properly prepared with Viponds prep coat, but it demands greater installation skill because the self-adhesive backing bonds immediately on contact. Repositioning is more difficult than with paste. The risk of air pockets at groove edges is higher. For a first-time VJ installation or a large wall area, Paste the Wall is the lower-risk choice.


Avalon Palm Wallpaper in Ice Blue · Autumn Leaves Wallpaper in Soft Grey
Materials
- Timber: The VJ board wall itself is the dominant timber element. Frame choices for any art or mirrors in the same room should relate to the board colour — white-painted VJ suits white or light oak frames; raw timber VJ suits natural oak or darker stained frames.
- Filler: Use a flexible, paintable filler compound for groove filling — not plaster or rigid filler, which will crack as the timber boards move seasonally.
- Primer: Wallpaper-specific primer, applied after cleaning and before any paste. Essential on previously painted VJ boards.
- Adhesive: Heavy-duty non-woven wallpaper adhesive applied to the wall. Follow the manufacturer's instructions for coverage rate — VJ boards absorb more adhesive than flat plasterboard and may require a slightly higher paste concentration.
Room by Room
- Queenslander living room: The long VJ walls of a Queenslander living room are ideal for a single botanical or landscape pattern that creates an immersive atmosphere. Choose a pattern whose repeat works with the board width — a 150mm pattern repeat will align with the VJ groove spacing in a visually satisfying way.
- Queenslander bedroom: The headboard wall is the priority. Fill the grooves for the clearest presentation of a fine-detail pattern, or embrace them for a textured botanical that benefits from the added surface interest.
- Coastal bathroom with VJ: Many coastal homes have VJ in bathrooms, particularly in older beach houses. Above the tile line, with paste-the-wall application and appropriate preparation, this is entirely feasible and produces a result of extraordinary warmth.
- Verandah integration: Some enclosed Queenslander verandahs have VJ walls. A panoramic mural wallpaper on the VJ wall of an enclosed verandah creates an extraordinary indoor-outdoor connection.
Designer Tips
- Order the $4.99 sample (48cm x 40cm / 19in x 16in) and apply it to a prepared section of your VJ wall to see exactly how the pattern will read over the board texture. Hold it at normal viewing distance — 2–3 metres — before making your final pattern decision.
- For the best result on deep-grooved original timber VJ, consider commissioning a professional wallpaper hanger with specific experience on VJ surfaces. The preparation alone typically takes a full day on a standard-sized Queenslander bedroom. See our global installer directory for vetted professionals in your area.
- Our wallpaper is custom sized to your exact wall dimensions — measured from finished skirting board to ceiling cornice, and from corner to corner. Never measure to the groove edges. See our measuring guide for Queenslander-specific measurement advice. Production takes 4 business days. Ships globally with all duties paid on wallpaper orders.
Browse our full wallpaper range for VJ-appropriate designs, explore our coastal wallpaper collection for Queenslander and beach house applications, or read our paste-the-wall installation guide for the full technical process.