Peel-and-stick wallpaper represents one of the most significant advances in accessible interior design of the past decade — the ability to transform the character of a room in a single afternoon without professional installation, paste, water, or any permanent commitment to the outcome. But this ease of use, which is the product's greatest selling point, is entirely contingent on one factor that most installation guides mention in passing and that deserves to be stated clearly at the outset: wall preparation. Get the preparation right and everything that follows is straightforward. Get it wrong and no product quality, no technique, and no amount of remediation will produce a result worth having.
At Olive et Oriel, we have manufactured peel-and-stick wallpaper at our Central Coast of New South Wales facility for more than a decade. We have shipped our products to renters in Sydney apartment blocks, to homeowners in Perth renovating coastal properties, to interior designers in London specifying hotel rooms, and to residential clients across forty countries. In every market and every climate, the pattern of installation success and failure is identical: the installations that work are the ones where the wall was properly prepared. The installations that fail — the ones that start lifting at the edges within months, that develop stubborn air bubbles, that peel away from the wall in sheets rather than releasing cleanly — are almost invariably traceable to inadequate wall preparation rather than to any deficiency in the product itself.


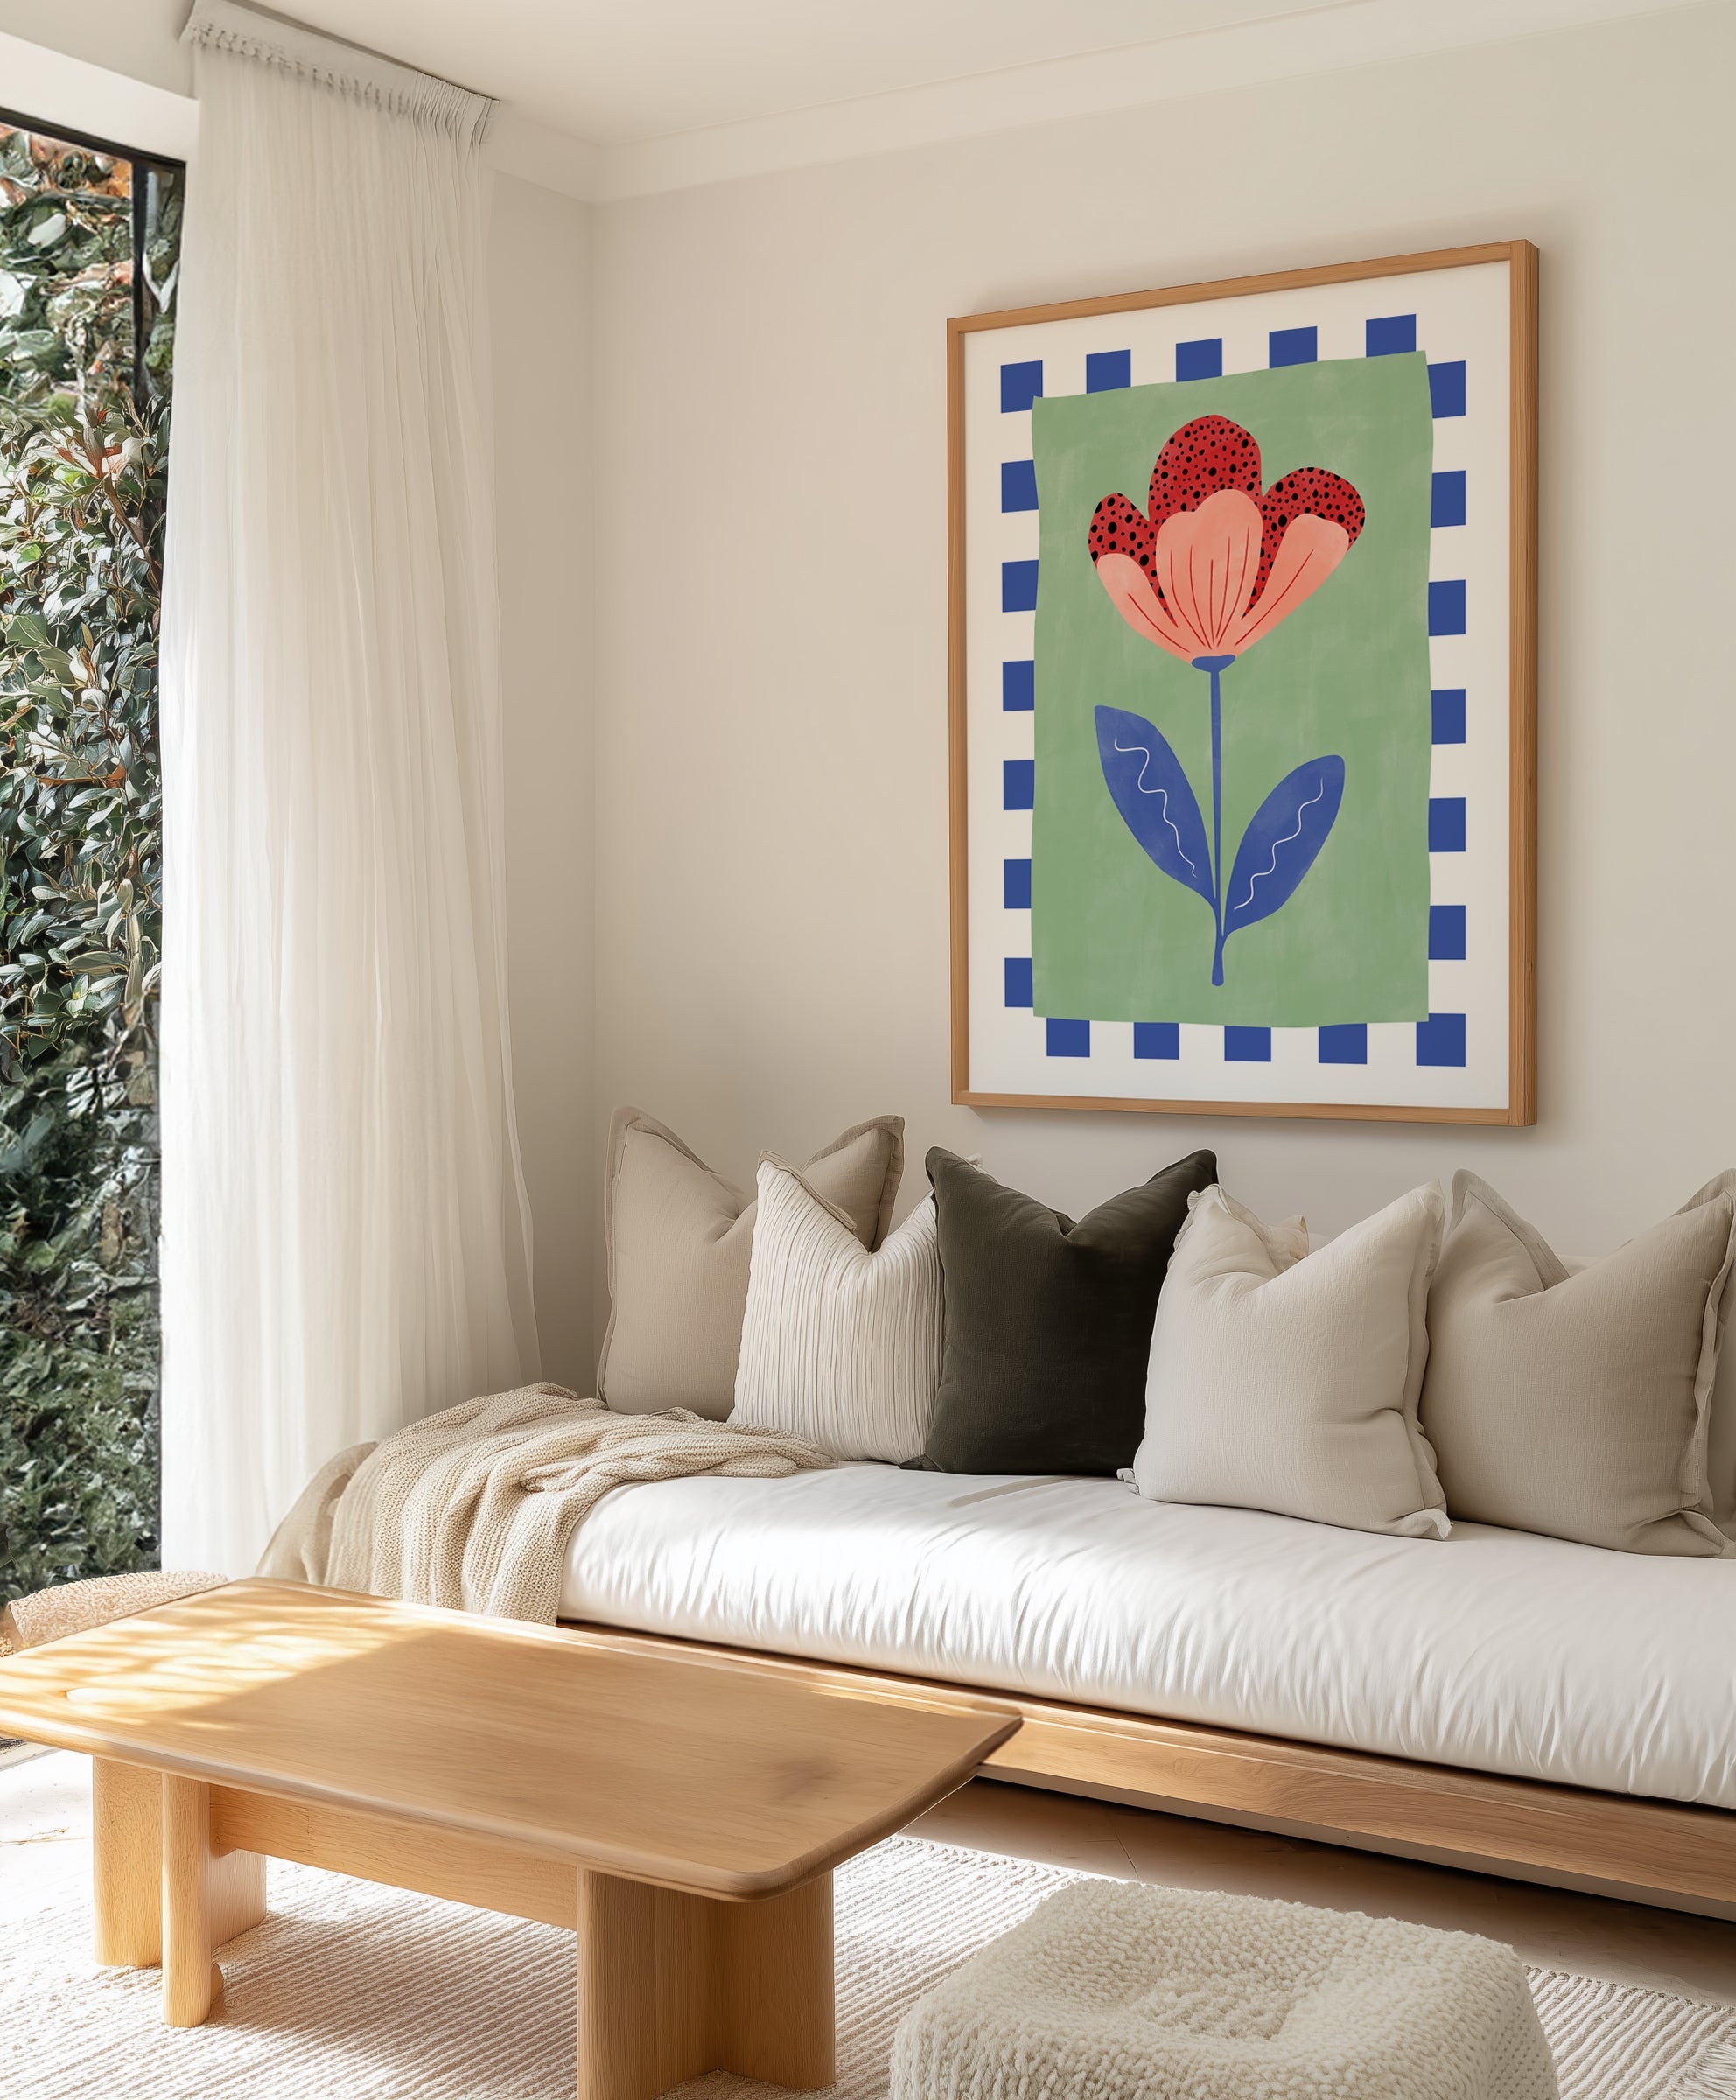
Marrakech View Painted Mural Wallpaper · The Canopy Painted Mural Wallpaper · Calm Seas Painted Mural Wallpaper
This guide covers the complete installation process from the condition of the wall on day one through to the final trim and outlet cut after all panels are in place. It is written for someone who has not installed wallpaper before, and it is written with the specificity that first-time installers deserve rather than the vague reassurances that most installation guides provide. Every measurement, every timing requirement, and every technique described here has a specific reason behind it. Understanding the reasons allows you to apply the instructions with confidence and to adapt them intelligently when your specific situation calls for it.
The single most important number in any peel-and-stick installation is thirty. Thirty is the minimum number of days that freshly painted walls must cure before any self-adhesive product is applied. Paint that has not fully cured continues to outgas solvents and moisture through its surface — these substances chemically interfere with the pressure-sensitive adhesive, preventing it from forming the full bond it requires. On a 30-day-cured wall, the adhesive bonds immediately and holds with increasing strength over the following 72 hours. On a freshly painted wall, the adhesive may appear to adhere initially but will progressively release as the solvents beneath it continue to migrate through the paint film. In high-humidity coastal environments — coastal Queensland, the Northern Rivers, coastal NSW — 60 days is the more conservative and more reliable target.
Wall Preparation: The Foundation of Every Successful Installation
Wall preparation for peel-and-stick wallpaper involves three sequential steps, each of which must be completed fully before proceeding to the next: confirming paint cure time, applying Viponds Self-Adhesive Prep Coat, and performing a final surface clean. These steps are not optional accelerations of the process — they are the process. Skipping any of them compromises the adhesive bond in ways that will only become apparent weeks or months after installation, when remediation is far more difficult than prevention would have been.
Paint cure confirmation. If you have recently repainted the walls you intend to wallpaper, note the date the final coat was applied. Count forward 30 days from that date. Do not begin installation before that point. If you are in a humid coastal or subtropical environment, count forward 60 days. If you are unsure when the walls were last painted — common in rental properties where the history is unknown — apply the prep coat and monitor its adhesion over 72 hours before ordering the full quantity of wallpaper. A test piece of the sample (ordered before the main delivery) applied to the prepared wall and left for 72 hours provides the most reliable confirmation of surface readiness.
Viponds Self-Adhesive Prep Coat. This is a specialist product engineered specifically for self-adhesive film applications. It is not a paint primer, not a conventional wallpaper primer, and not available from general hardware chains. It is available from specialist wallpaper suppliers and from select trade suppliers. The preparation involves three complete coats applied to the full wall surface, with each coat allowed to dry fully before the next is applied. The drying time between coats is typically 30 to 60 minutes depending on ambient temperature and humidity — test with a fingernail; if the coat resists marking, it is ready for the next application.
What does Viponds actually do? It creates a controlled, uniform release layer between the existing paint film and the adhesive surface of the wallpaper. Without this layer, the adhesive bonds directly to whatever the wall paint happens to be — and different paint formulations, different ages of paint, different preparation conditions all produce wildly different adhesion characteristics. The prep coat standardises this variable, creating a known, consistent surface chemistry that the adhesive is designed to work with. When the time comes to remove the wallpaper — at the end of a tenancy, when the design is ready for a refresh — the wallpaper releases from the prep coat layer rather than from the paint itself, leaving the paint intact.
Final surface preparation. Immediately before installation begins, wipe the entire wall surface with a dry, lint-free cloth. Remove any dust that has settled since the prep coat was applied. Do not use water, sugar soap, or any cleaning product at this stage — moisture and chemical residue both compromise the adhesive. The surface must be completely dry and dust-free when the first panel is applied.
Establishing the Starting Line
The starting line is the foundation of the entire installation. Every panel after the first is positioned relative to the first panel, and the first panel is positioned relative to the starting line. If the starting line is not truly plumb — not vertically accurate — every subsequent panel will compound that error, resulting in a diagonal drift that becomes increasingly visible as you approach the final corner or edge of the wall.
Begin at the far left of the wall you intend to wallpaper. Using a pencil and a measuring tape, mark a point 43 centimetres (430mm) from the left-hand corner at both the top and bottom of the wall. Connect these two points with a truly vertical line using a spirit level or laser level. This is your starting reference line.
The 43cm offset, rather than the full 48cm panel width, is deliberate. Each panel is 48cm wide, but by starting at 43cm from the corner, you create 5cm of excess material on the left side of the first panel. This excess hangs into the corner and compensates for walls that are not perfectly plumb. A wall that appears straight to the eye may deviate by 10mm or more across its height, and the 5cm allowance absorbs this deviation without any distortion of the pattern. The excess material in the corner is trimmed after all panels are installed.
A laser level is strongly recommended for any wall installation longer than 3 metres, as optical spirit levels require careful attention at multiple points across the full height to maintain accuracy. A laser line that projects a continuous plumb reference across the full wall height is significantly faster and more reliable than a spirit level checked at discrete intervals.
Applying the Panels
Before peeling any backing from the first panel, roll the panel loosely into a cylinder. This counterintuitive step — rolling a panel you are about to unfold and apply — dramatically improves handling. A flat panel is rigid and unwieldy; a loosely rolled panel is flexible and manageable during the critical first moments of application when both hands are occupied with alignment.
From the top of the rolled panel, peel back approximately 15 to 20 centimetres of backing paper. Fold the backing away from the adhesive surface rather than removing it entirely — the fold keeps the backing taut and prevents the adhesive from contacting itself or folding back onto the exposed face of the panel.
Position yourself in front of the wall with the panel rolled in one hand. Align the right edge of the panel with your pencil starting line, leaving 5cm of excess at the top (above the cornice or ceiling line) and confirming that the pattern is correctly oriented. Once you are satisfied with the alignment, press the top 15 to 20cm of panel to the wall.
Now begin smoothing. Working from the top downward, use a clean, dry, white lint-free cloth to smooth the panel against the wall using gentle upward and outward motions — pressing the centre of the panel outward toward the edges to release any trapped air. Do not use a plastic smoothing tool, a hard-edged squeegee, or any implement other than a soft cloth. The face of peel-and-stick wallpaper is a printed fabric, and hard tools create permanent marks in the surface that are visible from normal viewing distances. As you smooth downward, continue peeling the backing with your free hand, maintaining a gradual peel rather than stripping the entire backing at once.
Continue smoothing downward to the floor, maintaining the alignment with your starting line and leaving 5cm of excess at the bottom. If you notice any large air bubbles forming during application, peel the panel back to just above the bubble and reapply. Do not attempt to push or pierce bubbles — pushing them moves them rather than eliminating them, and piercing permanently damages the print surface.
For the second panel, align it directly against the right edge of the first panel. This is a butt join — edges touching but not overlapping. Our panels are pre-trimmed at the facility so that when two panels are butted together on a level wall, the pattern aligns exactly. Match the pattern at the seam before pressing the second panel to the wall. Then smooth and apply exactly as you did the first panel.
"Every installation failure we have seen in a decade of manufacturing traces back to one of three things: insufficient paint cure time, no prep coat, or a starting line that was not truly plumb. Every installation success begins with these three things done correctly."


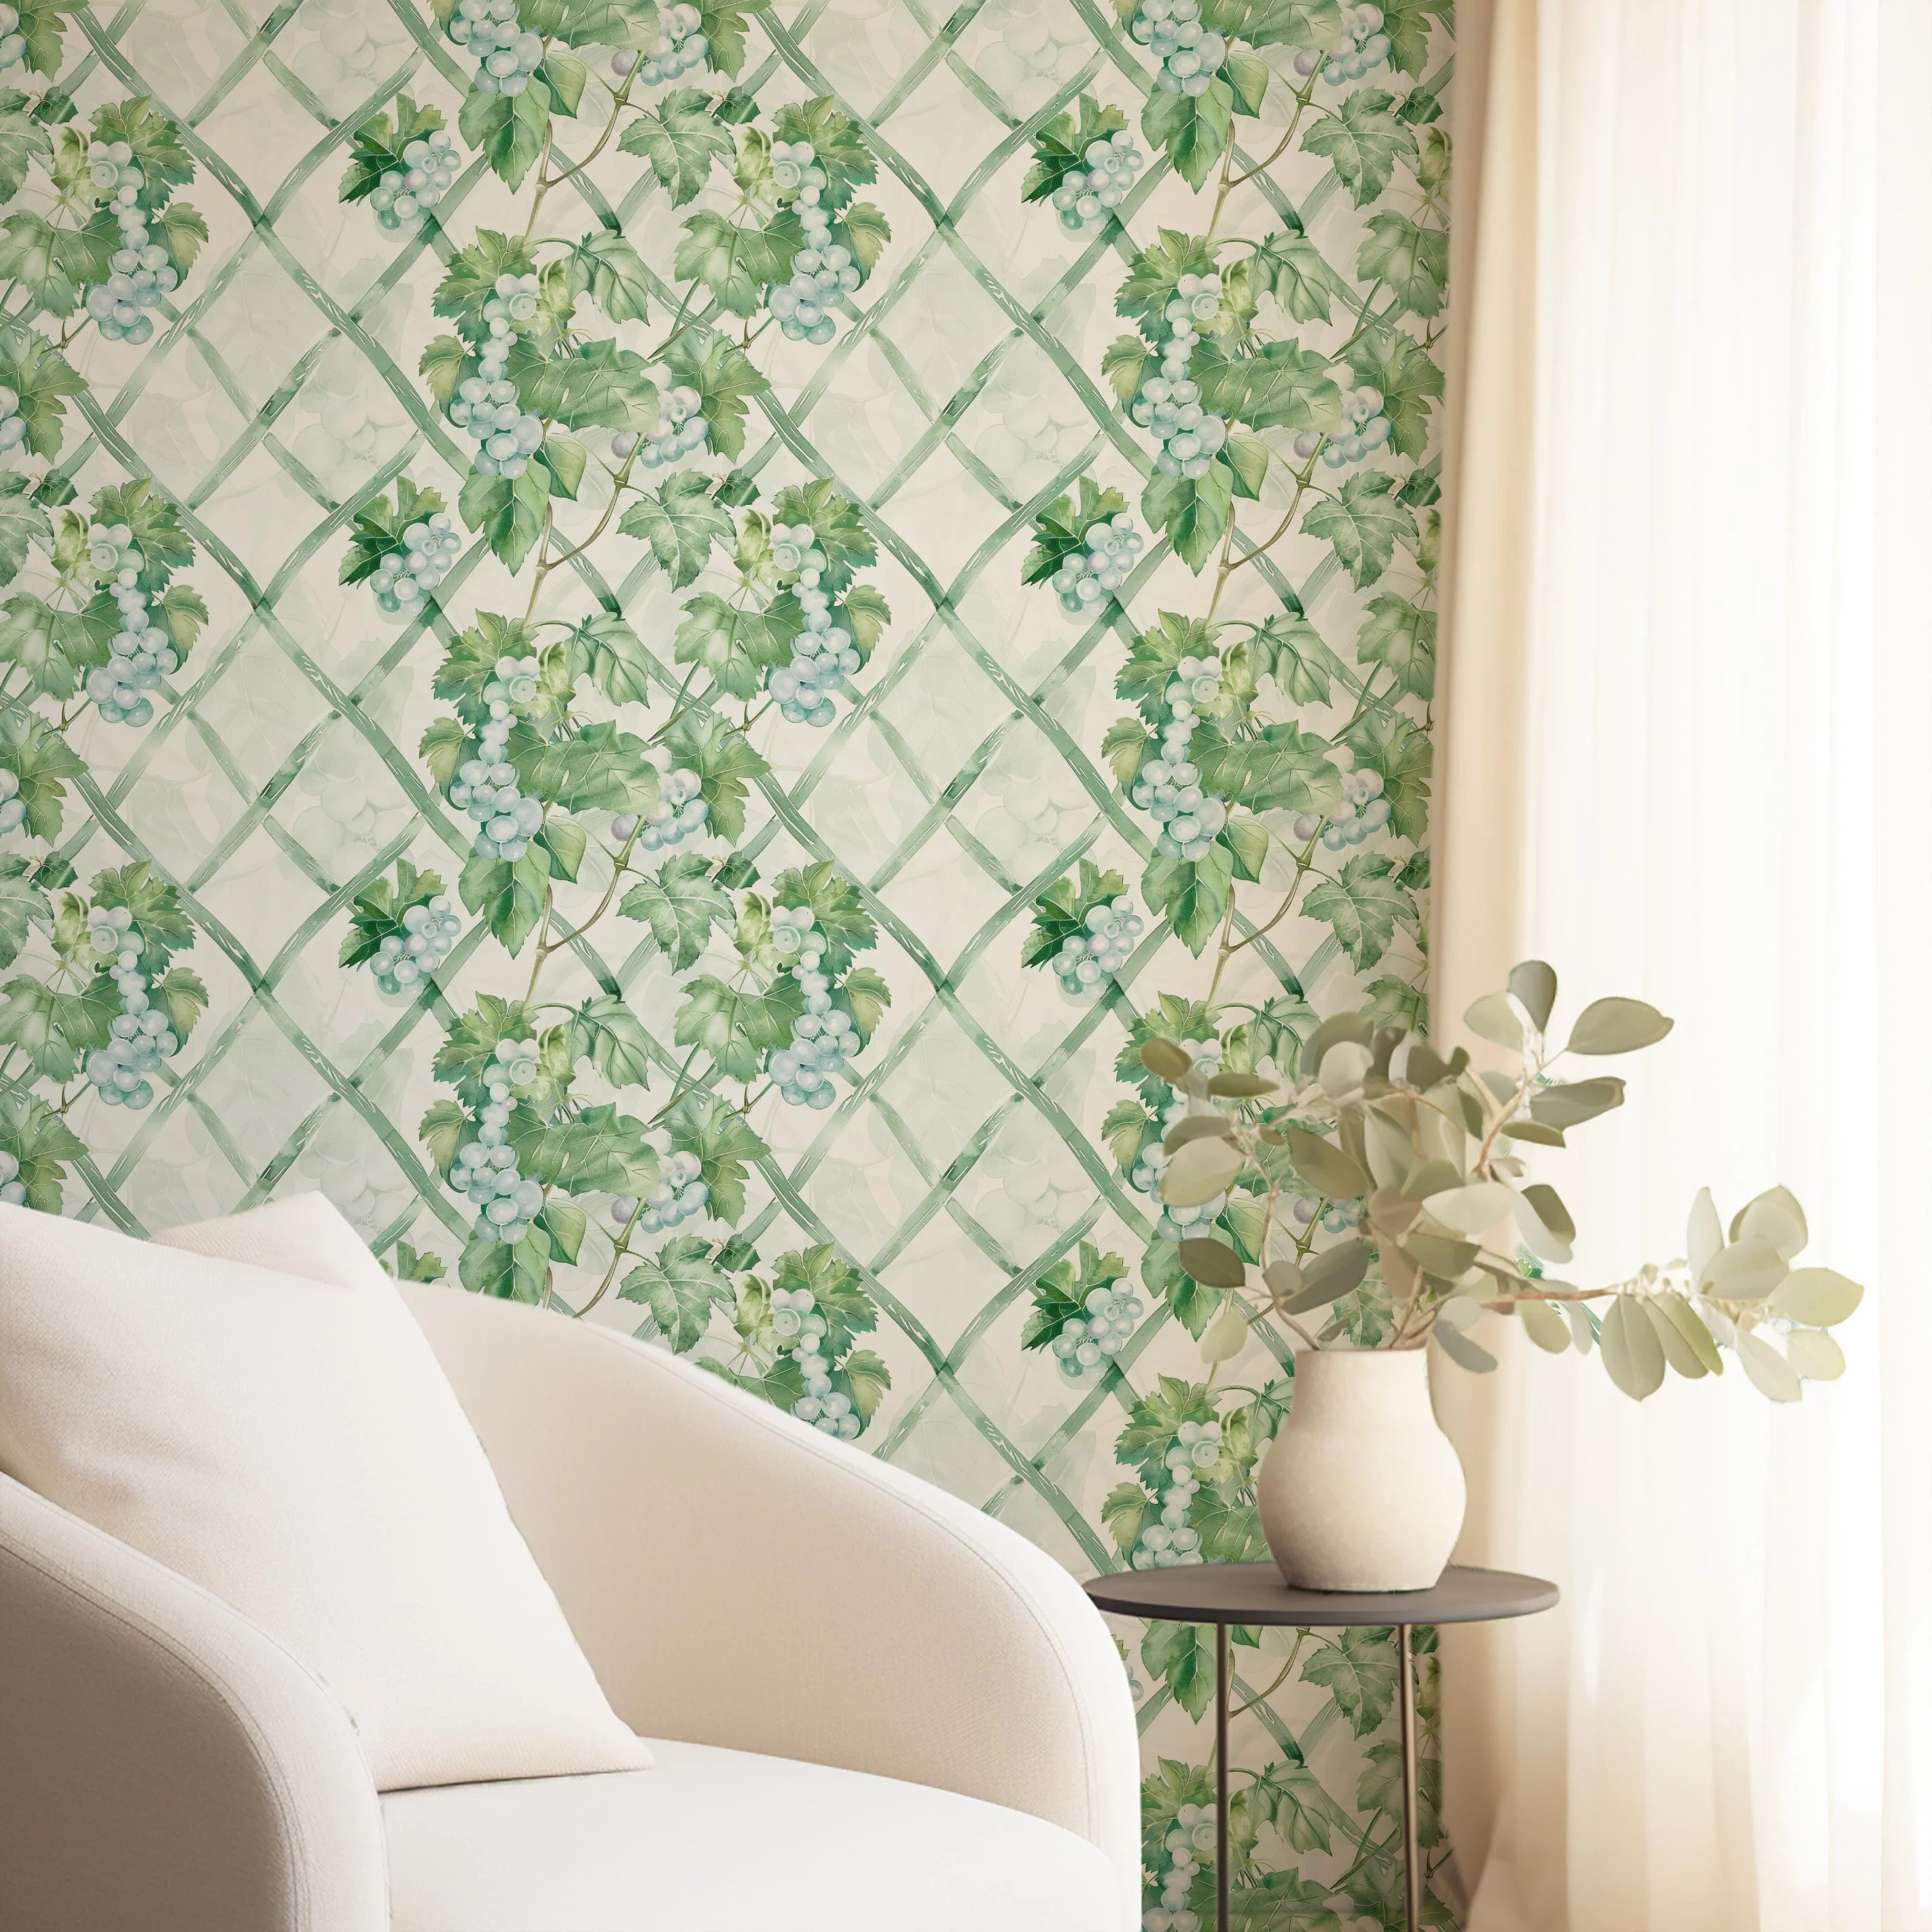
Autumn View Painted Mural Wallpaper · Portofino Wallpaper
Materials
- Spirit level or laser level: Essential for establishing the plumb starting line. A laser level that projects a continuous vertical line across the full wall height is significantly more reliable than an optical spirit level for any installation longer than 2 metres. This is the most important tool in the kit.
- Viponds Self-Adhesive Prep Coat: Three coats on the full wall surface, each dried fully before the next. Available from specialist wallpaper suppliers. Not available from hardware chains. This single product is the most reliable predictor of installation success across all wall types and paint formulations.
- Sharp utility knife with replacement blades: For all trimming — at the ceiling, at the floor, and at outlets. Blades must be replaced frequently. A blade that has been used to trim even one full panel will have dulled sufficiently to drag and tear the fabric substrate rather than cutting cleanly through it.
- White lint-free cloths: The only appropriate smoothing tool. Coloured cloths risk transferring dye to the print surface. Microfibre cloths are ideal. Never use plastic tools, squeegees, or hard-edged implements on the face of peel-and-stick wallpaper.
Room by Room
- Bedroom feature wall: The most common and most forgiving application. Begin at the corner adjacent to the bed and work outward. Ensure that the pattern is level at seated eye height rather than at standing height — this is the viewing position from which the wall will be seen most consistently.
- Living room: Feature wall behind the primary seating. Start at the most visible corner and work in the direction of least visual prominence. Any pattern repetition that needs to be accommodated in a corner is best placed in the corner that receives the least visual attention from the primary viewing position.
- Bathroom: Above the tile line in well-ventilated bathrooms with mechanical extraction. The exhaust fan must operate during and for at least 30 minutes after every shower. Peel-and-stick is not appropriate inside shower recesses regardless of the product specification.
- Rental apartments: The ideal application for peel-and-stick when properly prepared. Photograph the wall surface thoroughly before installation, including close-up photographs of any existing marks, scuffs, or imperfections. This documentation is your evidence if a bond dispute arises at the end of tenancy.
- Children's rooms: The repositionability of peel-and-stick makes it ideal for spaces where the design will need to evolve as the child grows. As tastes change, panels can be removed and replaced without repainting.
Designer Tips
- Order the $4.99 sample (48cm x 40cm / 19in x 16in) and apply it to your prepared wall for 72 hours before ordering the full quantity. Peel it slowly from the bottom corner at a 45-degree angle after 72 hours. If it releases cleanly with no paint damage, the wall surface is correctly prepared. If any paint comes away with the sample, the paint film is not sound enough for installation and requires assessment.
- Our panels are custom manufactured to your exact specified dimensions at our Central Coast NSW facility. You provide the measurements, we produce panels that fit your specific wall — no standard roll widths, no pattern repeat calculations, no cutting waste. Production takes 4 business days. We ship to more than 40 countries globally with all import duties covered on wallpaper orders.
- Persistent air bubbles that develop in the days after installation — rather than during installation — indicate inadequate wall preparation. The adhesive is releasing from a surface that was not sound or was not properly primed. This is not a product defect; it is a preparation issue that is not covered by warranty. The correct response is to remove the affected panels, address the underlying surface issue, reapply Viponds prep coat, and reinstall.
- For power outlets and switches: turn off electricity at the switchboard before starting any work near outlets. Cover outlet holes with masking tape before applying panels. Once the panel is applied, use a sharp utility knife to cut a small X from corner to corner of the outlet opening, fold the four resulting triangular sections back, trim cleanly, and replace the outlet cover. The cover sits over the wallpaper for a clean, professional finish.
Browse our full peel-and-stick wallpaper collection, read our comprehensive wall preparation guide, or explore the full range of wallpaper substrates and designs.