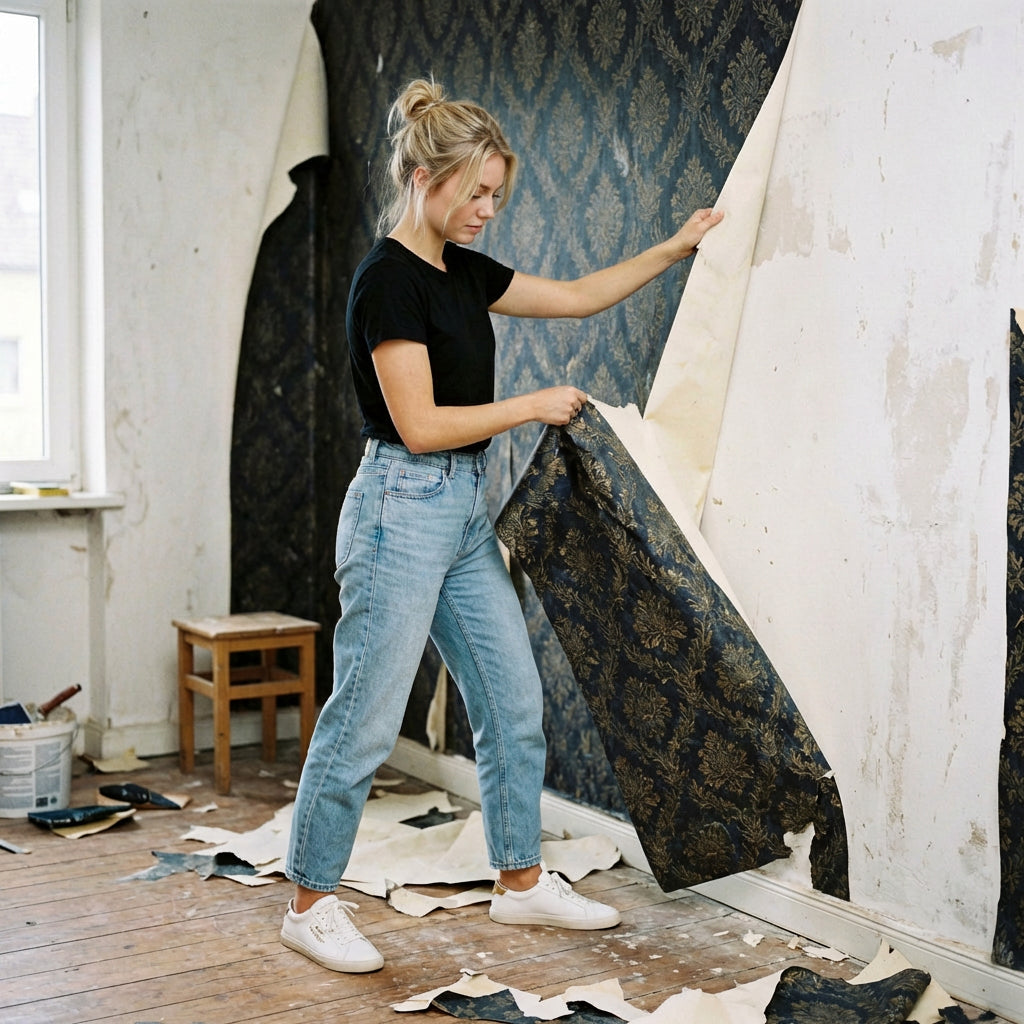
Removing old wallpaper is one of the most daunting DIY projects in home improvement — and one of the most commonly botched. The damage that results from an impatient removal job can cost more to repair than the original wallpaper installation. Gouged drywall, torn paper facing, damaged plaster, and adhesive residue that defeats every paint coat applied over it: these are the consequences of removing wallpaper without understanding what you are working with. This guide covers every removal scenario — from modern peel-and-stick to decades-old paste-the-wall — with the methods, tools, and pacing that prevent wall damage and leave a surface ready for whatever comes next.


Shop Wallpaper · Luxe Tropical in Sand Wallpaper · White Luxe Palm Wallpaper in Sand
Before any removal work begins, identify what type of wallpaper you are dealing with and what surface it was applied to. These two variables determine the correct removal method more than anything else. Wallpaper applied to properly primed drywall in the past decade behaves very differently from wallpaper applied directly to unprimed drywall in the 1970s, or wallpaper applied over plaster, or wallpaper applied over paint, or wallpaper applied over other wallpaper. Getting the method wrong for the surface produces the wall damage that makes removal projects infamous.
The good news for anyone removing modern peel-and-stick wallpaper: there is effectively no removal project. Peel-and-stick wallpaper designed for residential use removes cleanly from properly prepared surfaces. Start at a corner or seam, peel at a low angle (30 degrees or less to the wall surface), and work slowly. The adhesive releases from the wall surface, and the wall beneath is undamaged. The challenging scenarios are all variants of traditional paste-the-wall wallpaper — older product installed with wheat paste, clay paste, or vinyl adhesive on surfaces that may or may not have been properly primed.


Palm Escape Cream & Beige Wallpaper · Palisades Light Blue Wallpaper
Step 1: Identify Your Wallpaper Type
Strippable wallpaper (most wallpaper installed since the 1990s) has a dry-strippable face layer that separates from the backing. Find a corner or seam, lift the edge, and pull at a low angle parallel to the wall. If the face layer peels away in large sections leaving a thin paper backing on the wall, you have strippable wallpaper. The face layer removal is dry — no water needed. The remaining backing must then be soaked and removed separately, but this step is significantly easier than full wet removal.
Non-strippable wallpaper (most wallpaper installed before the 1990s, and some vinyl wallpaper) does not separate cleanly into face and backing layers. The full wallpaper must be soaked and removed together. This is the more labour-intensive scenario and the one most likely to produce wall damage if rushed.
Multiple layers — common in older US homes where new wallpaper was applied directly over old — must be removed one layer at a time, working from the outermost layer inward. Attempting to remove multiple layers simultaneously produces uneven soaking and tearing.
Step 2: Prepare the Room
Wallpaper removal is wet, messy work. Protect the floor with heavy-duty plastic sheeting taped to the base of the wall with painter's tape. Turn off electrical power to the room at the breaker before using any water near outlets or switches. Cover outlets and switch plates with painter's tape. Remove all furniture from the room or push it to the centre and cover it with plastic sheeting.
Step 3: Score If Necessary — Carefully
Vinyl-coated wallpaper resists water penetration at the face. A scoring tool — a device with small wheels that perforate the wallpaper surface — allows water to penetrate and reach the adhesive. Use a scoring tool only if soaking with plain water produces no adhesive softening after several minutes of contact. Score with light, consistent pressure only — heavy pressure perforates the drywall paper facing beneath the wallpaper, which is the primary source of drywall damage in removal projects. Make multiple light passes rather than one heavy pass. Do not score plaster walls.
Step 4: Soak and Remove
Mix a removal solution: fabric softener diluted in warm water (one cap per gallon) is effective and widely available. DIF concentrate — the most widely used commercial wallpaper removal solution in the US — is more consistent and appropriate for large or stubborn projects. Apply with a garden sprayer, paint roller, or large sponge, working in sections of approximately 3 feet by 3 feet.
Allow the solution to soak for a minimum of 3 to 5 minutes before attempting removal. This is the step most commonly rushed and the one that causes most wall damage. The solution must penetrate through the wallpaper face, through the backing, and into the adhesive layer. An impatient removal attempt — pulling before the adhesive has softened — tears the drywall facing and creates a repair problem that takes longer to fix than waiting would have.
Remove soaked wallpaper with a wide plastic scraper — 6 inches or wider — held at a 30-degree angle or less to the wall. Work from the bottom of the section upward. Apply steady, even pressure without forcing. If resistance is felt, apply more solution and wait longer rather than increasing scraper pressure.
Step 5: Remove Adhesive Residue
After the wallpaper is removed, adhesive residue typically remains on the wall surface. This residue causes paint to bubble, peel, and fail to adhere evenly if it is not removed before painting. Wash the wall with warm water and a sponge, using a small amount of dish soap or the same removal solution. The wall surface should feel smooth and non-tacky when dry. Any remaining tackiness indicates adhesive residue that will cause paint failure. Allow the wall to dry completely — minimum 24 hours — before any repair work or new application.
Materials
- Garden sprayer or paint roller: For applying removal solution evenly across large wall sections. A garden sprayer covers more area per minute than a sponge and maintains more consistent solution concentration across the surface.
- Wide plastic scraper (6-inch or wider): Plastic rather than metal to reduce the risk of gouging drywall. Metal scrapers are appropriate for plaster walls, which are harder and more resistant to impact damage. On drywall, plastic is the safer tool in every circumstance.
- Scoring tool: The Paper Tiger and Zinsser Paper Scraper are the most widely available options in US home improvement stores. Use only when necessary — vinyl-coated wallpaper that resists water penetration — and with light pressure only.
- DIF concentrate: Available at Home Depot, Lowes, and most US hardware stores. Mix according to package instructions. More consistent than fabric softener solutions for heavy-duty or multi-layer removal projects.
What to Do After Removal
Assess the wall surface once dry. Minor tears in the drywall paper facing — the most common removal damage — can be repaired with joint compound applied with a wide knife, sanded smooth when dry, and primed with a high-hide primer. Any area with damaged drywall facing must be primed with an oil-based or shellac-based primer before new wallpaper is installed — water-based primer applied directly to damaged drywall facing causes the facing to bubble and separate from the gypsum core beneath it.
If the removal project has revealed walls in worse condition than expected — extensive damage, multiple adhesive layers, or deteriorating plaster — consider skim coating the full wall surface with joint compound before any new application. A full skim coat creates a fresh, uniform surface that accepts new wallpaper or paint without the irregularities that patchy repair work produces and that show through finished wallpaper.
"The most expensive part of wallpaper removal is impatience. Every torn patch of drywall facing represents time saved on soaking that is spent twice over on repairs. Wait for the solution to work."
Designer Tips
- If you are removing wallpaper to install new wallpaper, the wall preparation standard is higher than if you are painting. New wallpaper reveals every surface imperfection that matte paint would conceal. After removal and repair, apply a wallpaper-specific primer — not standard wall primer — to seal the surface and create consistent porosity across repaired and unrepaired sections. Inconsistent porosity causes new wallpaper to bubble or lift in patches within weeks of installation.
- Test a small section before committing to a removal method for the full room. Apply solution to a 12-inch square in an inconspicuous location and attempt removal after 5 minutes. This test reveals how the specific wallpaper and surface combination responds before you have committed to an approach for the whole room — it costs nothing and can prevent significant repair work.
- If you are replacing removed wallpaper with new wallpaper, consider upgrading to peel-and-stick. The removal project you have just completed is the last one this wall will ever need — peel-and-stick removes in minutes without water, scoring, or scraping. Browse our full wallpaper collection, or read our guide to installing peel-and-stick wallpaper for the complete process. Ships to all US states, the UK, Europe, and 40+ countries with all import duties included.